

The day that I discovered that felt sticks to felt…my mom creativity went into overdrive! I was beyond thrilled!
This great discovery opened a bunch of new doors for my crafting and kid activities!
I suddenly began plotting and planning what I was going to do with a stockpile of random felt that I had on hand from another project I was working on.
I left it up to my kiddos. They took a vote on various Christmas characters and themes and… Frosty the Snowman was the winner!
This DIY Frosty the Snowman Felt Activity is wildly popular in my house! {Even my big kids love it!}
DIY Frosty the Snowman Felt Activity Steps:
Purchase or use felt that you have on hand- I use blue, black, white, and red felt. The good news is, felt is cheap and my insider tip is to buy felt squares. That way you aren’t stuck with an entire yard of felt that you only needed to cut a few circles out of. {Unless of course you are going to create a bunch of DIY Frosty the Snowman Felt Activities to give away as gifts. OOH! What a great idea! Is there a teacher or mother in your life who’s children would LOVE this?}
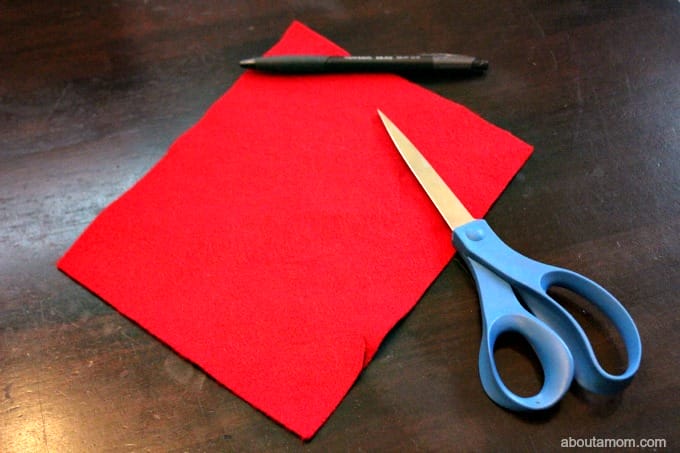
Use a pen to lightly draw eyes and other snowman features on your felt pieces before you cut them out OR “eyeball it.” Let’s be honest…your kids are going to love it even if Frosty’s eyes are little “off.” Don’t be too hard on yourself, have fun with it!
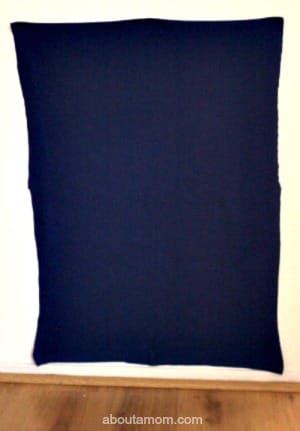
Begin with a large piece of felt and attach it to your wall. I use staples because they are strong and stay put. {you might also use masking tape, blue painter’s tape or command velcro strips to attach your felt background to the wall if you don’t want to use staples}
I went with a large piece of navy blue felt for my background ( you might choose light blue so that it looks like Frosty is in a wintry place).
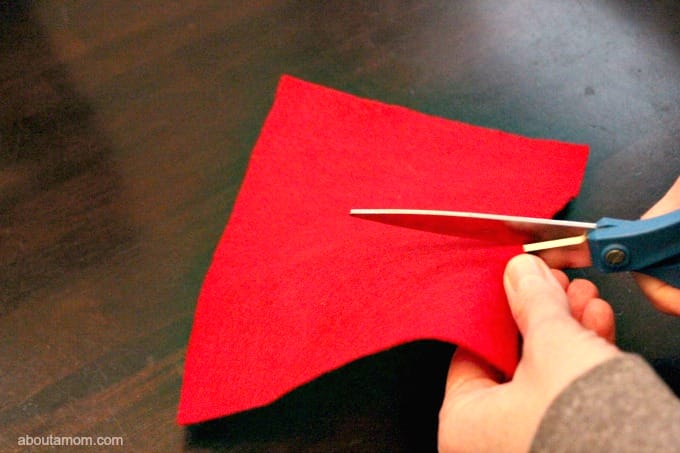
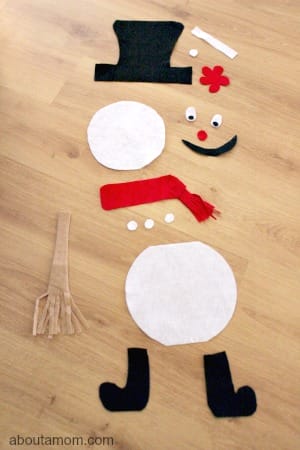
Cut out 2 large circles, with one being slightly smaller than the other.

Cut out a black top hat and boots. For Frosty’s hat I added a white band with a red flower.
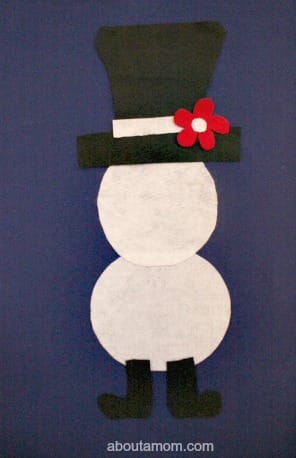
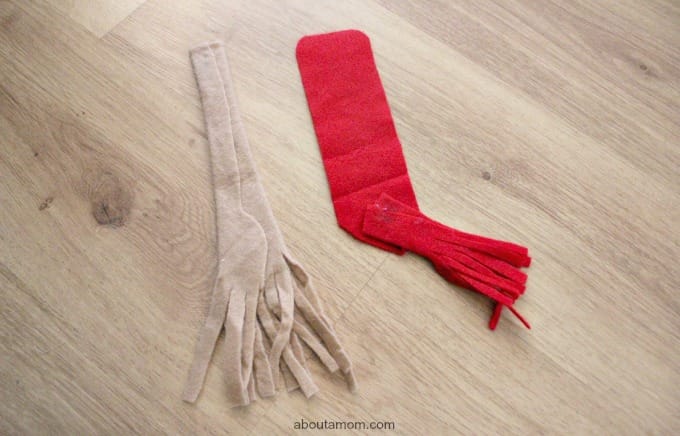
To stay true to this favorite children’s story, I cut and glued together a broom stick and scarf for Frosty.
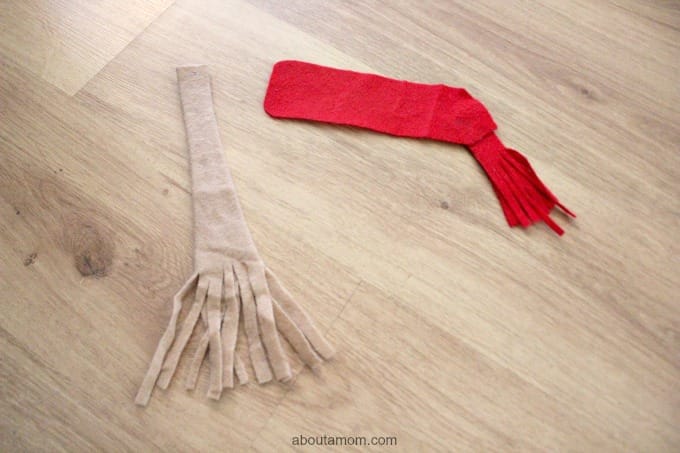
Here’s a photo of the backside so you can see how I used a hot glue gun and folded the felt over to create a broom stick. I also glued together the frayed end of his scarf.

The finishing touches are his face! We tried to stay true to Frosty the Snowman’s features, but feel free to use any snowman design your heart desires!

Here’s a shot of all of my Frosty the Snowman felt pieces all cut out:
Now enjoy your adorable, new, DIY creation!
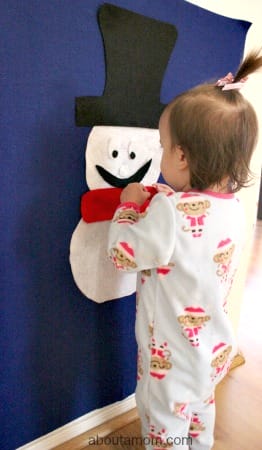
My children and I like to turn on the Frosty the Snowman song while we put him together! We also might sit down and read the book or watch the movie!
I hope that this DIY project brings somebody you love joy and lots of laughs!
Written by About a Mom contributor, Mandy Mae. Mandy is a wife, mother, teacher, and frugal-DIY-enthusiast. Hoping to inspire mothers to take action in making a positive influence in the lives of their children with simple DIY, crafting, thrifting, and teaching projects. You can see more from Mandy Mae on her blog MissMaesDays.com.
I love this idea, I think it is such a fun way for the children to get involved during the holiday season.
@tisonlyme143
I want to make a few of these awesome Frosty the Snowman felt items and Hang in my window. They are so cute, and I decorate my house for the Holidays with Snowmen!
That’s perfect, Julie! What a great idea, I like it!
Thank you, Dorothy! 🙂