

These Christmas Cake Pops are as much fun to make as they are to eat!
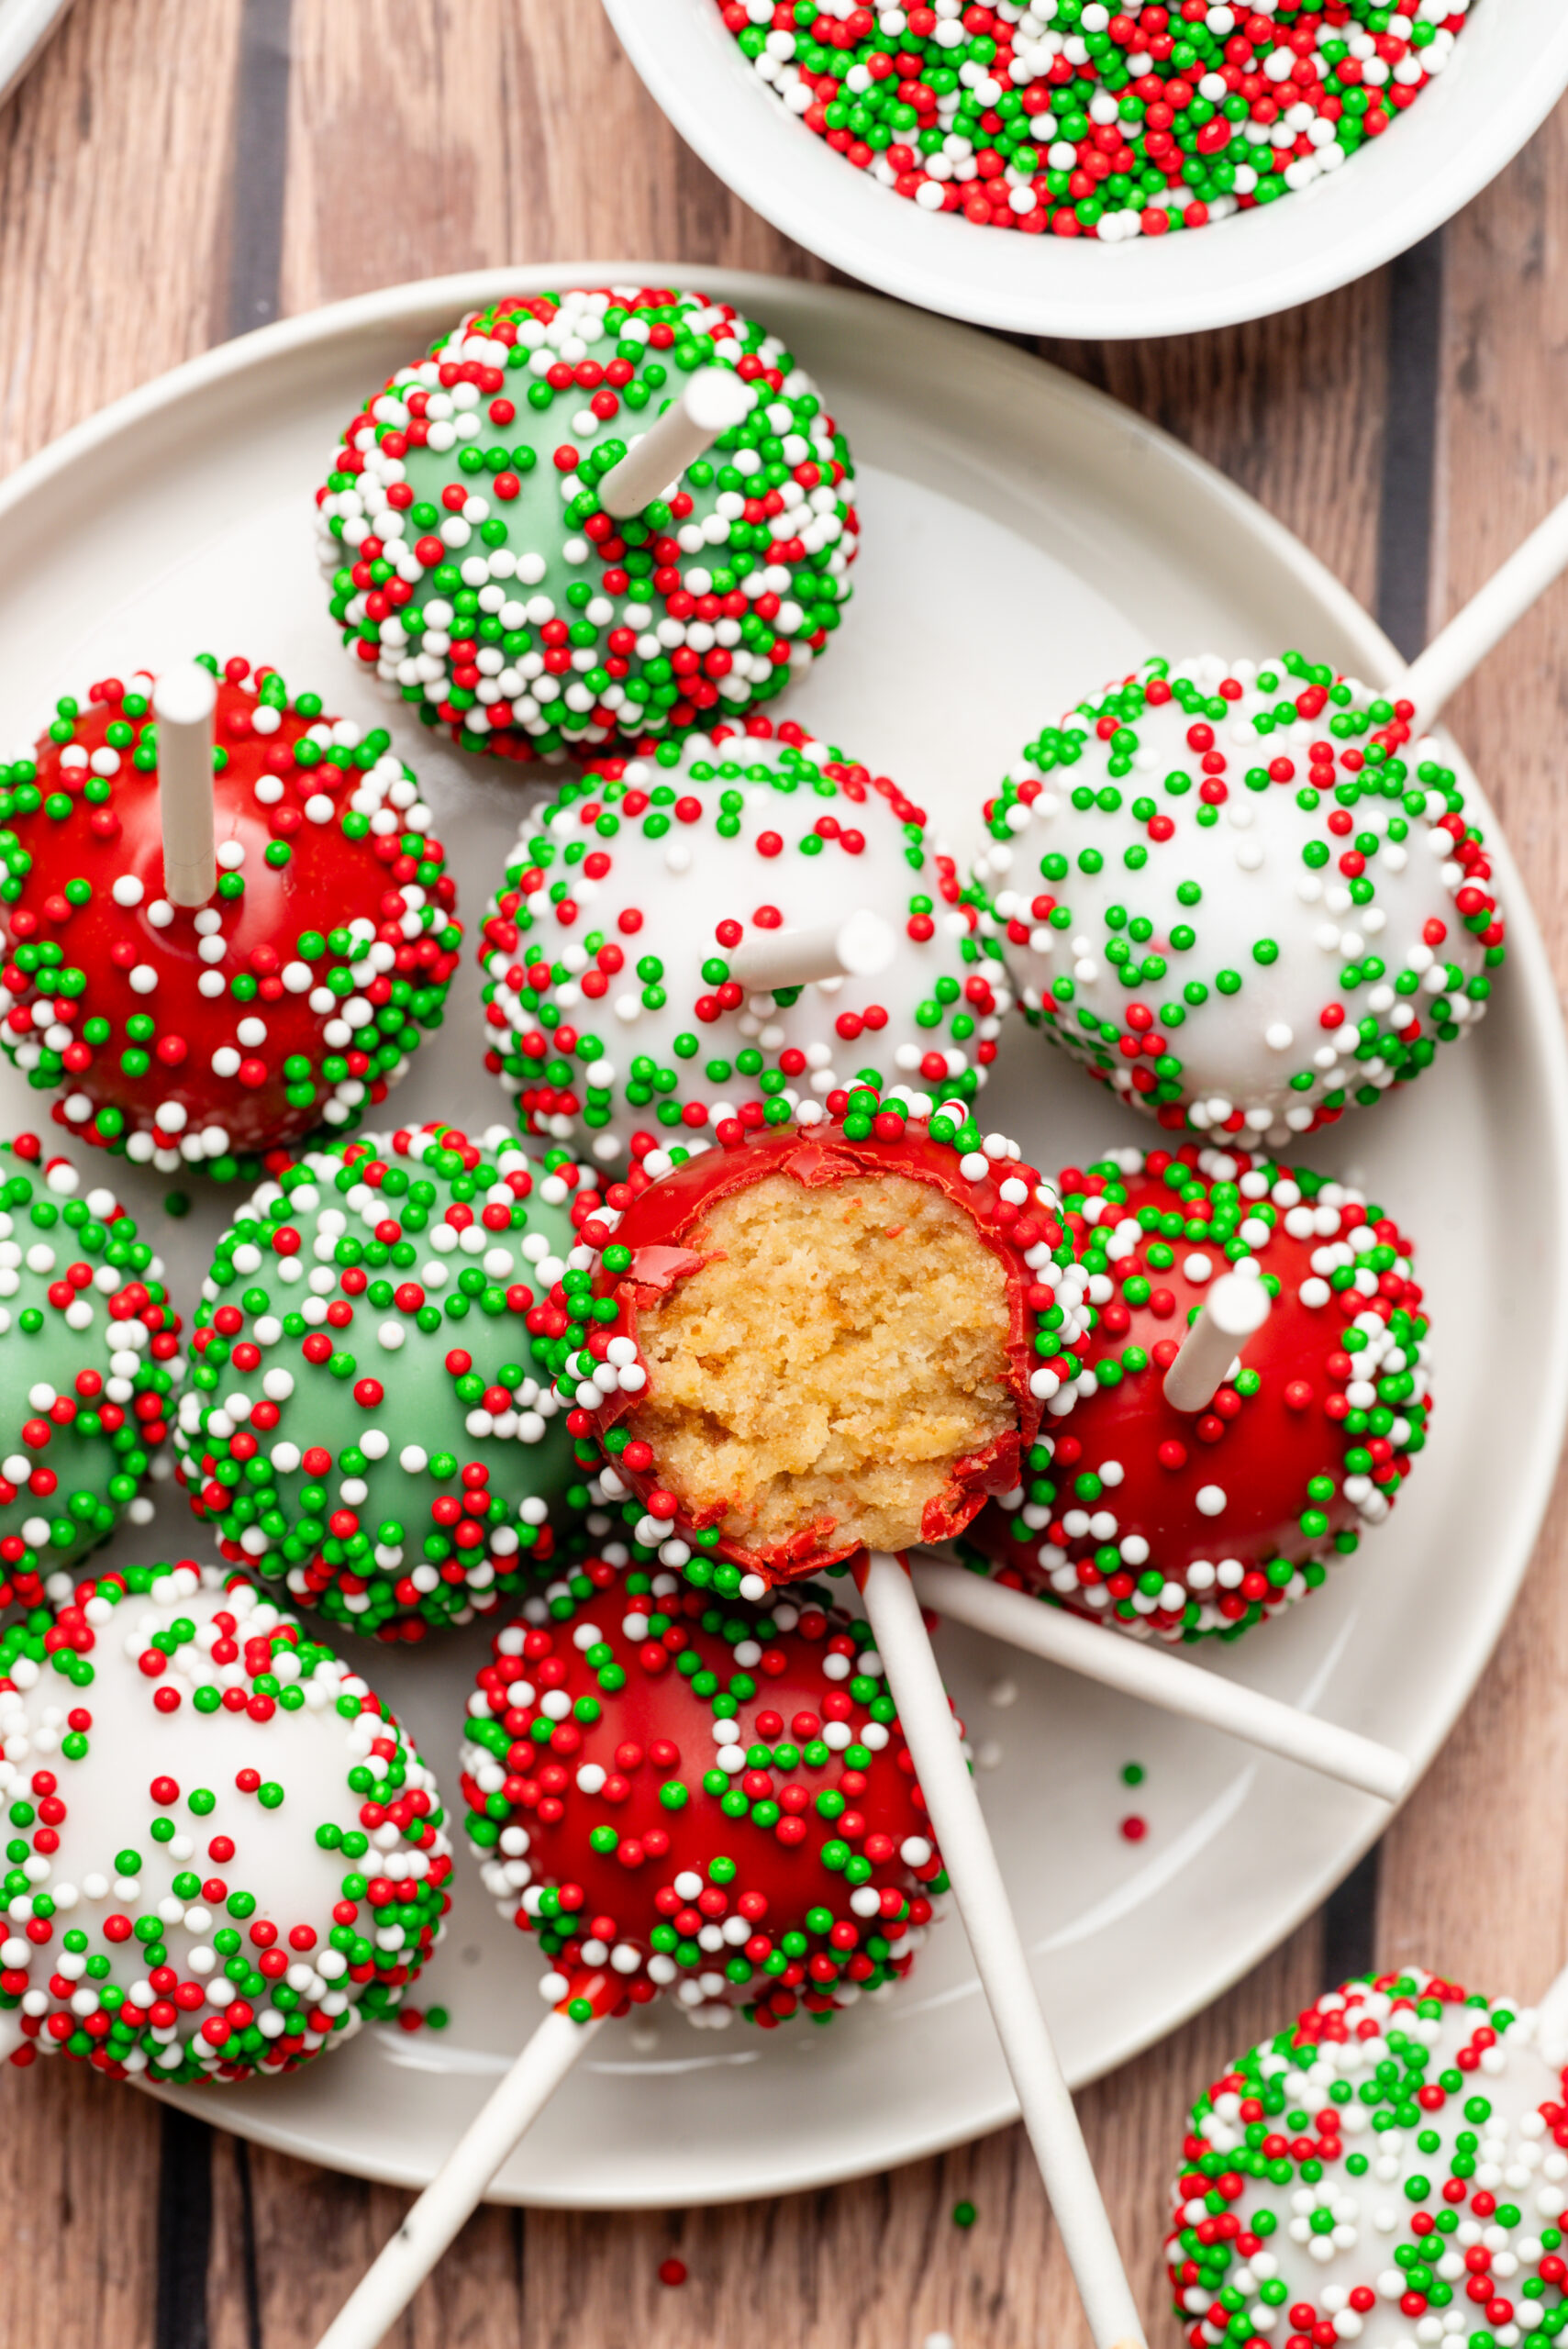
Do your children like cake pops? I know—that was a foolish question. It’s hard to imagine that anyone wouldn’t say yes to a sweet, moist cake pop. If you’ve never made them before, these Christmas cake pops are a great way to start. You’ll be pleasantly surprised by how easy they are to make—and how much fun you can have with your children while creating these delicious, colorful treats. This recipe works with any packaged cake mix, including gluten-free versions, as well as homemade cake.
Making cake pops is a great hands-on activity for even young children. After all, what two-year-old doesn’t like to crumble things up and make a mess? Once you bake your cake and let it cool, the fun can begin. While older children can crumble the cake into a bowl, I find that doing this activity with younger children sometimes works better if I spread plastic wrap or parchment paper over the table or counter and let them crumble it there. Then, you can simply scoop everything into your bowl.
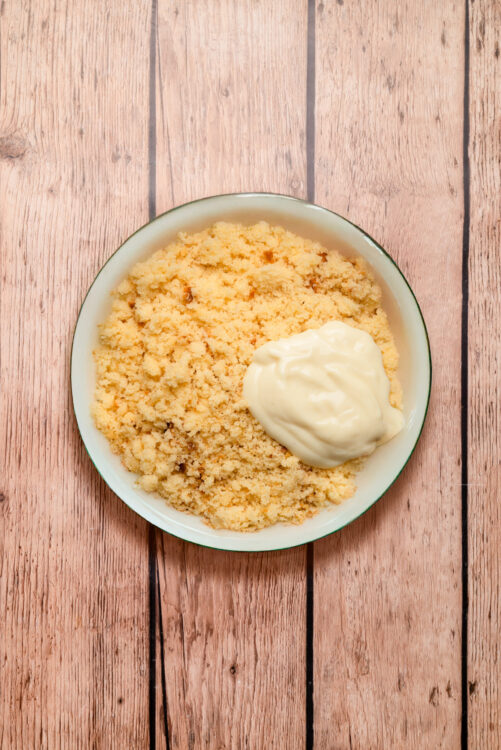
The next fun activity that kids can help with is mixing the frosting into the cake crumbs. Older children can do the entire batch, but for the younger ones, you might want to give them a smaller bowl with enough cake crumbs for one or two pops and a small spoonful of frosting. Here’s the thing about making cake pops with your kids—nothing has to be perfect. Unless you are giving these treats as a gift, selling them, or placing them on a fancy display, it doesn’t really matter how they turn out or what they look like. You’re creating fun memories that will last a lifetime, so let everyone join in and have a good time.
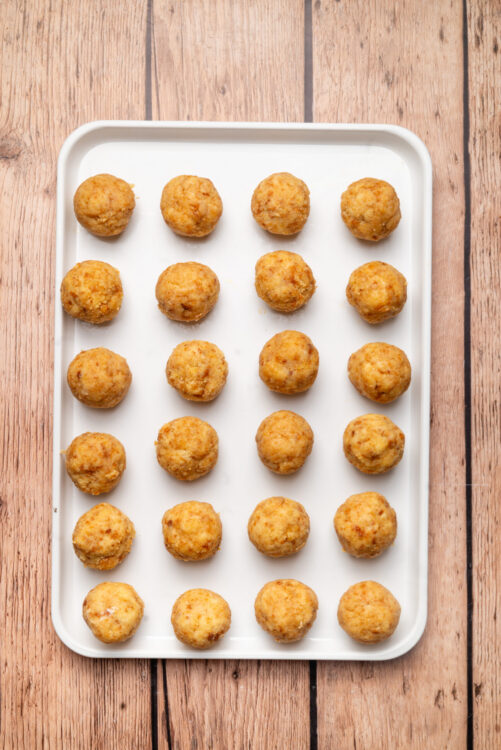
That leads to the next fun step—rolling the balls. The benefit of giving young children a smaller bowl is that they can work on their fine motor skills while the rest of the family makes the cake pops. Once they’ve mixed their crumbs and frosting, they can practice rolling the mixture between their palms. It’s fine if the resulting balls are lumpy or misshapen. Think how proud they will be when the task is complete. Your children can even help with dipping in the melted chocolate and adding the sprinkles. There are so many fun steps to creating cake pops, along with plenty of opportunities to laugh and talk about all types of subjects.
Fun ways to get creative with Christmas cake pops
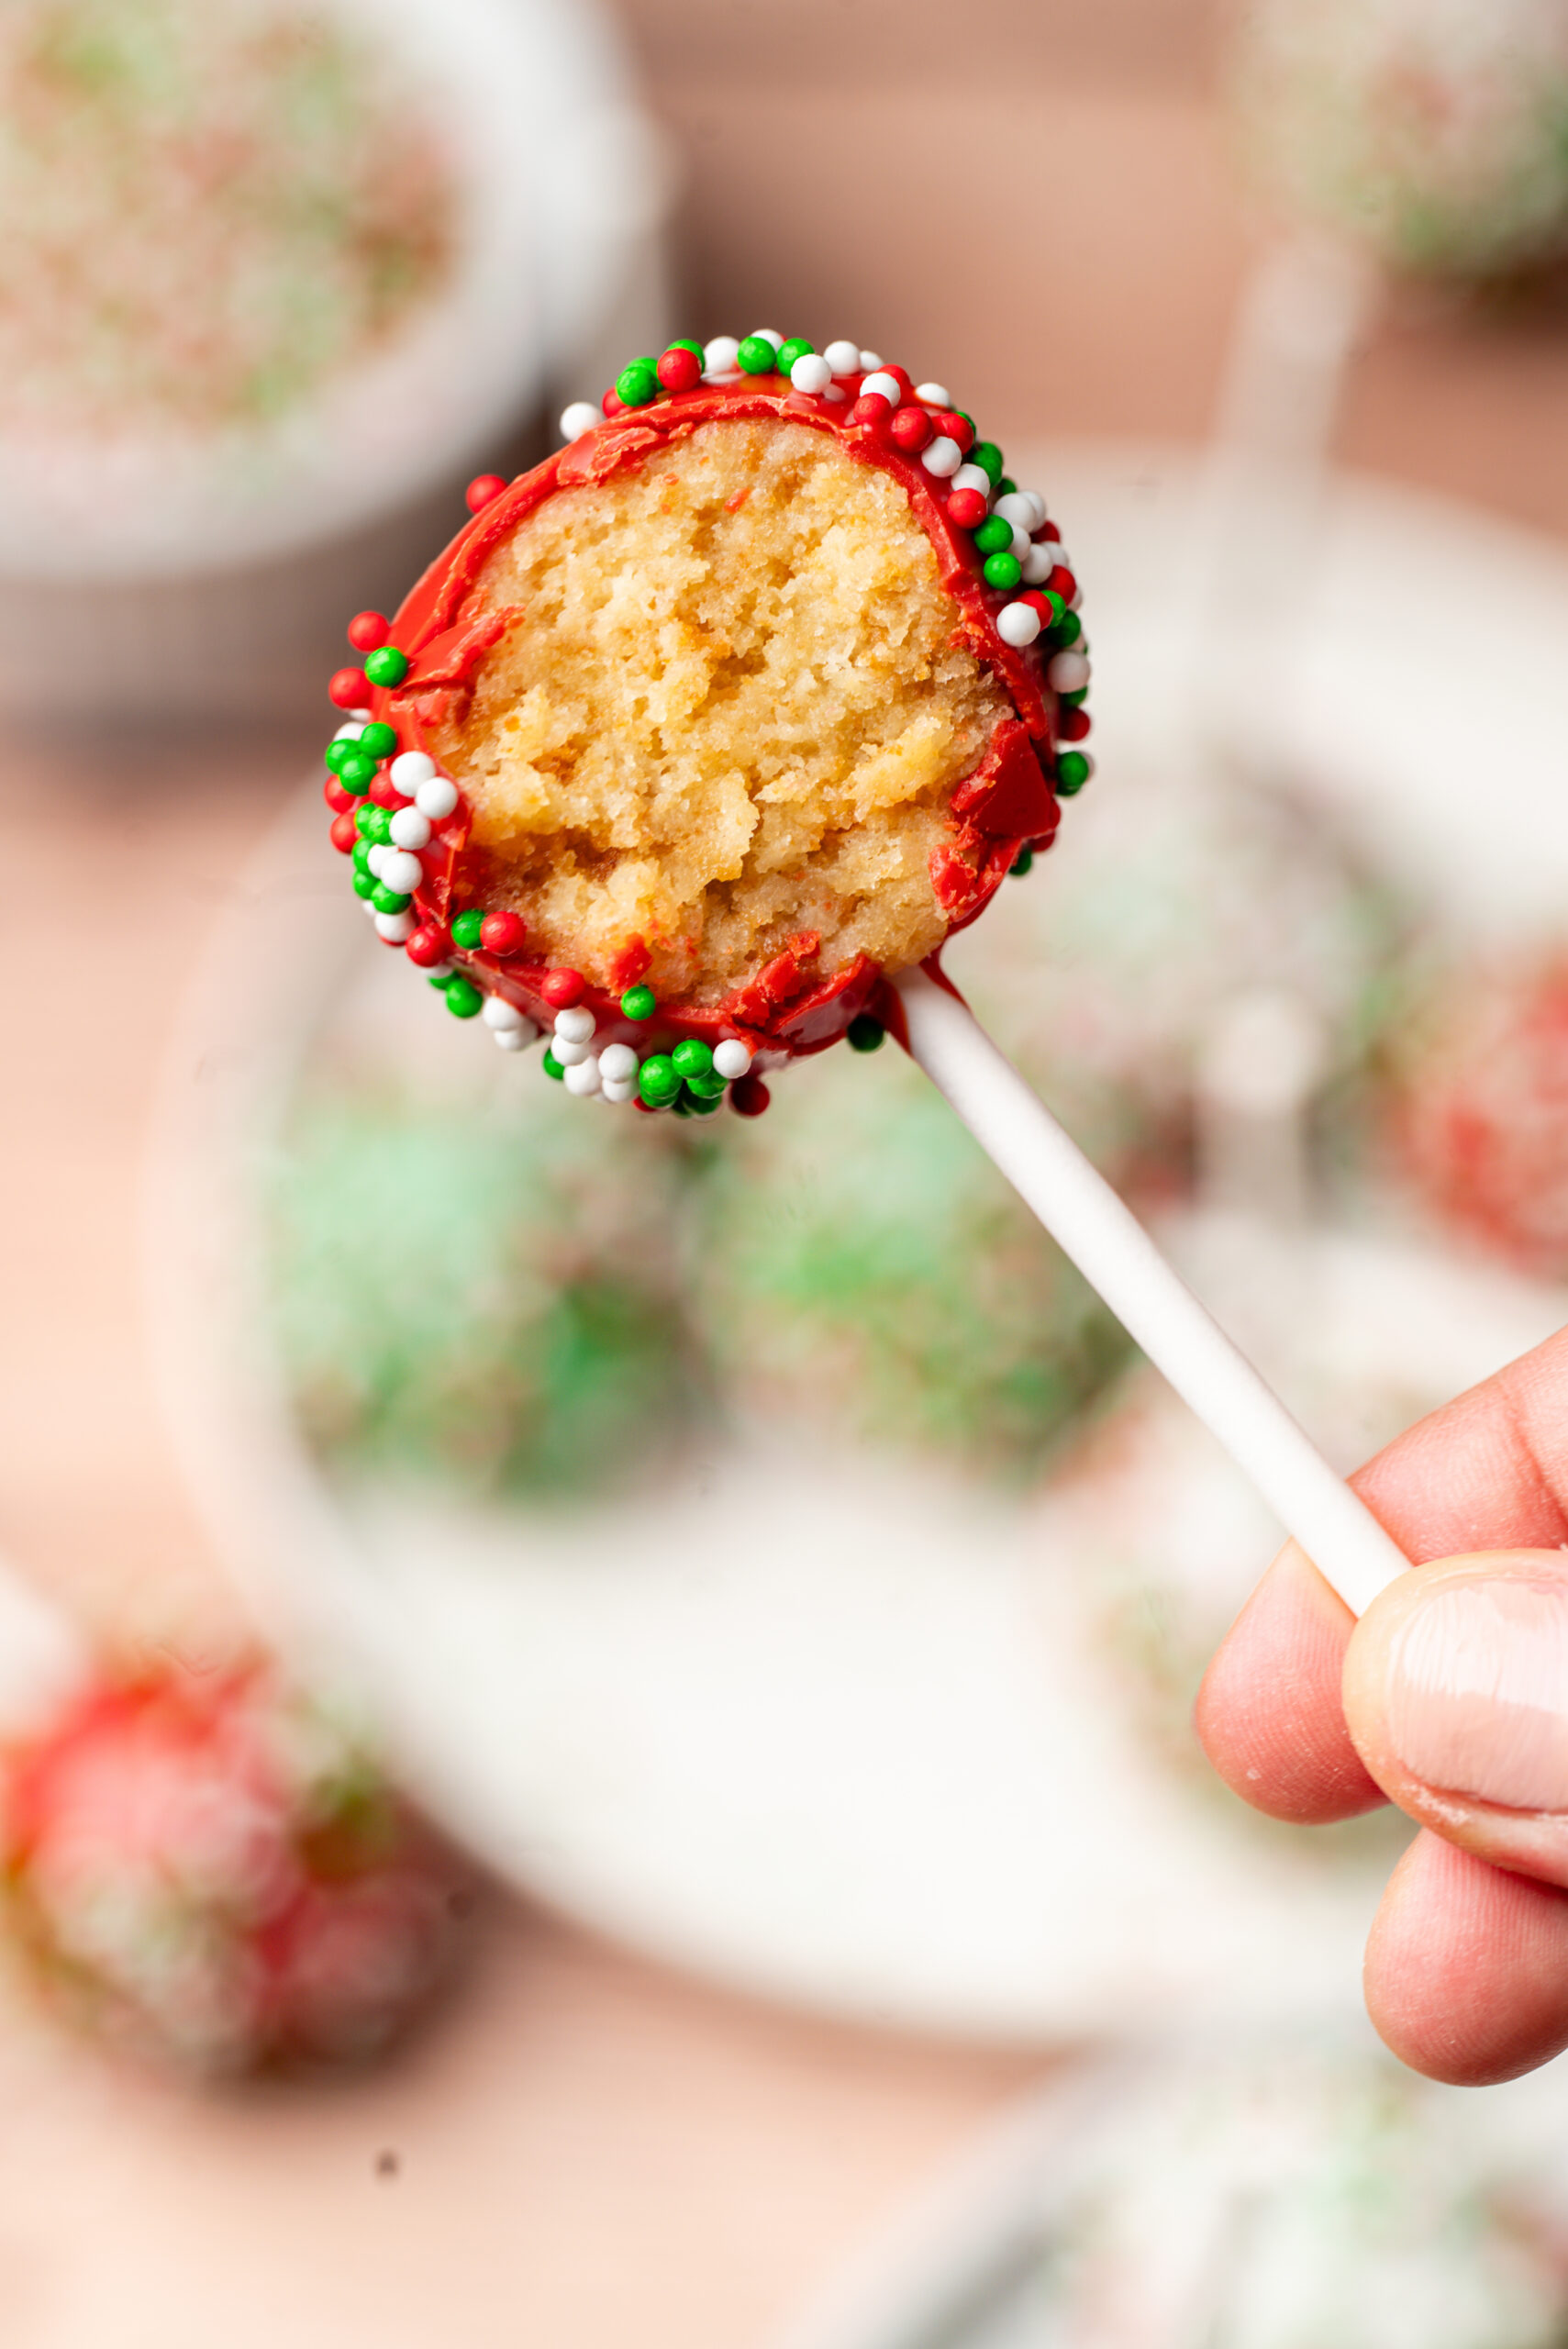
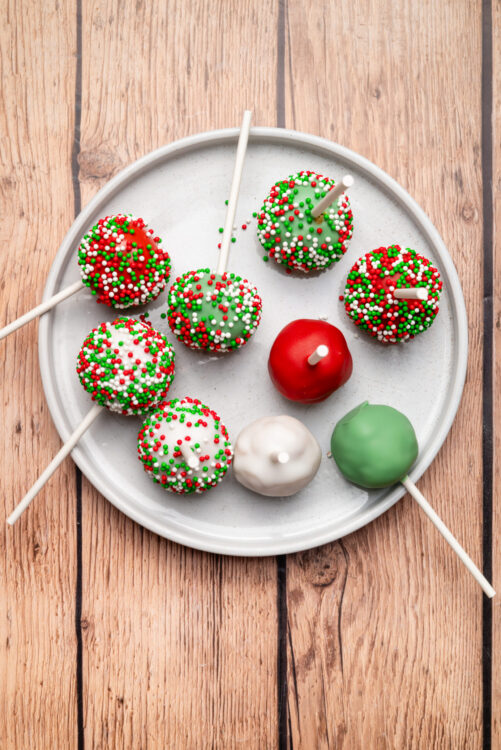
There are plenty of fun ways you can get creative with Christmas cake pops beyond the little red, green, and white balls shown in the pictures. Use brown chocolate candy melts to make cute reindeer—complete with candy eyes, red M&M noses, and pieces of pretzels for antlers. Another fun design consists of two cake balls on a stick, with one slightly smaller than the other. Use white candy melts to coat any flavor cake ball, two dots of black icing on the smaller ball for eyes, three dots on the larger ball for buttons, and an orange sprinkle for the nose, and you have the cutest edible snowman.
Other fun ideas include small cone-shaped pops dipped in red candy melts to make Santa hats and in green candy melts to make Christmas trees. Decorate the hats with white icing piped around the base for Santa’s fur trim. Use dots of different-colored icing or sprinkles as lights or ornaments on the trees. Let your imagination run wild.
How do I store leftovers?
Once the Christmas cake pops harden and are fully set, refrigerate them in an airtight container for up to 1 week. You can also freeze them in a freezer-safe container for up to 2 months, defrosting them in the refrigerator overnight before serving.
Serving suggestions
Treat your family to a fun, cozy evening featuring Christmas cake pops served with a rich and creamy Eggnog Milkshake. If you’re planning a party or get-together, create a sweet buffet complete with Peppermint Cheesecake, Chocolate Sugar-Cookie Gingerbread Men, Christmas Tree Rice Krispie Treats, and Delicious Chocolate Peppermint Cookies. You’ll be the hit of the holiday season with spectacular goodies like these.
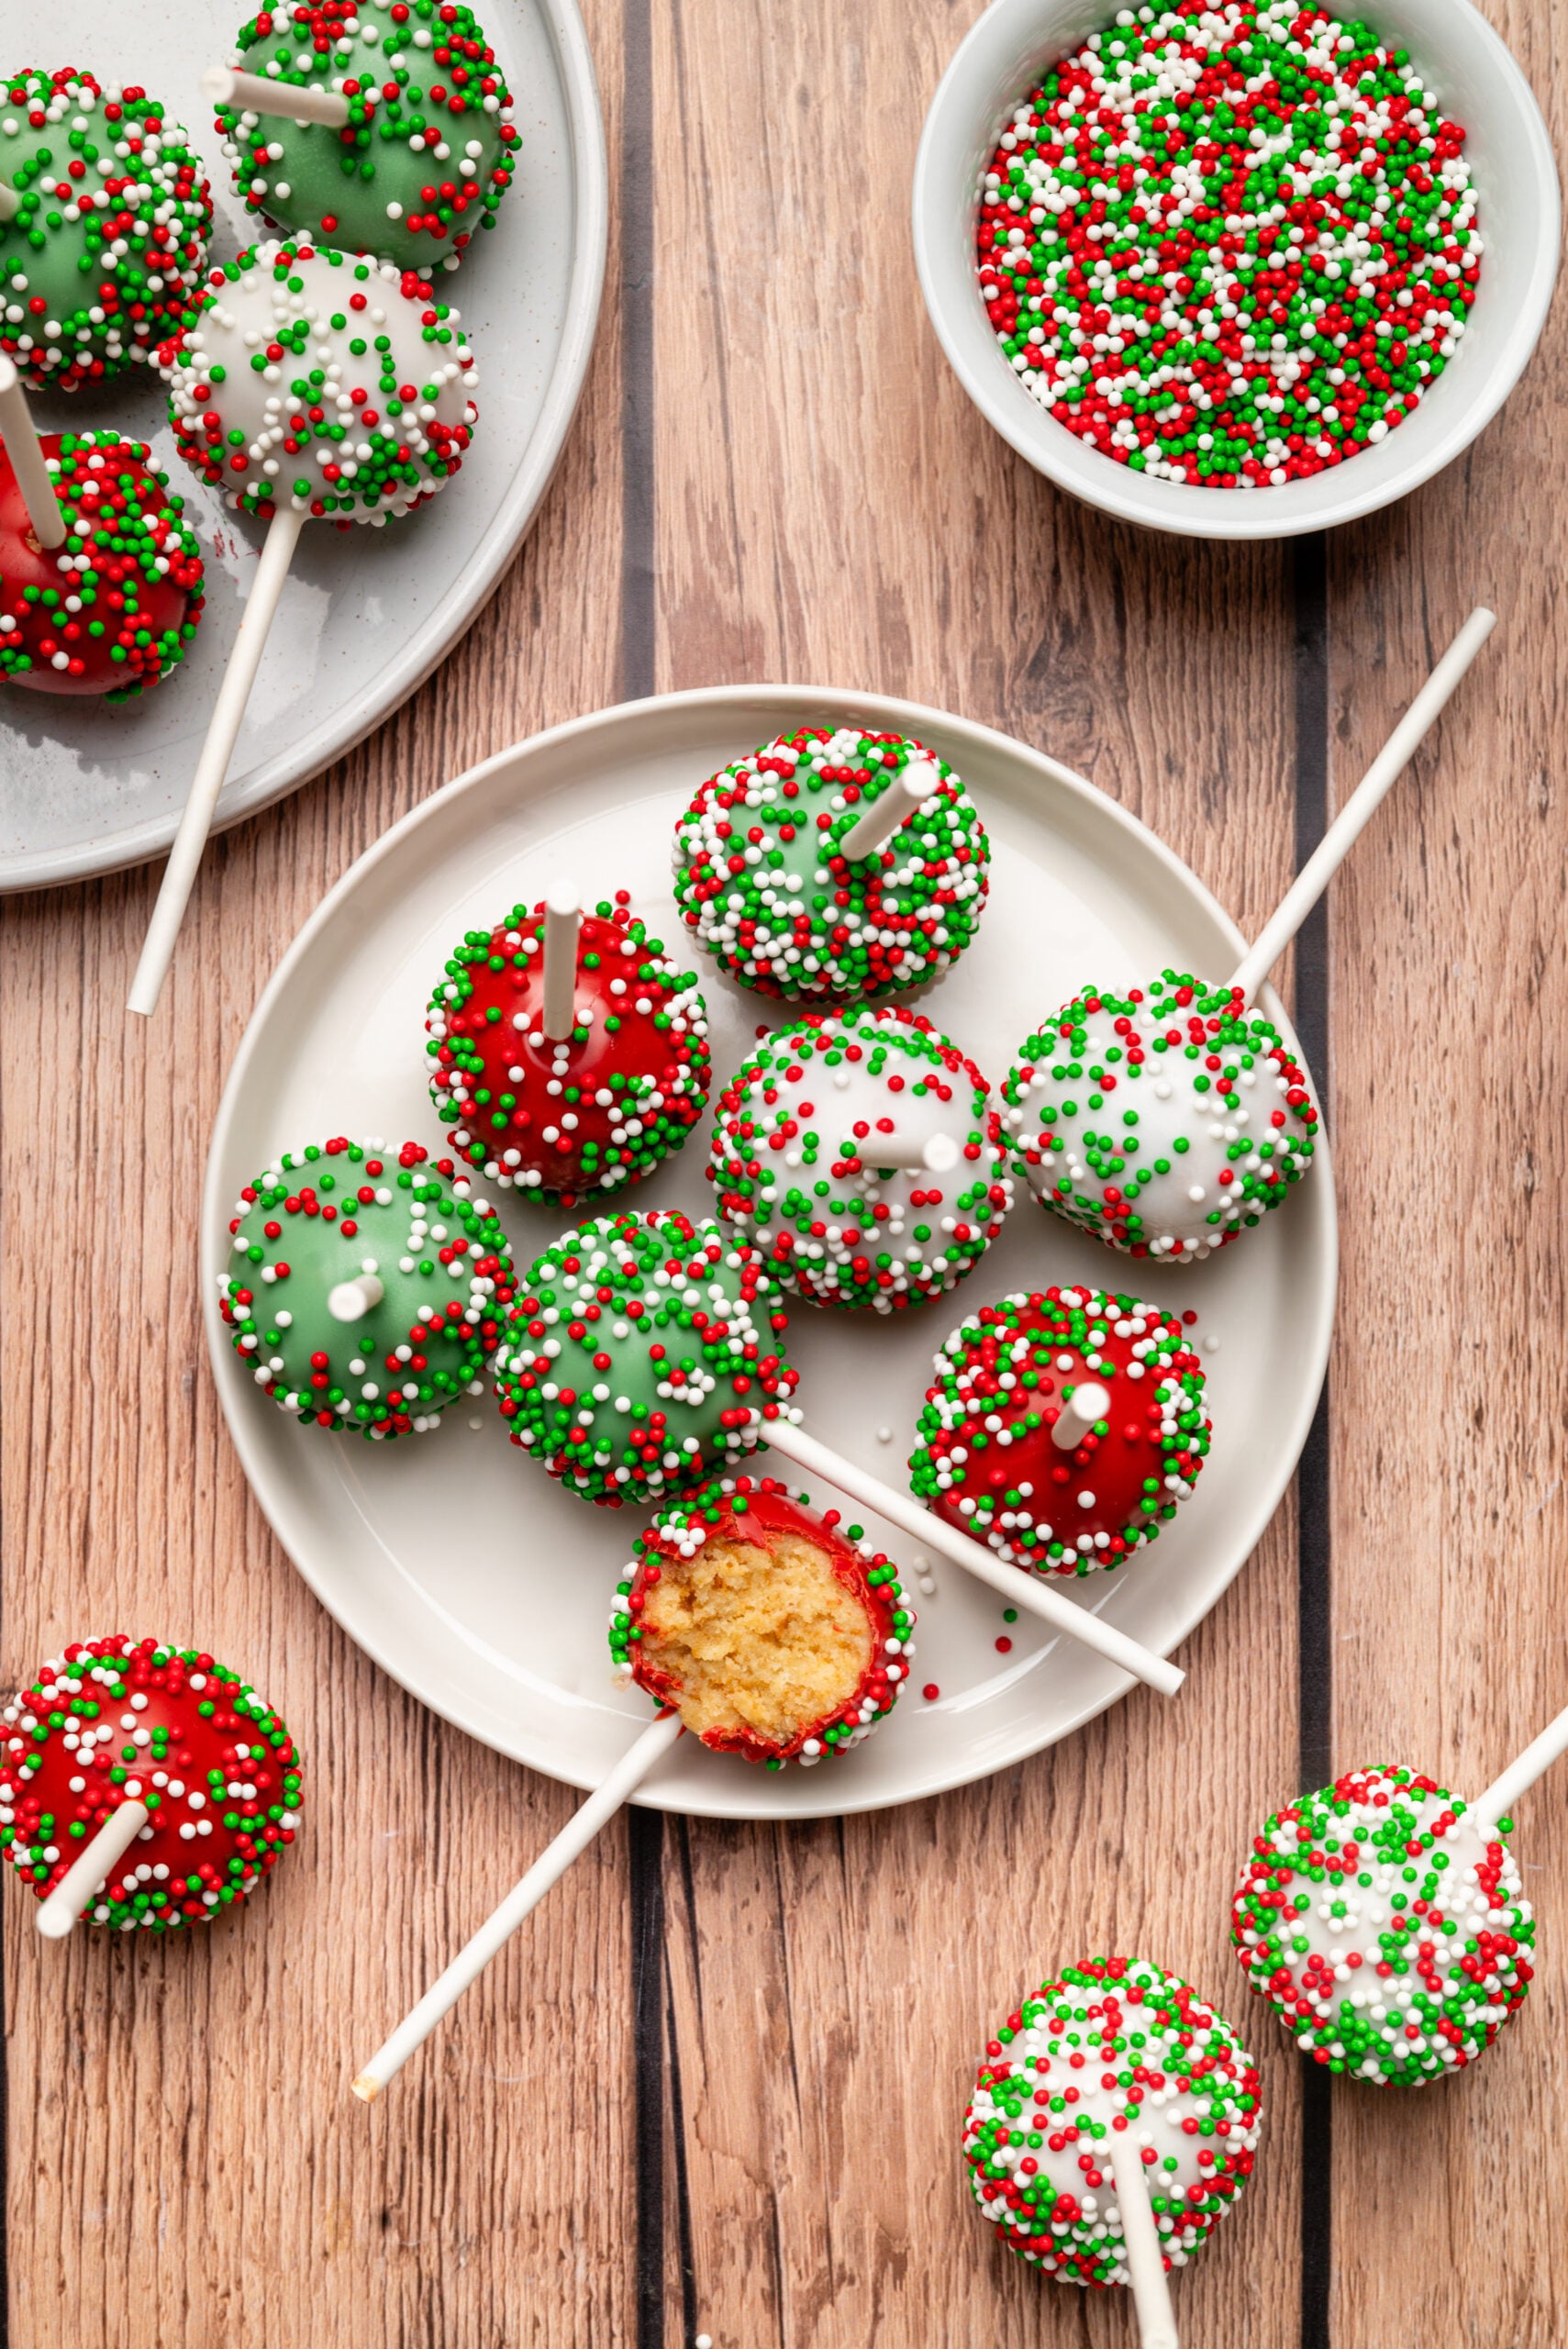

Christmas Cake Pops
Ingredients
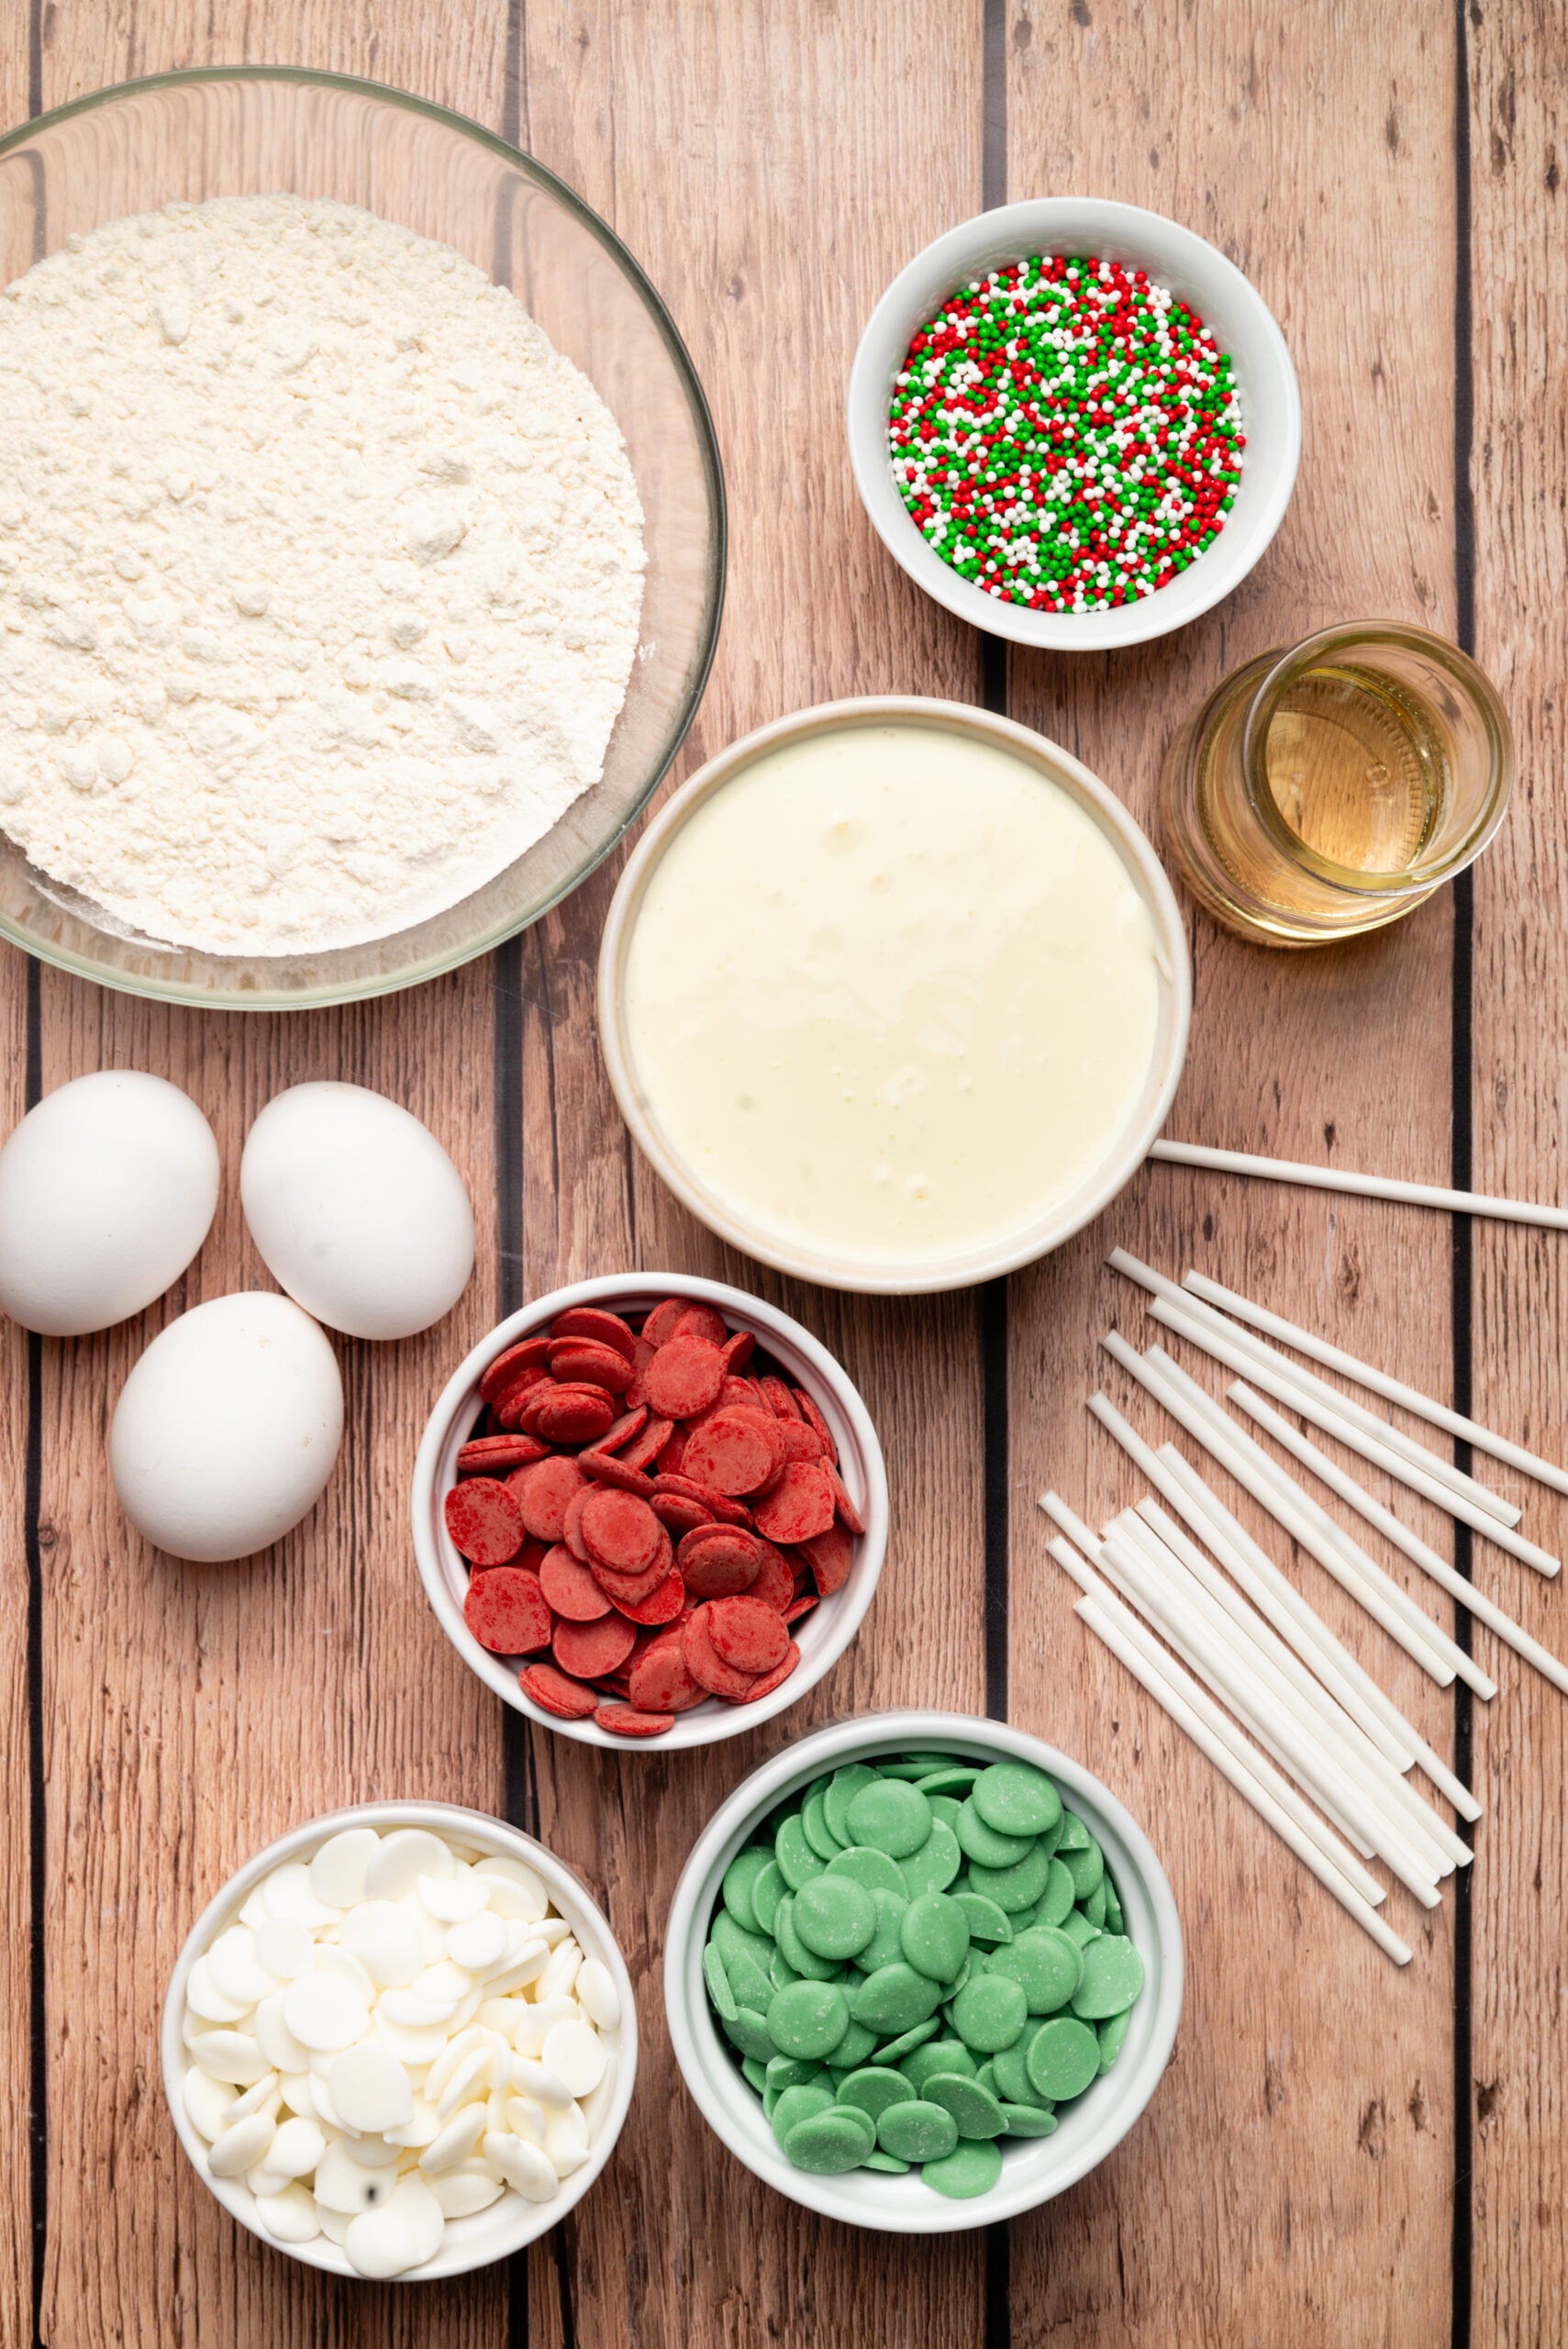
- 1 box yellow cake mix (16.5 ounces)
- Ingredients as directed on the cake mix box (water, oil, eggs)
- 5 tablespoons cream cheese frosting plus more if needed
- 24 ounces candy melts use some red, some green, and some white if possible
- Vegetable oil as needed
- Christmas sprinkles to taste
- 24 lollipop sticks
Instructions
- Preheat the oven as directed on the cake mix box. Mix the cake ingredients in a large bowl and pour the batter into a greased 9×13 inch pan. Bake for about 25 minutes or until a toothpick inserted in the center comes out clean. Allow the cake to cool completely at room temperature.
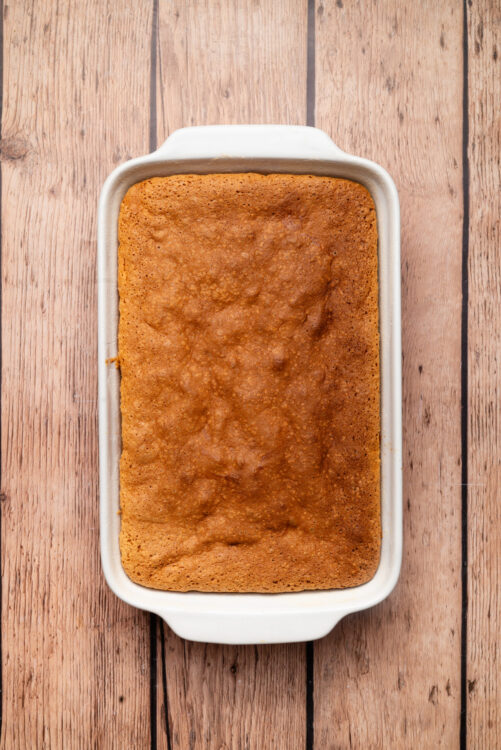
- Remove the cake from the pan. For a softer texture, you can remove the firmer outer layer if desired. Crumble the cake into a large bowl and stir in cream cheese frosting until well combined. If the mixture is too dry to form into balls, add 1 more tablespoon of frosting at a time until it comes together.
- Using your hands or a small scoop, form the mixture into about 24 uniform balls. Place the balls on a parchment-lined tray.
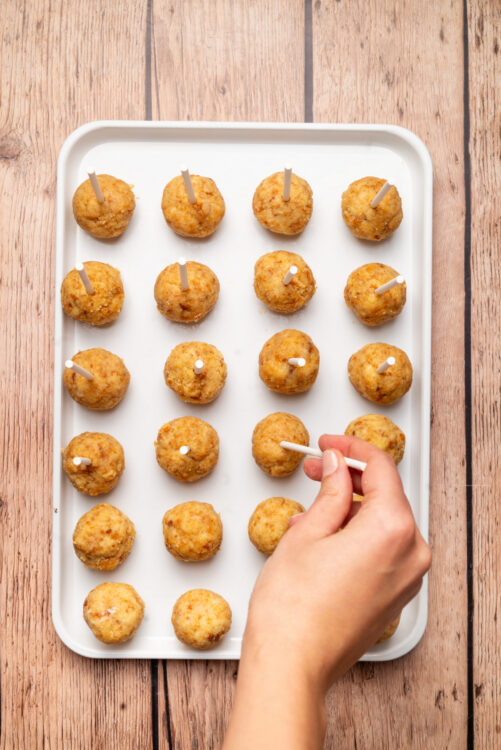
- Insert a lollipop stick halfway into each cake ball. Freeze the cake pops for 10-15 minutes until firm. In separate microwave-safe bowls, melt each candy melt (white, red, or green) in 30-second intervals, stirring after each interval until smooth. If the melted chocolate is too thick for dipping, use a small amount of vegetable oil to thin it.
- Dip each cake pop completely into a chosen melted candy color, allowing the excess to drip back.
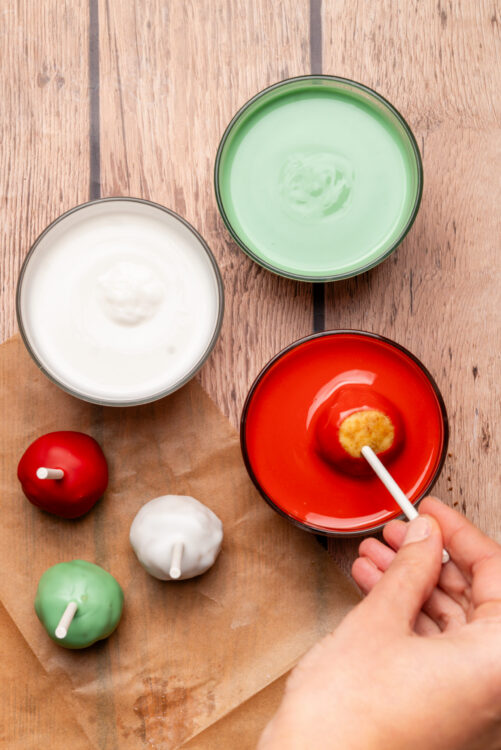
- Immediately sprinkle with Christmas sprinkles before the coating sets. Place the finished cake pops into a styrofoam stand or similar holder to let the coating harden.

Leave a Comment