This DIY Kitchen Herb Garden uses upcycled materials and is great for growing herbs both indoors and out. I absolutely love having fresh herbs to cook with. Typically, I grow them in large containers outside and on the porch. It’s nice though to have some smaller plants in the kitchen, the ones that get used a lot like basil, oregano and parsley to name a few.
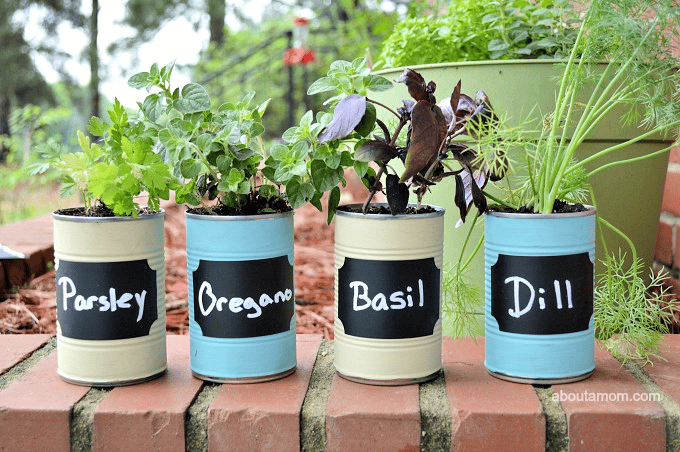
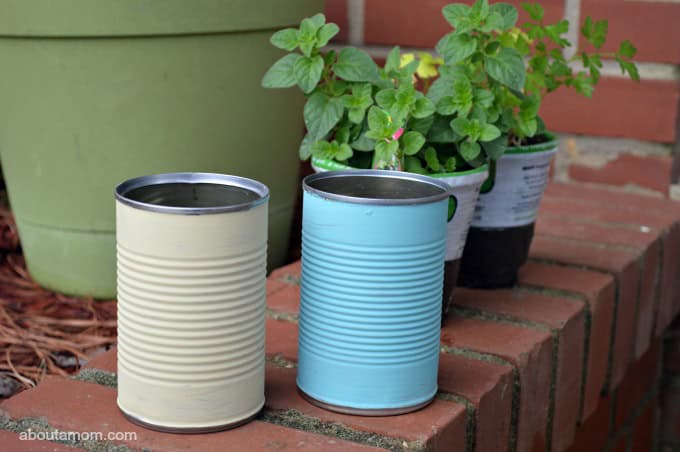
Planters can be expensive. I knew I wanted to something more economical for this kitchen herb garden, and lately I’ve been much more mindful about waste. I decided to try painting some soup cans and am happy with how this project turned out. It’s great when you can upcycle something and it turns out incredibly cute.
With Mother’s Day coming up, this DIY kitchen herb garden would be a lovely gift for a mom who loves to cook.
Supplies Needed for DIY Planters:
soup cans
craft paint
paint brushes
adhesive chalkboard labels
white chalk marker
small rocks or pebbles
potting mix
starter herb plants
How to Make a DIY Kitchen Herb Garden
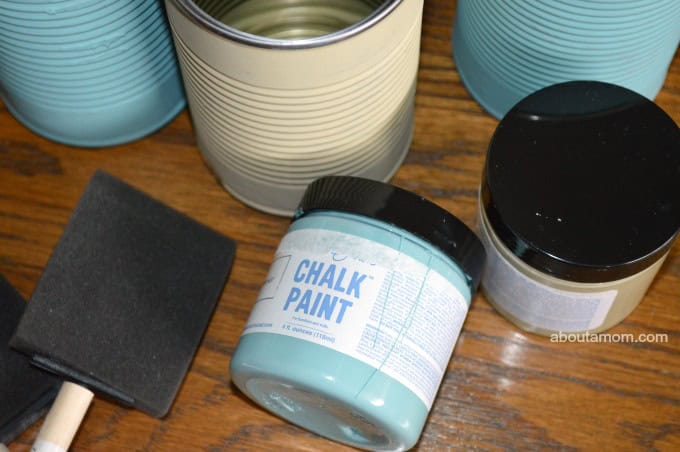
First, wash and dry your empty tin cans, and paint them. My mom painted our cans with Anne Sloan Chalk Paints in the colors Versailles and Provence. Any chalky or acrylic craft paint will work. I personally love the chalk paints, because they go on so smooth and creamy and you usually only need one coat. Foam brushes are perfect for painting your cans. Let the cans dry completely.

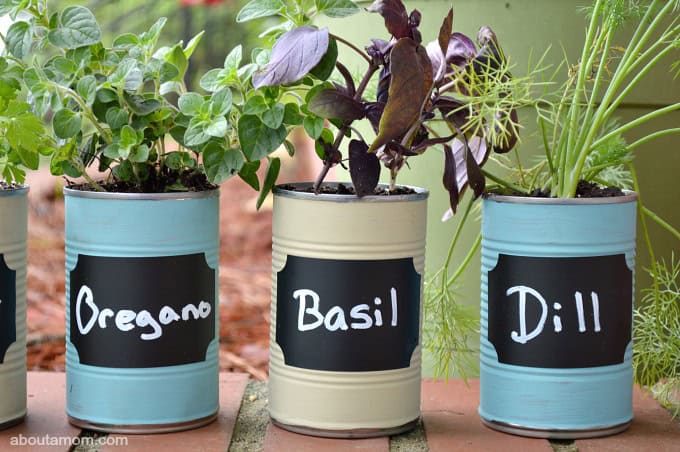
Get your labels ready. I used adhesive chalkboard labels made by Crafty Croc, but any adhesive labels will do. I also used a Crafty Croc white chalk marker. Let these dry while you do your planting.
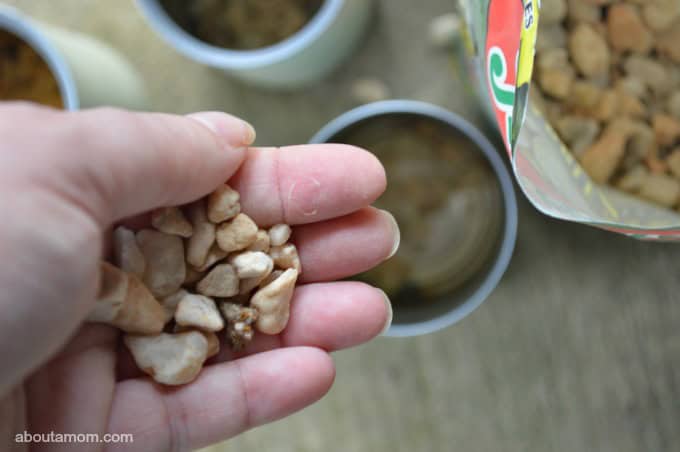
Place a handful of rocks in the bottom of each tin can. This will allow for drainage. You might also want to drill a few small holes in the bottom of each can.
Add a small scoop of dirt. You won’t need much, because the plants already come with dirt. Use your best judgement on this. Carefully, place the plant into the can and top off with additional soil if necessary. After you are finished with all of your planting, be sure to water them.
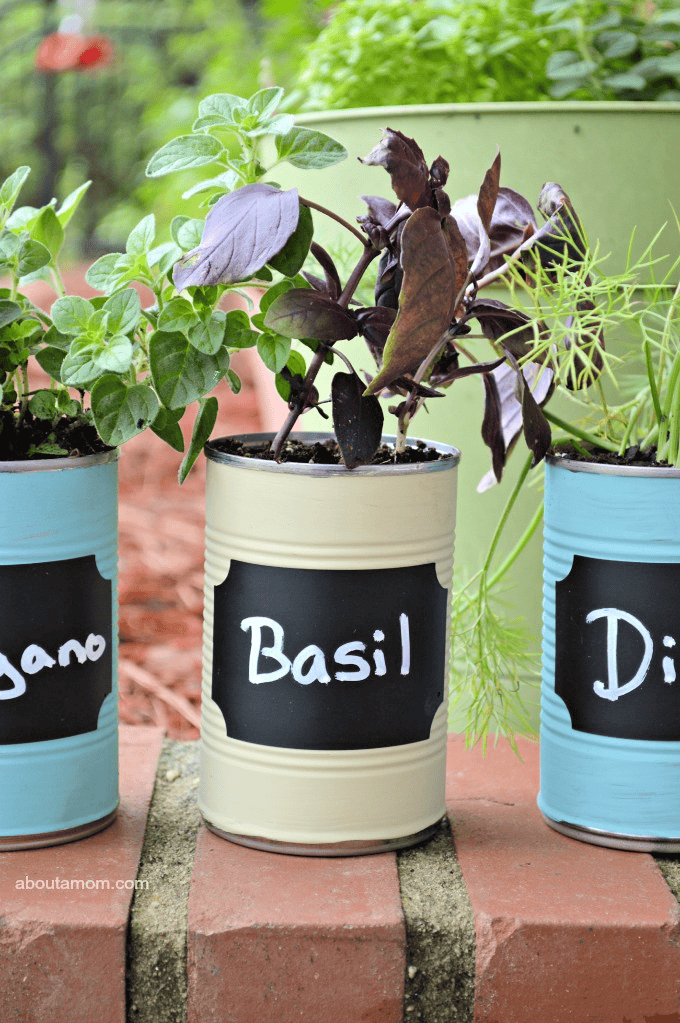
Wipe off any dirt from the cans with a cloth and add your labels.
I have to admit that I’m kinda loving how these turned out. About the plants, if you have time, you could easily grow your own herbs from seed. Here is a Step-by-Step Upcycled Seed Starting Tutorial. However, if you are in a time crunch or are just impatient like me, small starter plants from the garden center work great.
If these herbs are snipped and used frequently, you should be able to keep them in the cans for a long while. However, there may come a time when you will need to find them a new home out in your garden. If that happens, just start some new ones!


These are so cute! I have been wanting to plant some herbs, and this idea will get me started. I love the use of the cans, painting them, and the labels. Can’t wait to get started. Thanks!
This is a cute way to grow some herbs in the window. I love the pretty colors and the chalkboard labels. I need to start growing my own and drying them for myself instead of buying. Pinning and sharing, Thanks!
Awesome re-purpose+a VERY creative way to display must have herbs!! Thank you so much for sharing at The Wonderful Wednesday Blog Hop!!!
I love the idea of having herbs in the kitchen. It’s the keeping them alive that’s hard…
It’s such a neat idea! I would like to get this as a gift 🙂
Love these! Thank you so much for sharing with us at Brag About It!
~Laurie
This is so super cute. I would love to have some of these in my kitchen!
This is such a great idea! The cans look super cute!
I love this idea! I wouldn’t be doing it as a gift, though. I want to do it for myself, lol!
These are adorable. I love growing my own herbs, though I’ve never thought about giving herbs as gifts. Thanks for the idea.