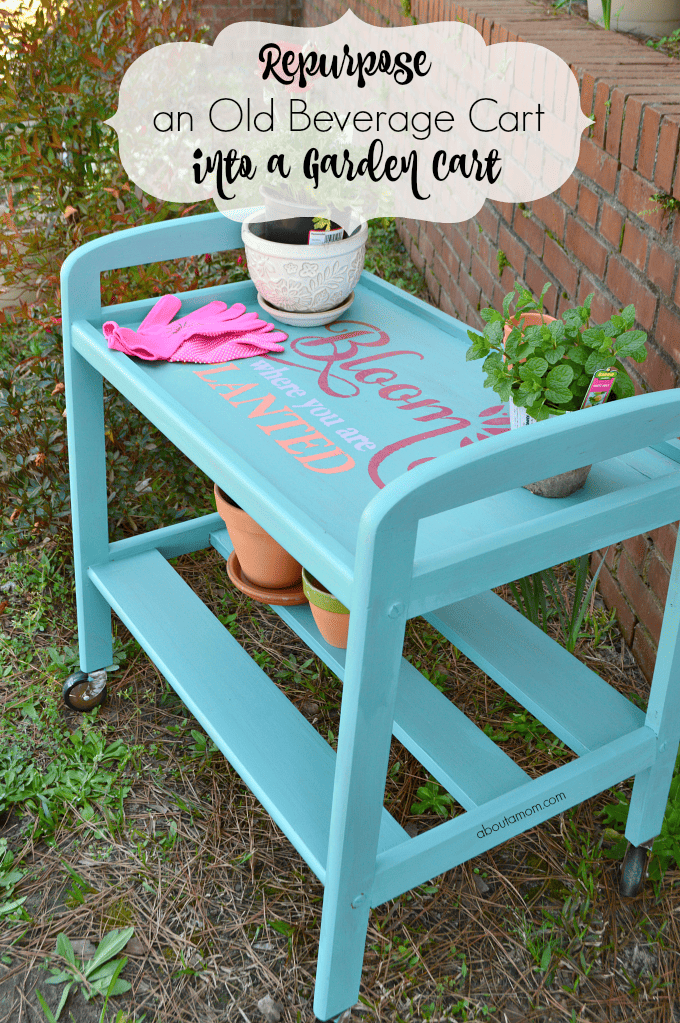
I’m so excited to kick off spring with a fun garden project! My garden is in desperate need of some TLC right now. There is so much to be done to get the yard looking good again after winter. Fortunately, I have an awesome new garden cart that Laura and I made by re-purposing an old beverage cart that we found at a local junk ship. The minute I saw it, I knew it would have a new purpose in my garden.
I’ve teamed up with an awesome group of bloggers for Spring Stencil Challenge x8, where we will each be sharing a creative use of this “Bloom Where You are Planted” stencil in a DIY or craft project. Be sure to scroll down to the bottom of this post for links to everyone’s stencil project.

My Garden Cart Project
First, let’s talk about how I used the stencil. This beverage cart was looking rather drab in the junk shop. It’s amazing what a fresh coat of paint can do for something. This project was so incredibly easy. It required no building, just a little sanding, a stencil and some paints. Maybe a little imagination too.
This is what my cart looked like when I found it at Uncle Junks. It so desperately needed some colorful paint.
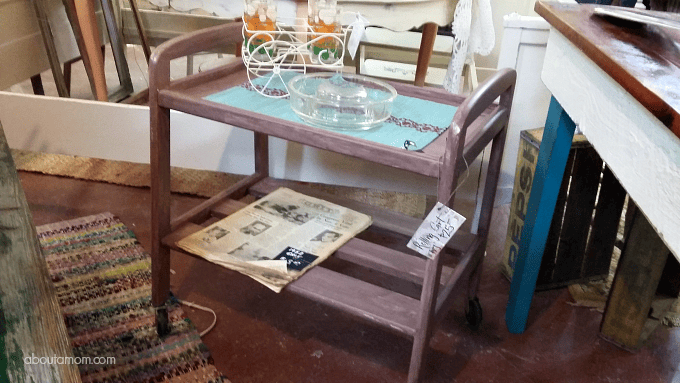
Don’t you love finding a new purpose for something? I hate being wasteful. I don’t have much use for a beverage or bar cart, but a portable garden cart that I can roll around the yard is something I will get a lot of use from.
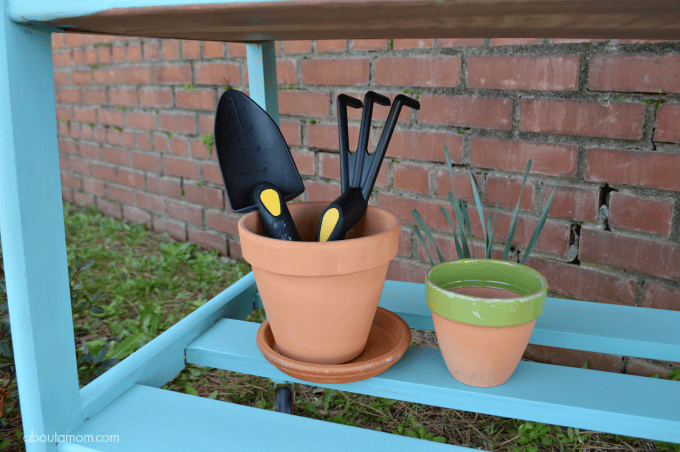
The bottom of the cart is perfect for holding things like bags of soil and garden tools.
The cart’s solid top surface makes a great work space for potting plants.

I totally forgot to snap a pic of the stencil before using it. Here’s a pic of the stencil and the paints that I used:
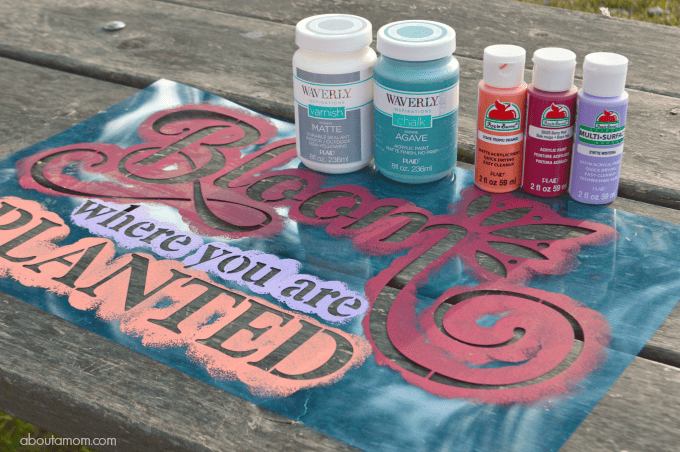
All of my paints came from Walmart. The cart is painted all over with Waverly Inspirations chalk matte acrylic paint in Agave. For the stenciled words I used Apple Barrel acrylic paints in Berry Red, Tropic Orange and Wisteria. Lastly, I sealed the entire cart with a coat of Waverly Inspirations Varnish clear matte sealant. I also used sponge brushes for the entire project. I am obsessed with using chalk paints, especially for large projects. It goes on so smooth and usually only requires one coat. I also used chalk paint on these stenciled garden pots.
I’m just loving how this portable garden cart turned out. It was so simple to transform. Just a coat of paint, a little stenciling and a sealant. Easy peasy!

I can’t wait to get my garden back into tip top shape, now that spring is here.
Spring Stencil Challenge x8 Bloggers
Please visit the other blogs and see what they did with the “Bloom Where You are Planted” Stencil. Enjoy!
Maria @ Simple Nature Decor
Carole @ Garden Up Green
Karen @ To Work With My Hands
Patti @ Garden Matter
Susan @ Momcrieff
C.D. @ C.D.’s Country Living
Bon Bon @ Farmhouse 40
What would you do with this garden stencil?


I love projects like this, anything to make the outside prettier
This makes me wish I had an old beverage cart. It’s really pretty.