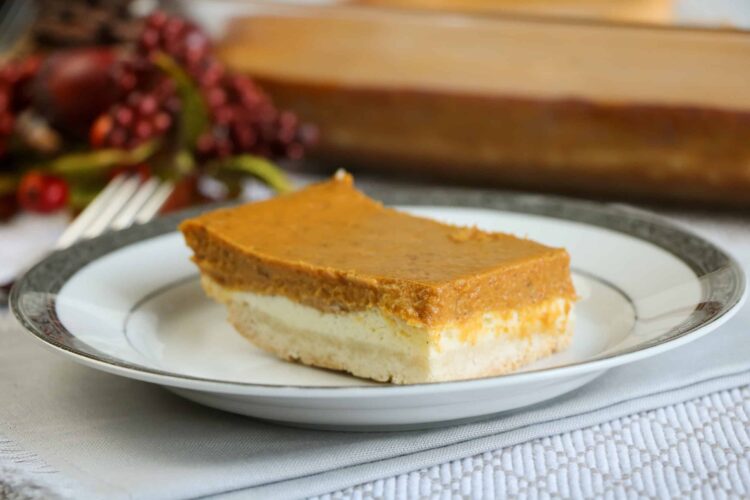
Who doesn’t love a good Pumpkin recipe? I think you’re really going to love these Pumpkin Cheesecake Bars. This incredible recipe has more servings than a pumpkin cheesecake pie and is a great choice to share with friends and family.
These are definitely the BEST pumpkin cheese cake bars and is a terrific pumpkin dessert recipe for Thanksgiving and the holiday season.
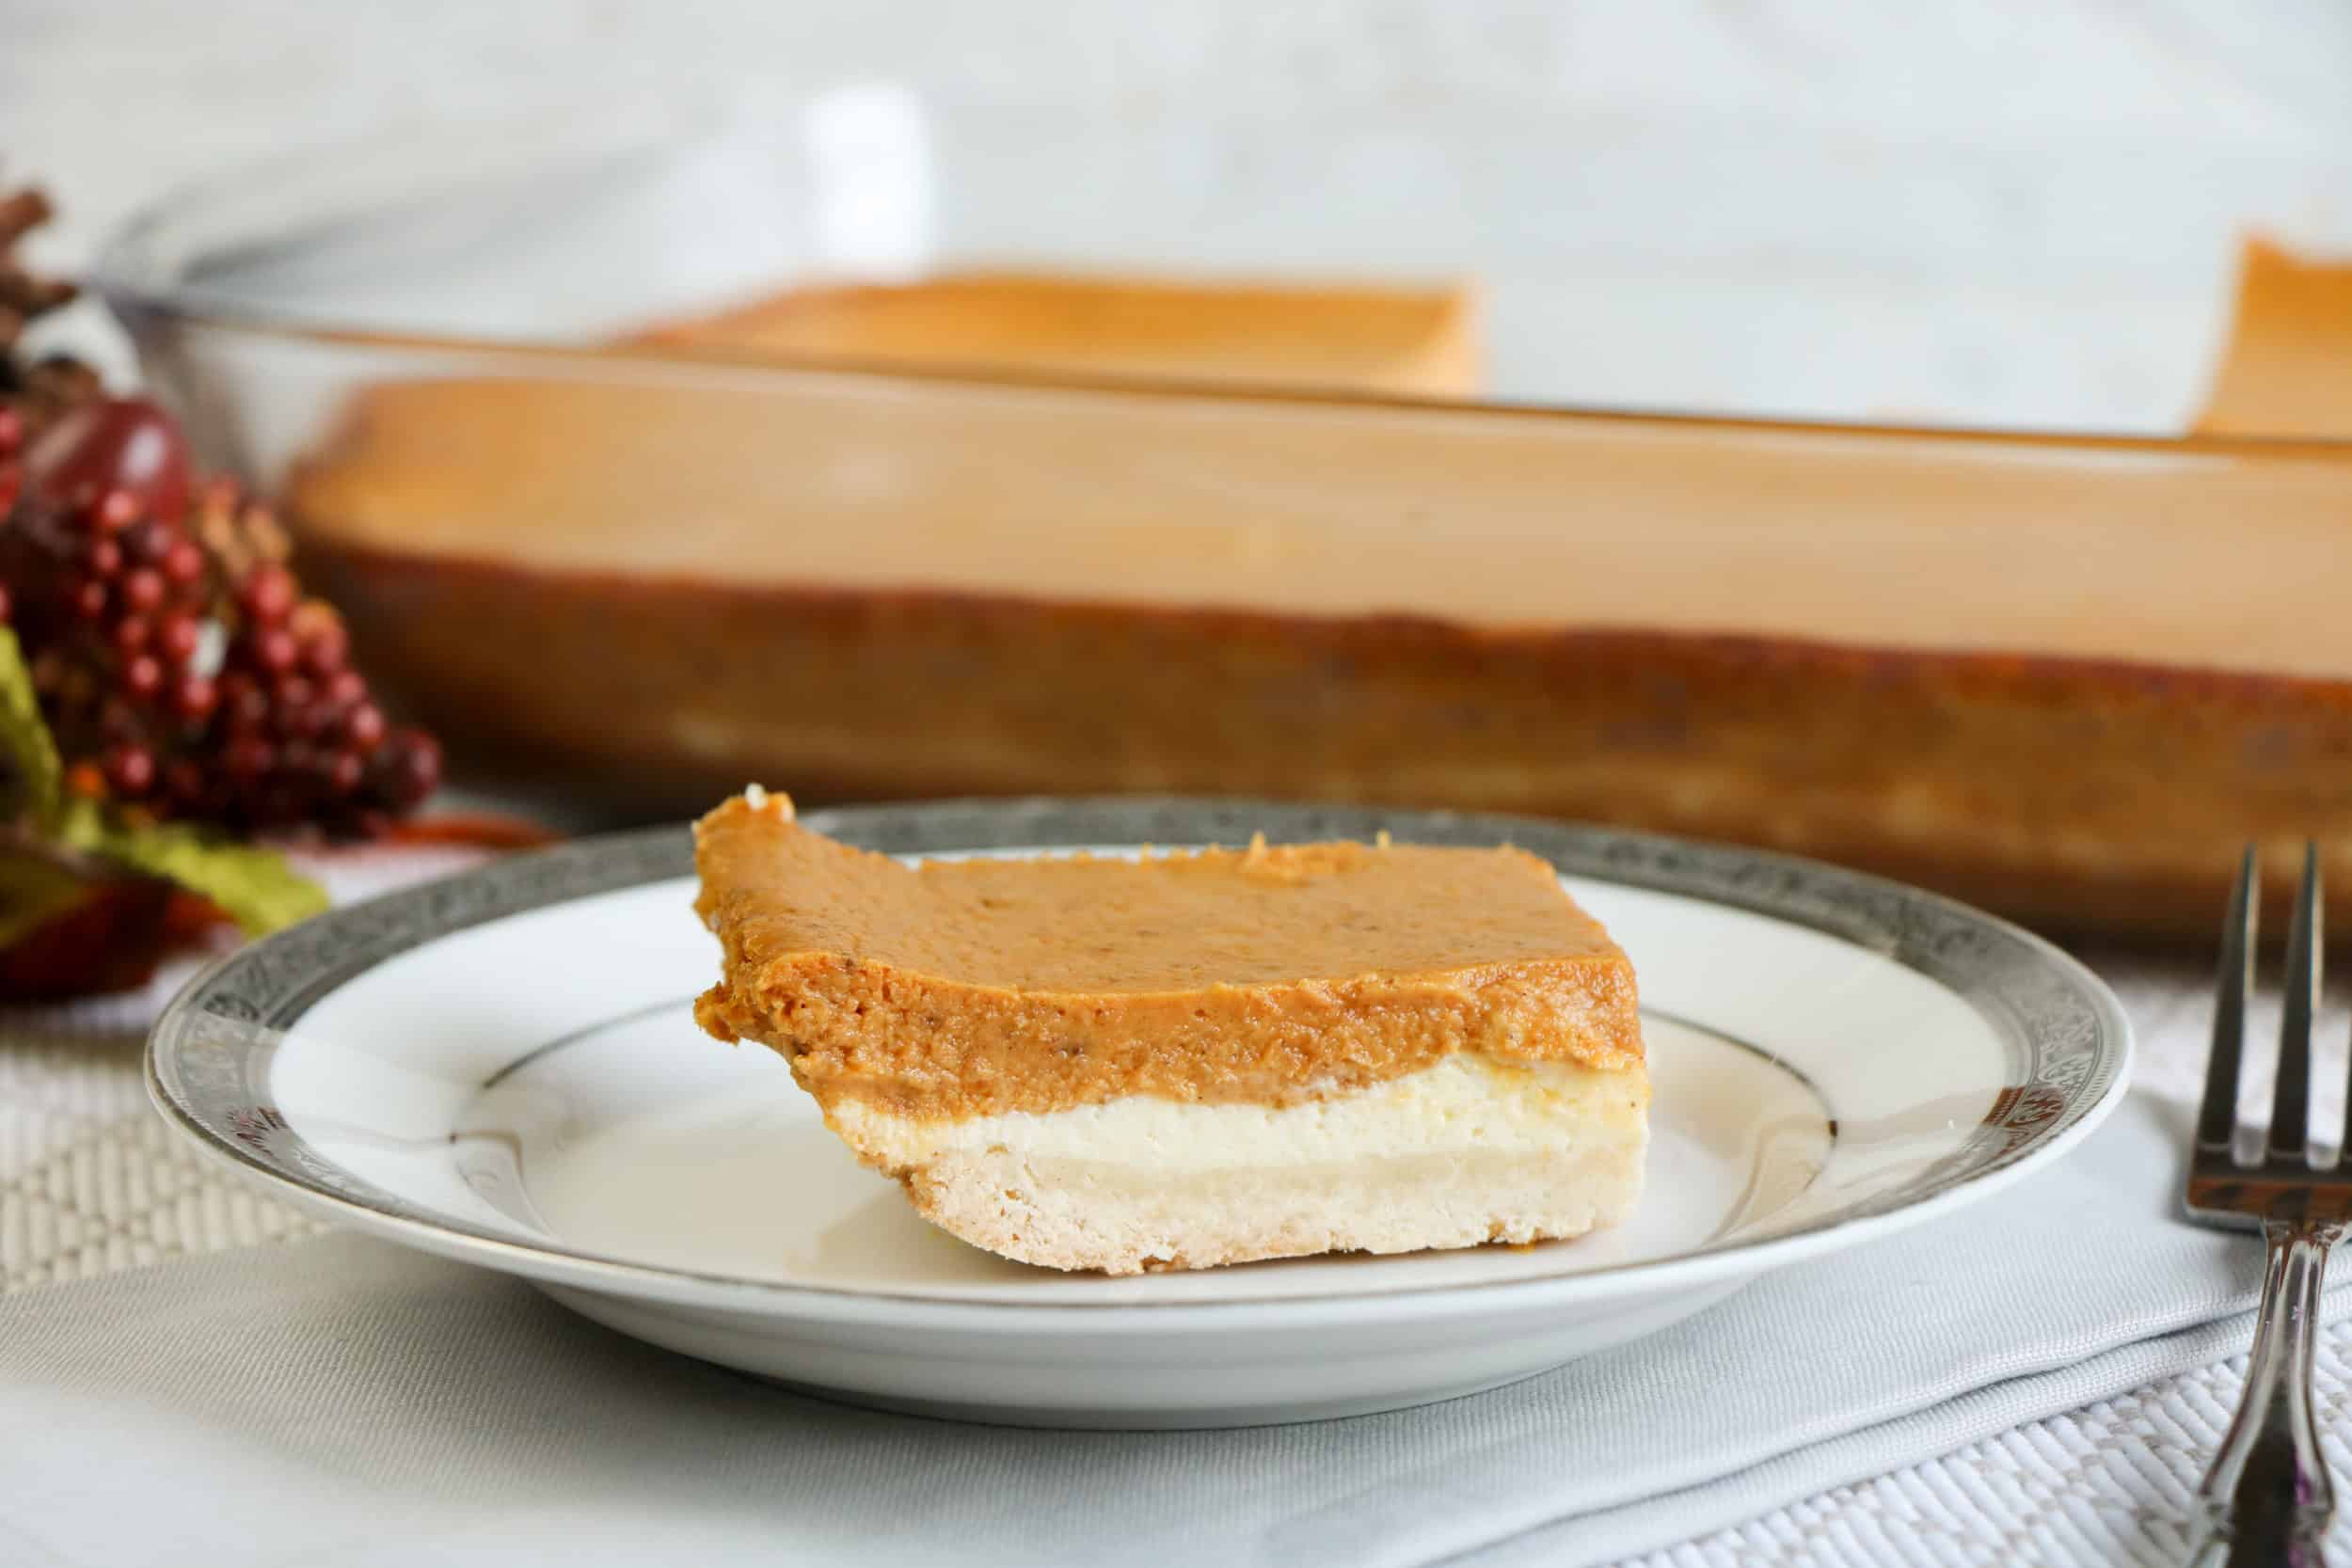
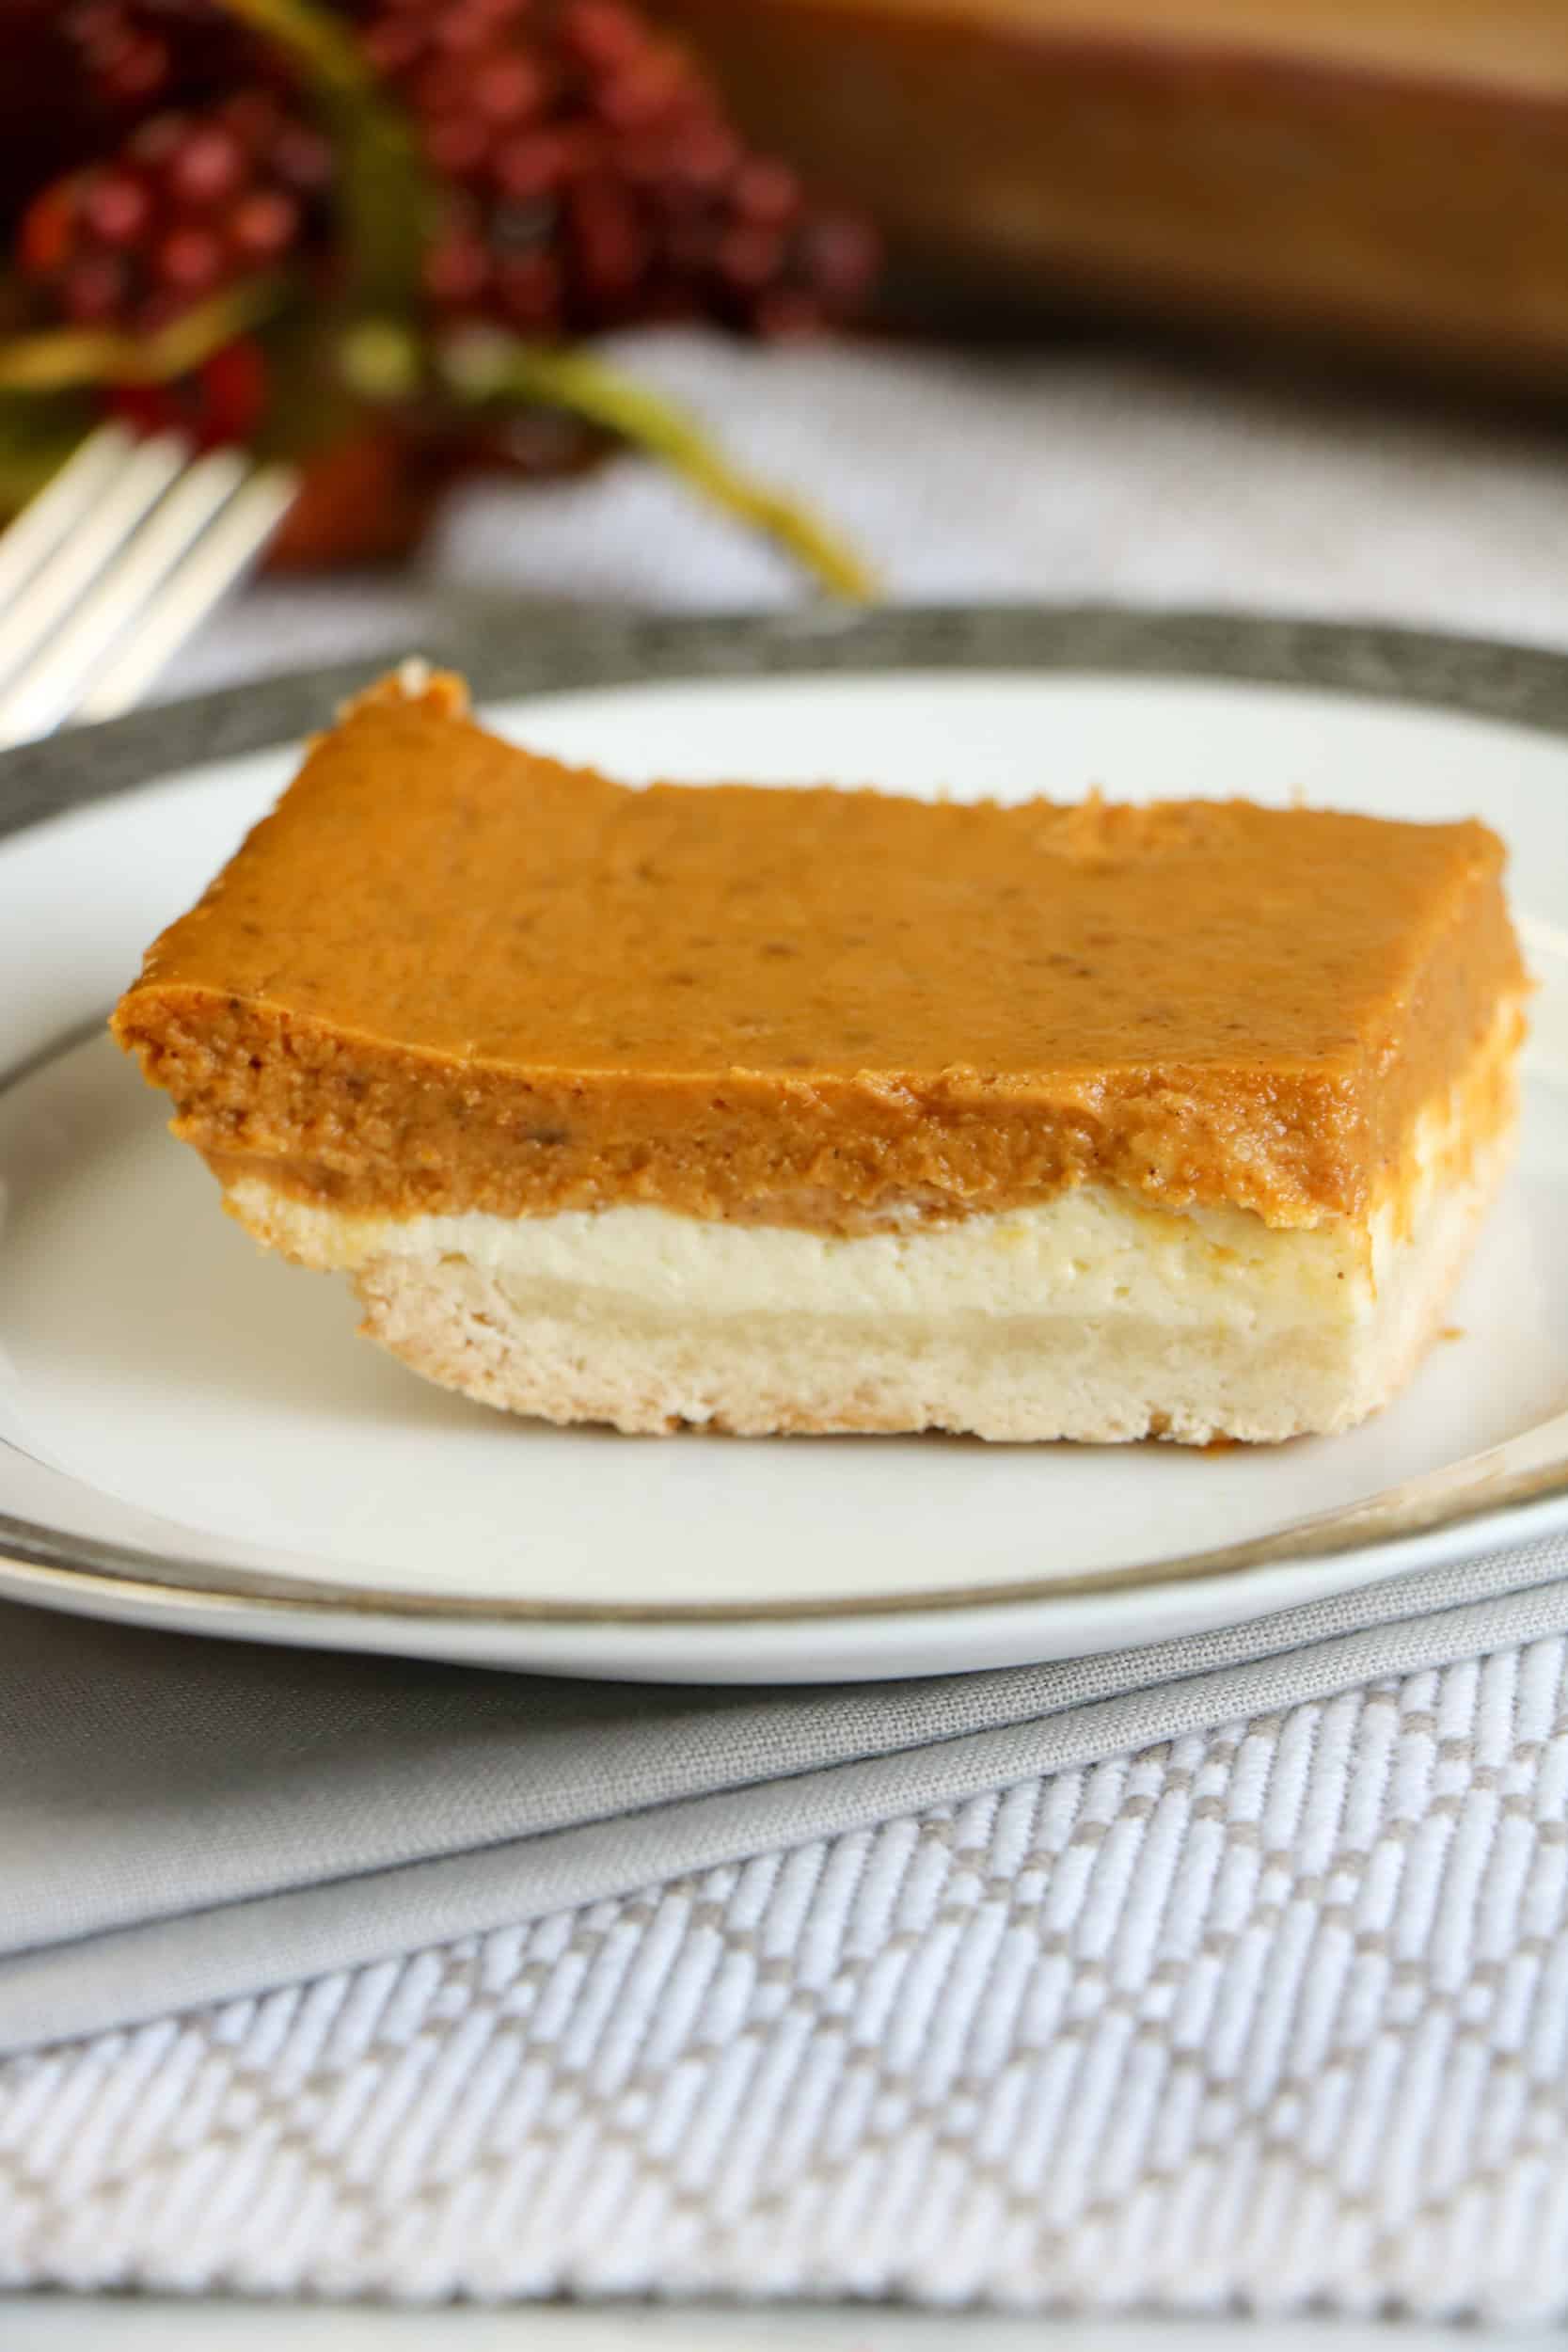
Best Ever Pumpkin Cheesecake Bars
This recipe is super simple to make and you will have an amazing dessert made in no time. This dessert is so fun to make and even better to eat. These simple pumpkin cheesecake bars are sure to be a treasured recipe.
Can I Use Fresh Pumpkin Puree for These?
This recipe calls for the canned Pumpkin puree and is great for a quick way to make your life easier and speed up the process. You can, however, make your own pumpkin puree for sure. The best quality food is always homemade!
How do I Store Pumpkin Bars?
You want to make sure your Pumpkin Bares last as long as you can and to enjoy them for as long as possible. You want to make sure to store your bars correctly. Be sure to wrap them tightly in plastic wrap or place in an air-tight container. Then, once they are covered well, place in the refrigerator.

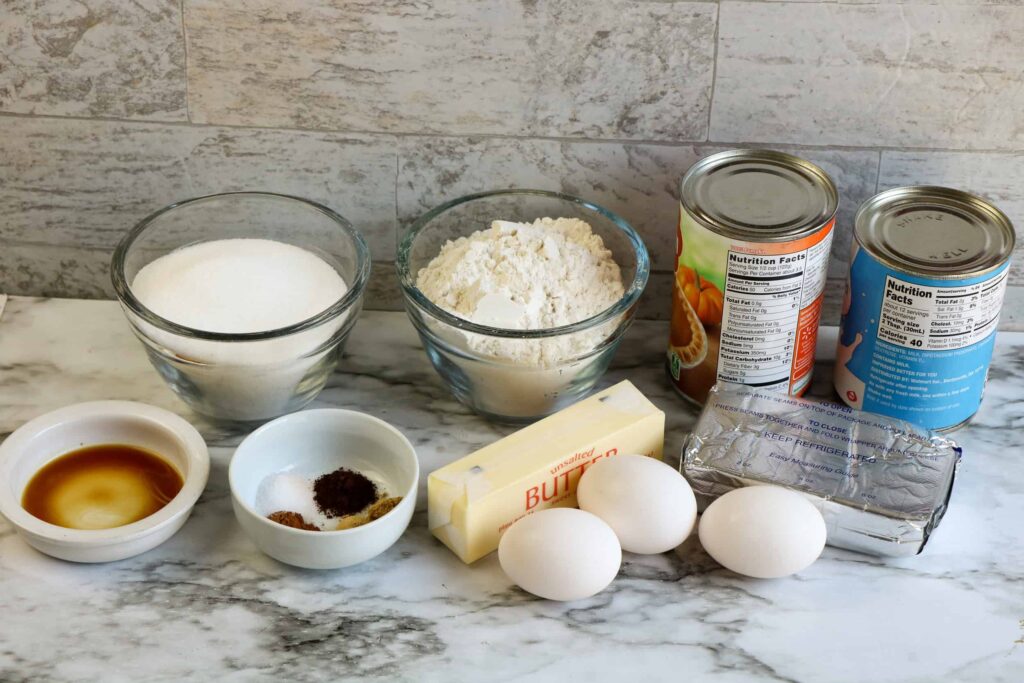
Ingredients
- 1 ½ cups all purpose flour
- ¼ cup sugar
- ½ cup (1 stick) unsalted butter, room temperature
- 1 (8 ounce) package cream cheese, room temperature
- ¼ cup sugar
- 1 egg, room temperature
- ½ teaspoon vanilla extract
- 1 (15 ounce) can pumpkin puree
- 1 (12 ounce) can evaporated milk
- ¾ cup sugar
- 2 eggs
- ¾ teaspoon cinnamon
- ½ teaspoon salt
- ½ teaspoon ground ginger
- ¼ teaspoon ground cloves
Instructions:
Step 1: Preheat the oven to 425 degrees. Prepare a 9×13 baking dish with non-stick cooking spray.
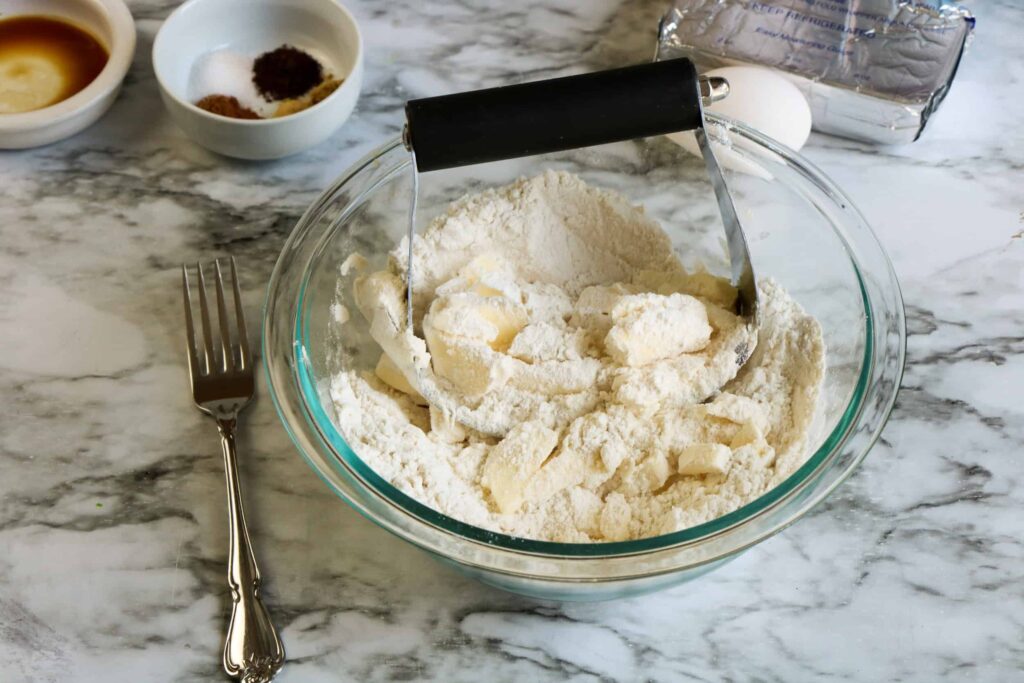
Step 2: In a large bowl, whisk together the sugar and flour. Cut in the butter with a pastry blender until the mixture resembles sand.

Step 3: Press the flour mixture into the bottom of the prepared baking dish. Bake for 12 to 15 minutes or until the edges are browned. Allow to cool on a wire rack until cool enough to touch.
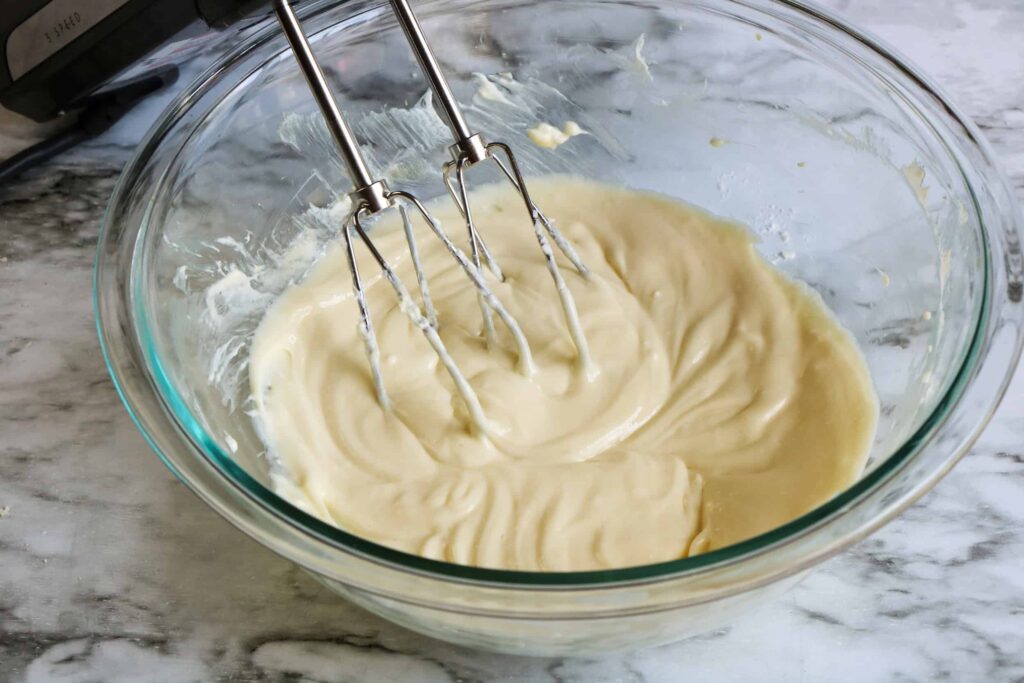
Step 4: With a mixer, beat together the cream cheese and sugar until well blended. Add the egg and vanilla and continue beating until completely incorporated.
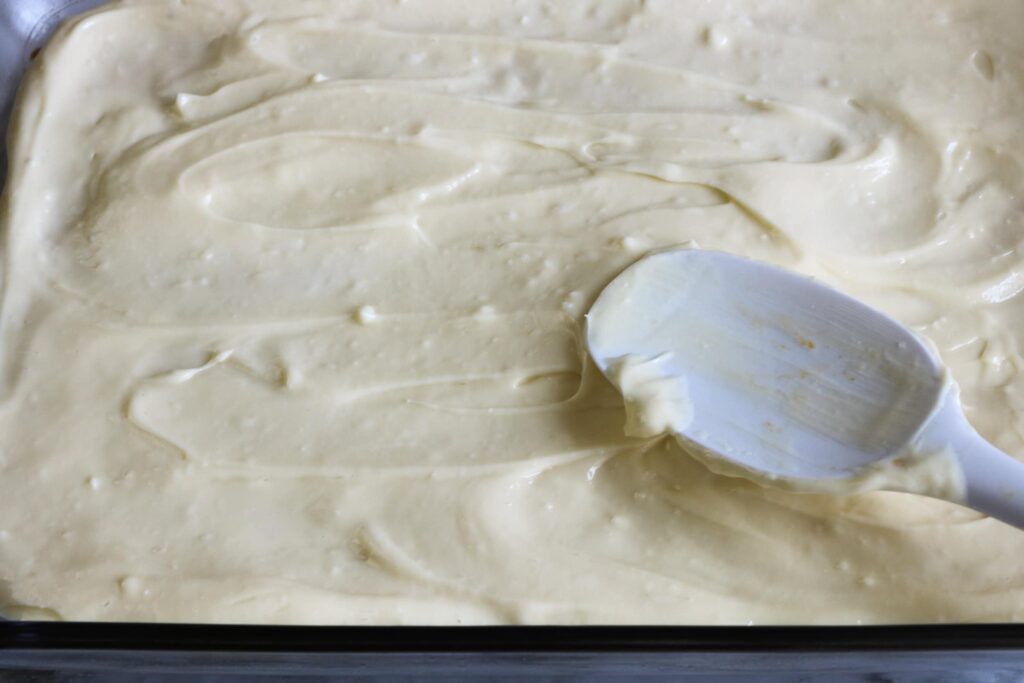
Step 5: Spread the cream cheese layer over the crust.
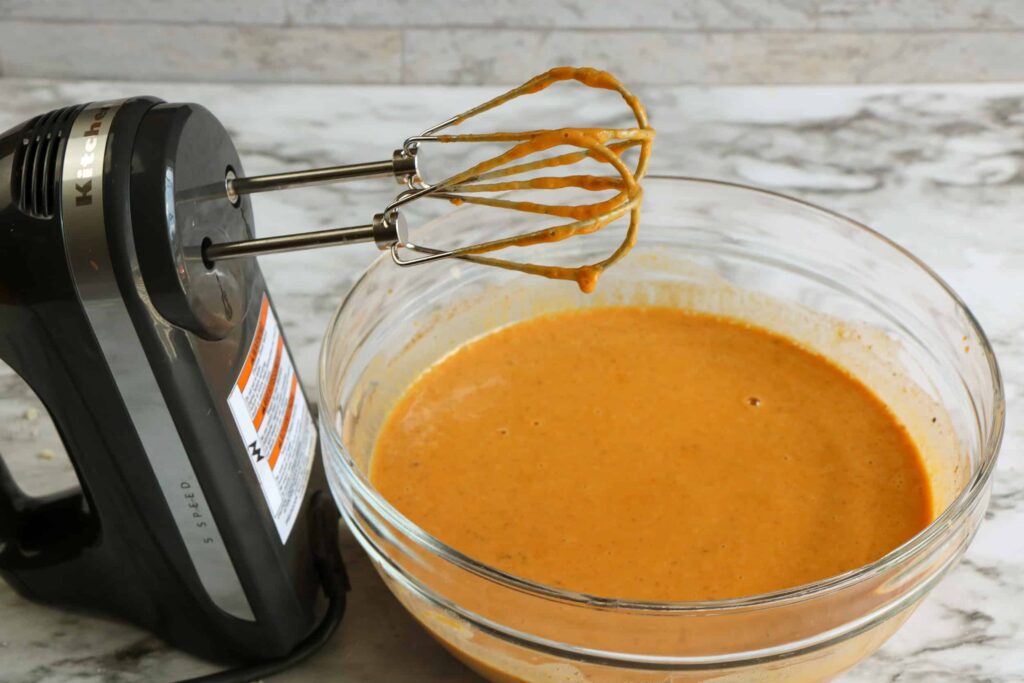
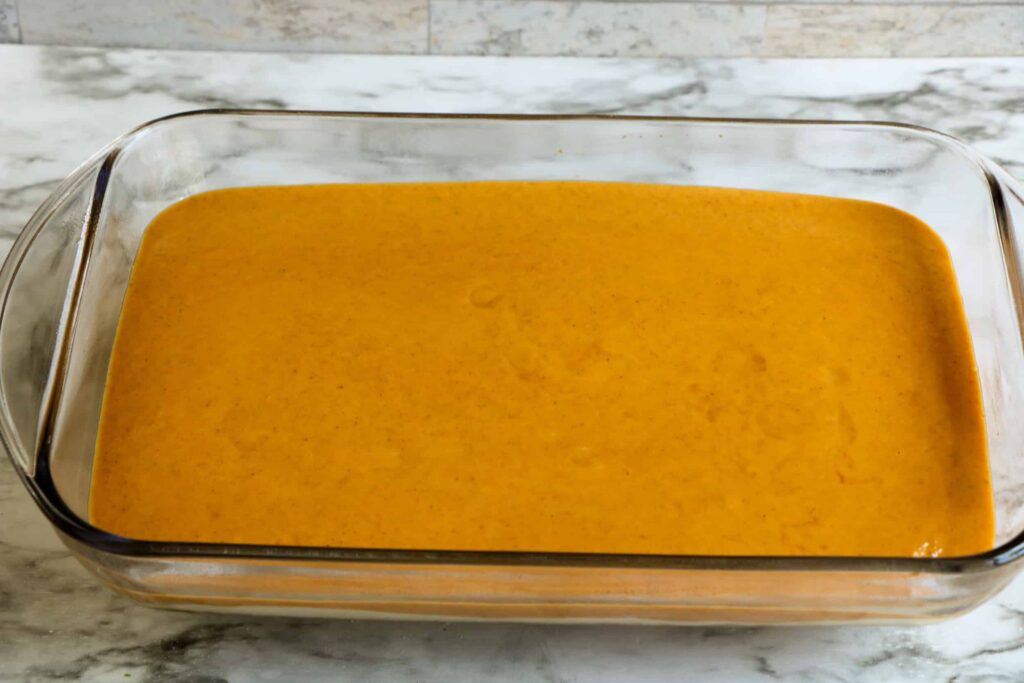
Step 6: Wipe out the bowl or use a new mixing bowl to beat together the ingredients for the pumpkin layer. Pour evenly over the cream cheese layer and spread to smooth.
Step 7: Bake for 55 to 60 minutes or until the middle is set.
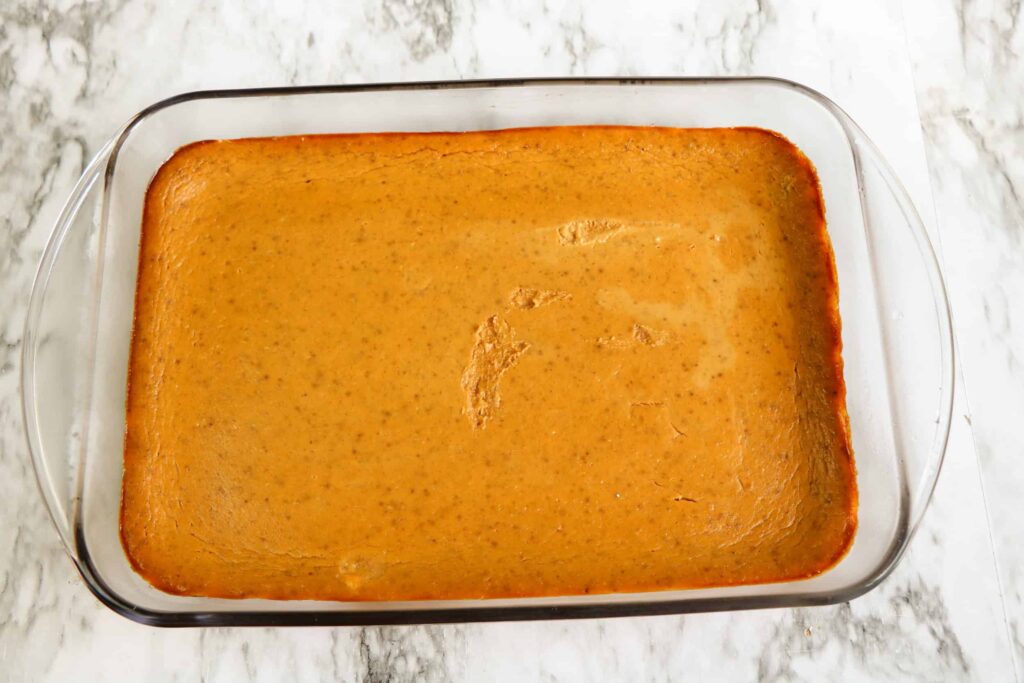
Step 8: Cool to room temperature on a wire rack and then refrigerate for at least two hours prior to slicing and serving.
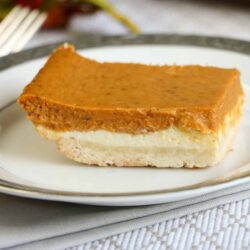
Best Ever Pumpkin Cheesecake Bars
Ingredients
Crust Layer:
- 1 1/2 cups all purpose flour
- 1/4 cup sugar
- 1/2 cup 1 stick unsalted butter, room temperature
Cheesecake Layer:
- 1 8 ounce package cream cheese, room temperature
- 1/4 cup sugar
- 1 egg room temperature
- 1/2 teaspoon vanilla extract
Pumpkin Layer:
- 1 15 ounce can pumpkin puree
- 1 12 ounce can evaporated milk
- 3/4 cup sugar
- 2 eggs
- 3/4 teaspoon cinnamon
- 1/2 teaspoon salt
- 1/2 teaspoon ground ginger
- 1/4 teaspoon ground cloves
Instructions
- Preheat the oven to 425 degrees. Prepare a 9×13 baking dish with non-stick cooking spray.

- In a large bowl, whisk together the sugar and flour. Cut in the butter with a pastry blender until the mixture resembles sand.
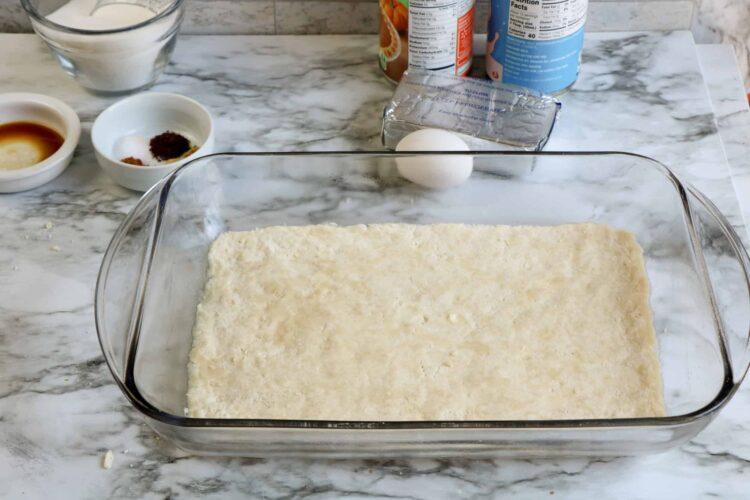
- Press the flour mixture into the bottom of the prepared baking dish. Bake for 12 to 15 minutes or until the edges are browned. Allow to cool on a wire rack until cool enough to touch.
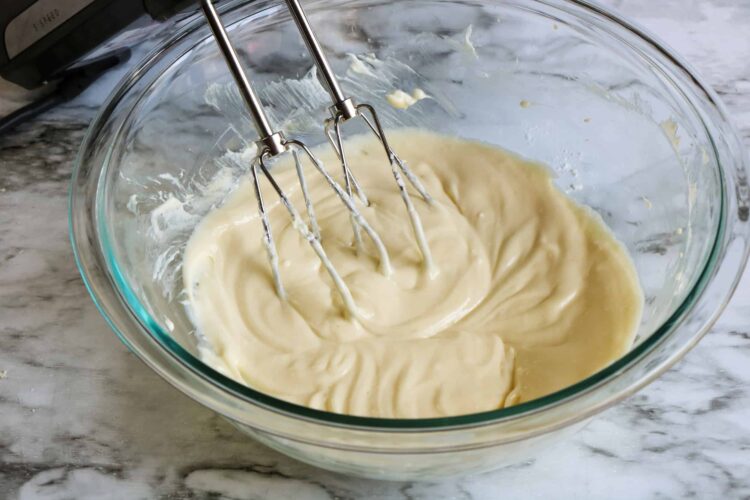
- With a mixer, beat together the cream cheese and sugar until well blended. Add the egg and vanilla and continue beating until completely incorporated.

- Spread the cream cheese layer over the crust.

- Wipe out the bowl or use a new mixing bowl to beat together the ingredients for the pumpkin layer. Pour evenly over the cream cheese layer and spread to smooth.

- Bake for 55 to 60 minutes or until the middle is set.

- Cool to room temperature on a wire rack and then refrigerate for at least two hours prior to slicing and serving.

Leave a Comment