2020 has been a year all of us have struggled through. This year has been filled with ups and downs and us making the best of what is around us. Many of us are looking forward to the end of it and to end this crazy year off. How about we make a DIY We Survived 2020 Ornament.

2020 Ornament
This cute little DIY 2020 Ornament is the perfect idea for how to describe how disastrous this year turned out. We all survived this tough year together through wearing masks to brawls about toilet paper. This simple DIY ornament will be a fun way to spend time with the family.
Fun Ways to Decorate a 2020 Ornament
There are many ways to decorate your 2020 ornaments. You can use glitter, beads, pom-poms, and more. Just add a bit of glue and stick them on. You can also use sharpies to write names, dates, and more creative things.

Supplies Needed
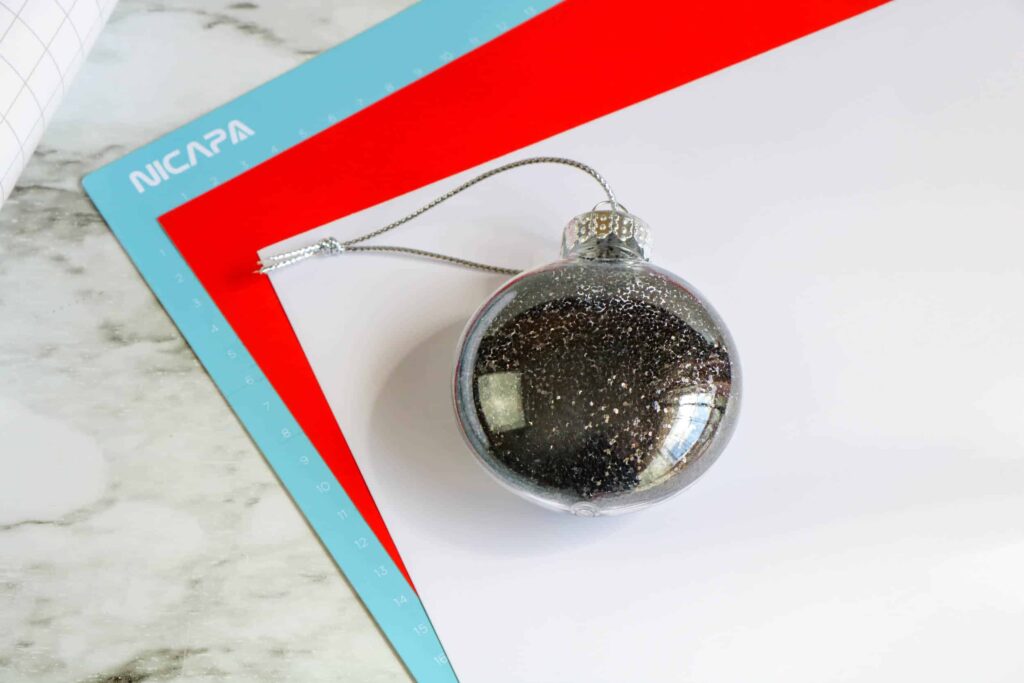
- Clear, plastic disc ornaments
- Filler material, paint, or glitter
- Permanent vinyl
- Weeding tool
- Transfer tape
- Scissors
- Template
If filling with glitter:
- Beacon Glitter It, if filling with glitter
- Funnel
- Cup, for excess glue and/or glitter
If filling with paint:
- Funnel
- Cup, for excess paint
How to Make a DIY Christmas Ornament
To fill with glitter:
Remove the tops from the ornaments.
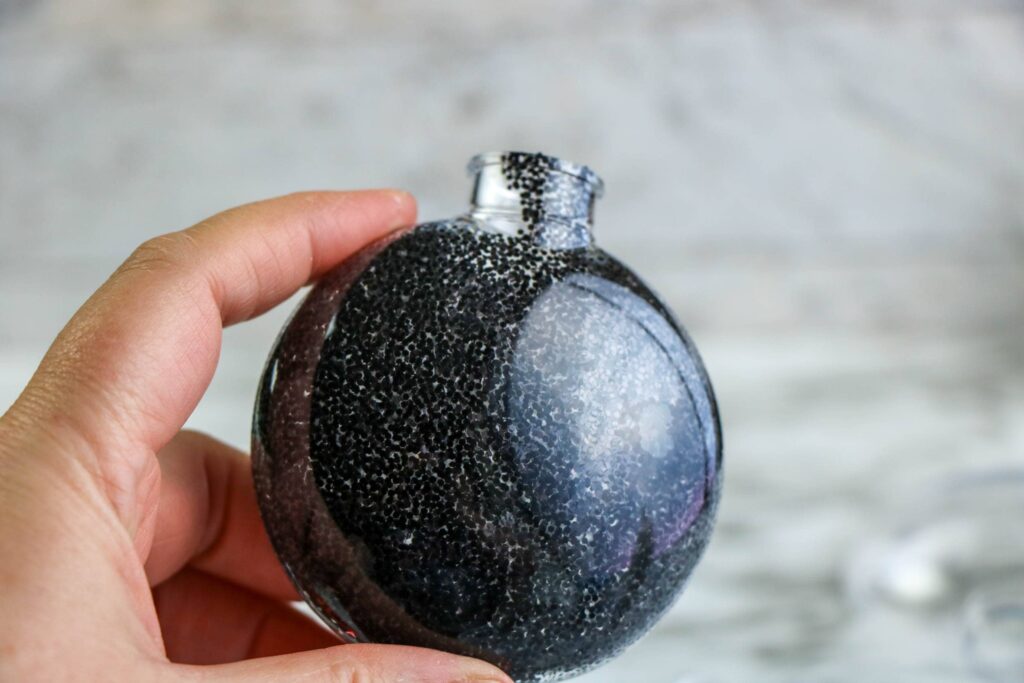
Pour a small amount of Glitter It into the ornament and slowly swirl around until the inside is coated.
Remove the excess Glitter It by pouring into a cup.
Using a funnel, pour glitter into the ornament and shake around until completely coated.
Tap the ornament upside down over a different cup to remove excess glitter.
If a thicker coat of glitter inside the ornament is desired, allow the ornament to dry and repeat the previous steps.
Once the glue is dry, replace the cap.
To fill with paint:
Remove the tops from the ornaments.
Pour a small amount of paint into the ornament and slowly swirl around until the inside is coated.
Remove the excess paint by pouring into a cup.
Let the ornament rest on it’s side or upside down overnight to dry completely.
Once the paint is dry, replace the cap.
To decorate with template:
Open the Cricut Design Studio and create a new project.
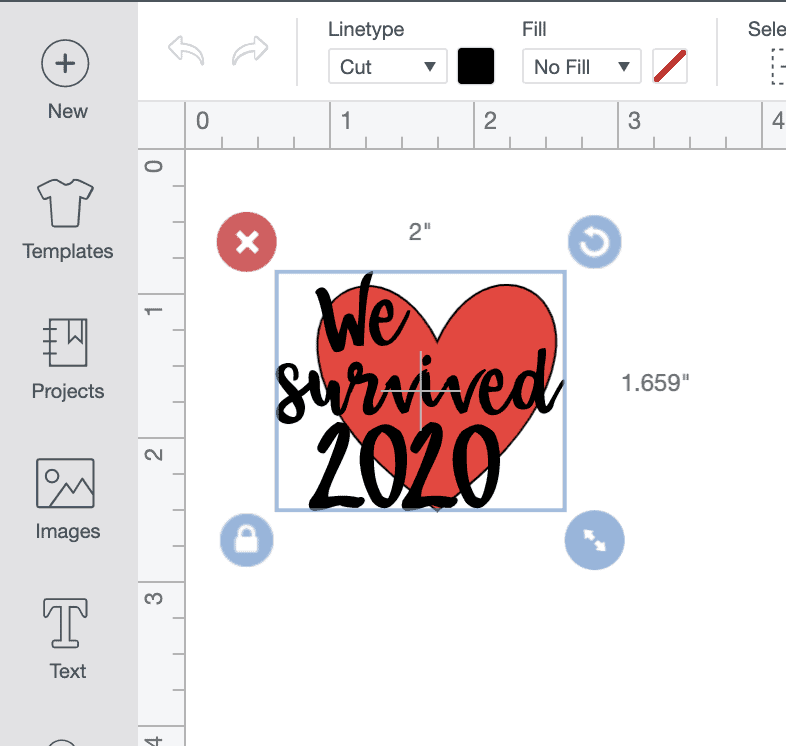
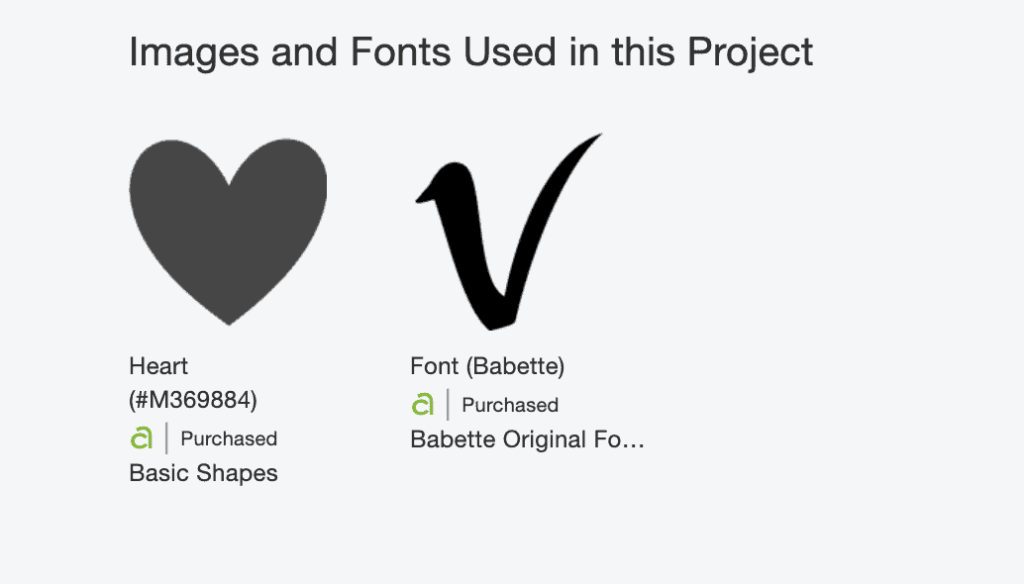
Upload the template to the Cricut Design Studio.
Select to remove the background of the image (if needed) and save as a cut file.
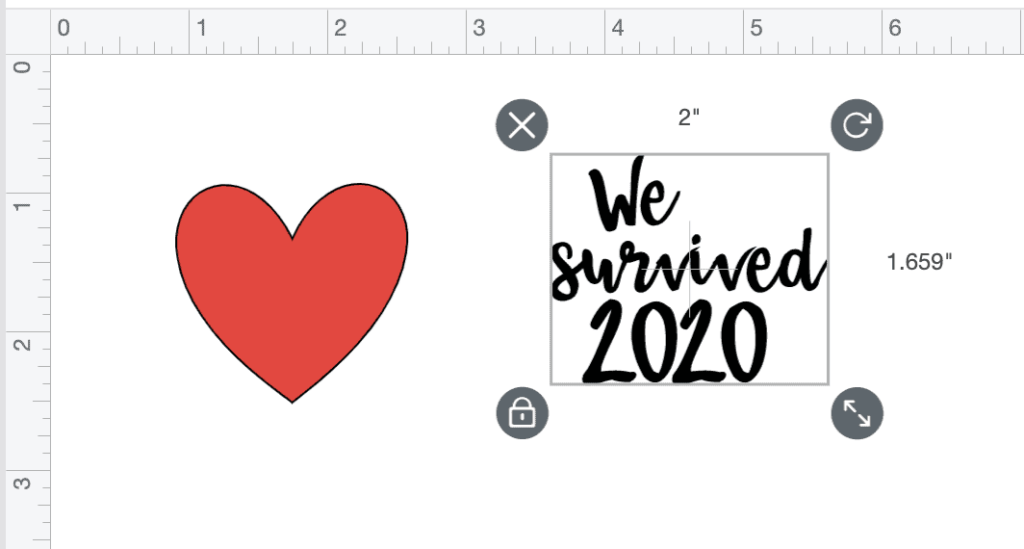
Insert the image into your project and select your desired print color to help organize the cuts.
If all of the details of your ornament will be the same color, click and drag to select the elements for the ornament and select to weld the items together.
Select the image and size to match the dimensions of the ornament.
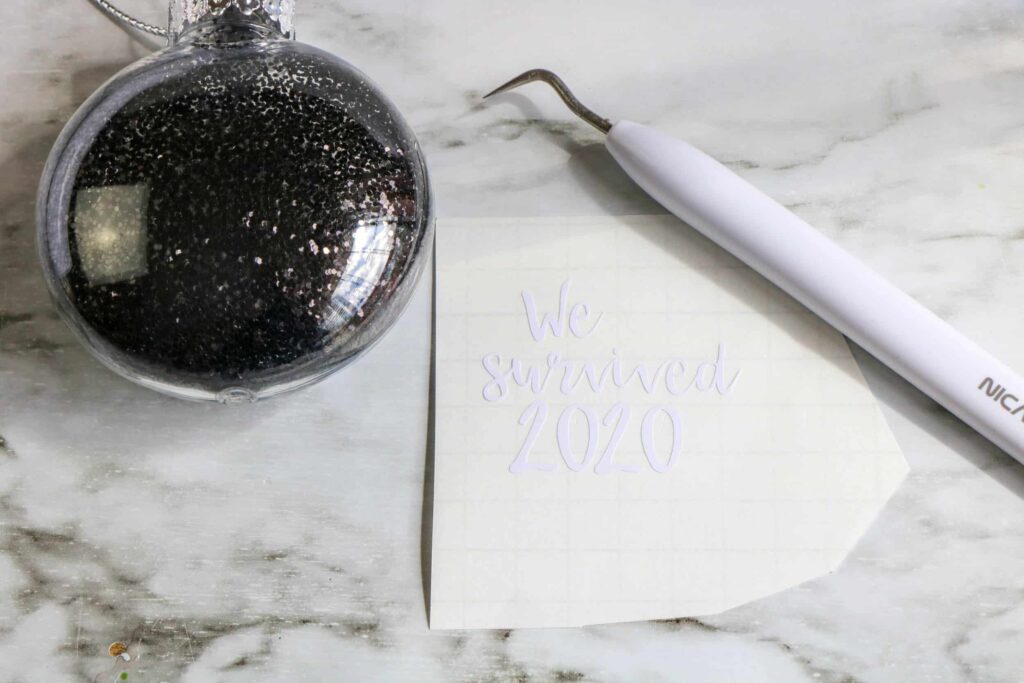
Cut the images from vinyl.
Weed the excess vinyl away and then use transfer tape to move the designs to the ornament.

Press firmly or swipe over the transfer tape with a scraper to make sure the vinyl adheres to the ornament. Pull the transfer tape away.


Leave a Comment