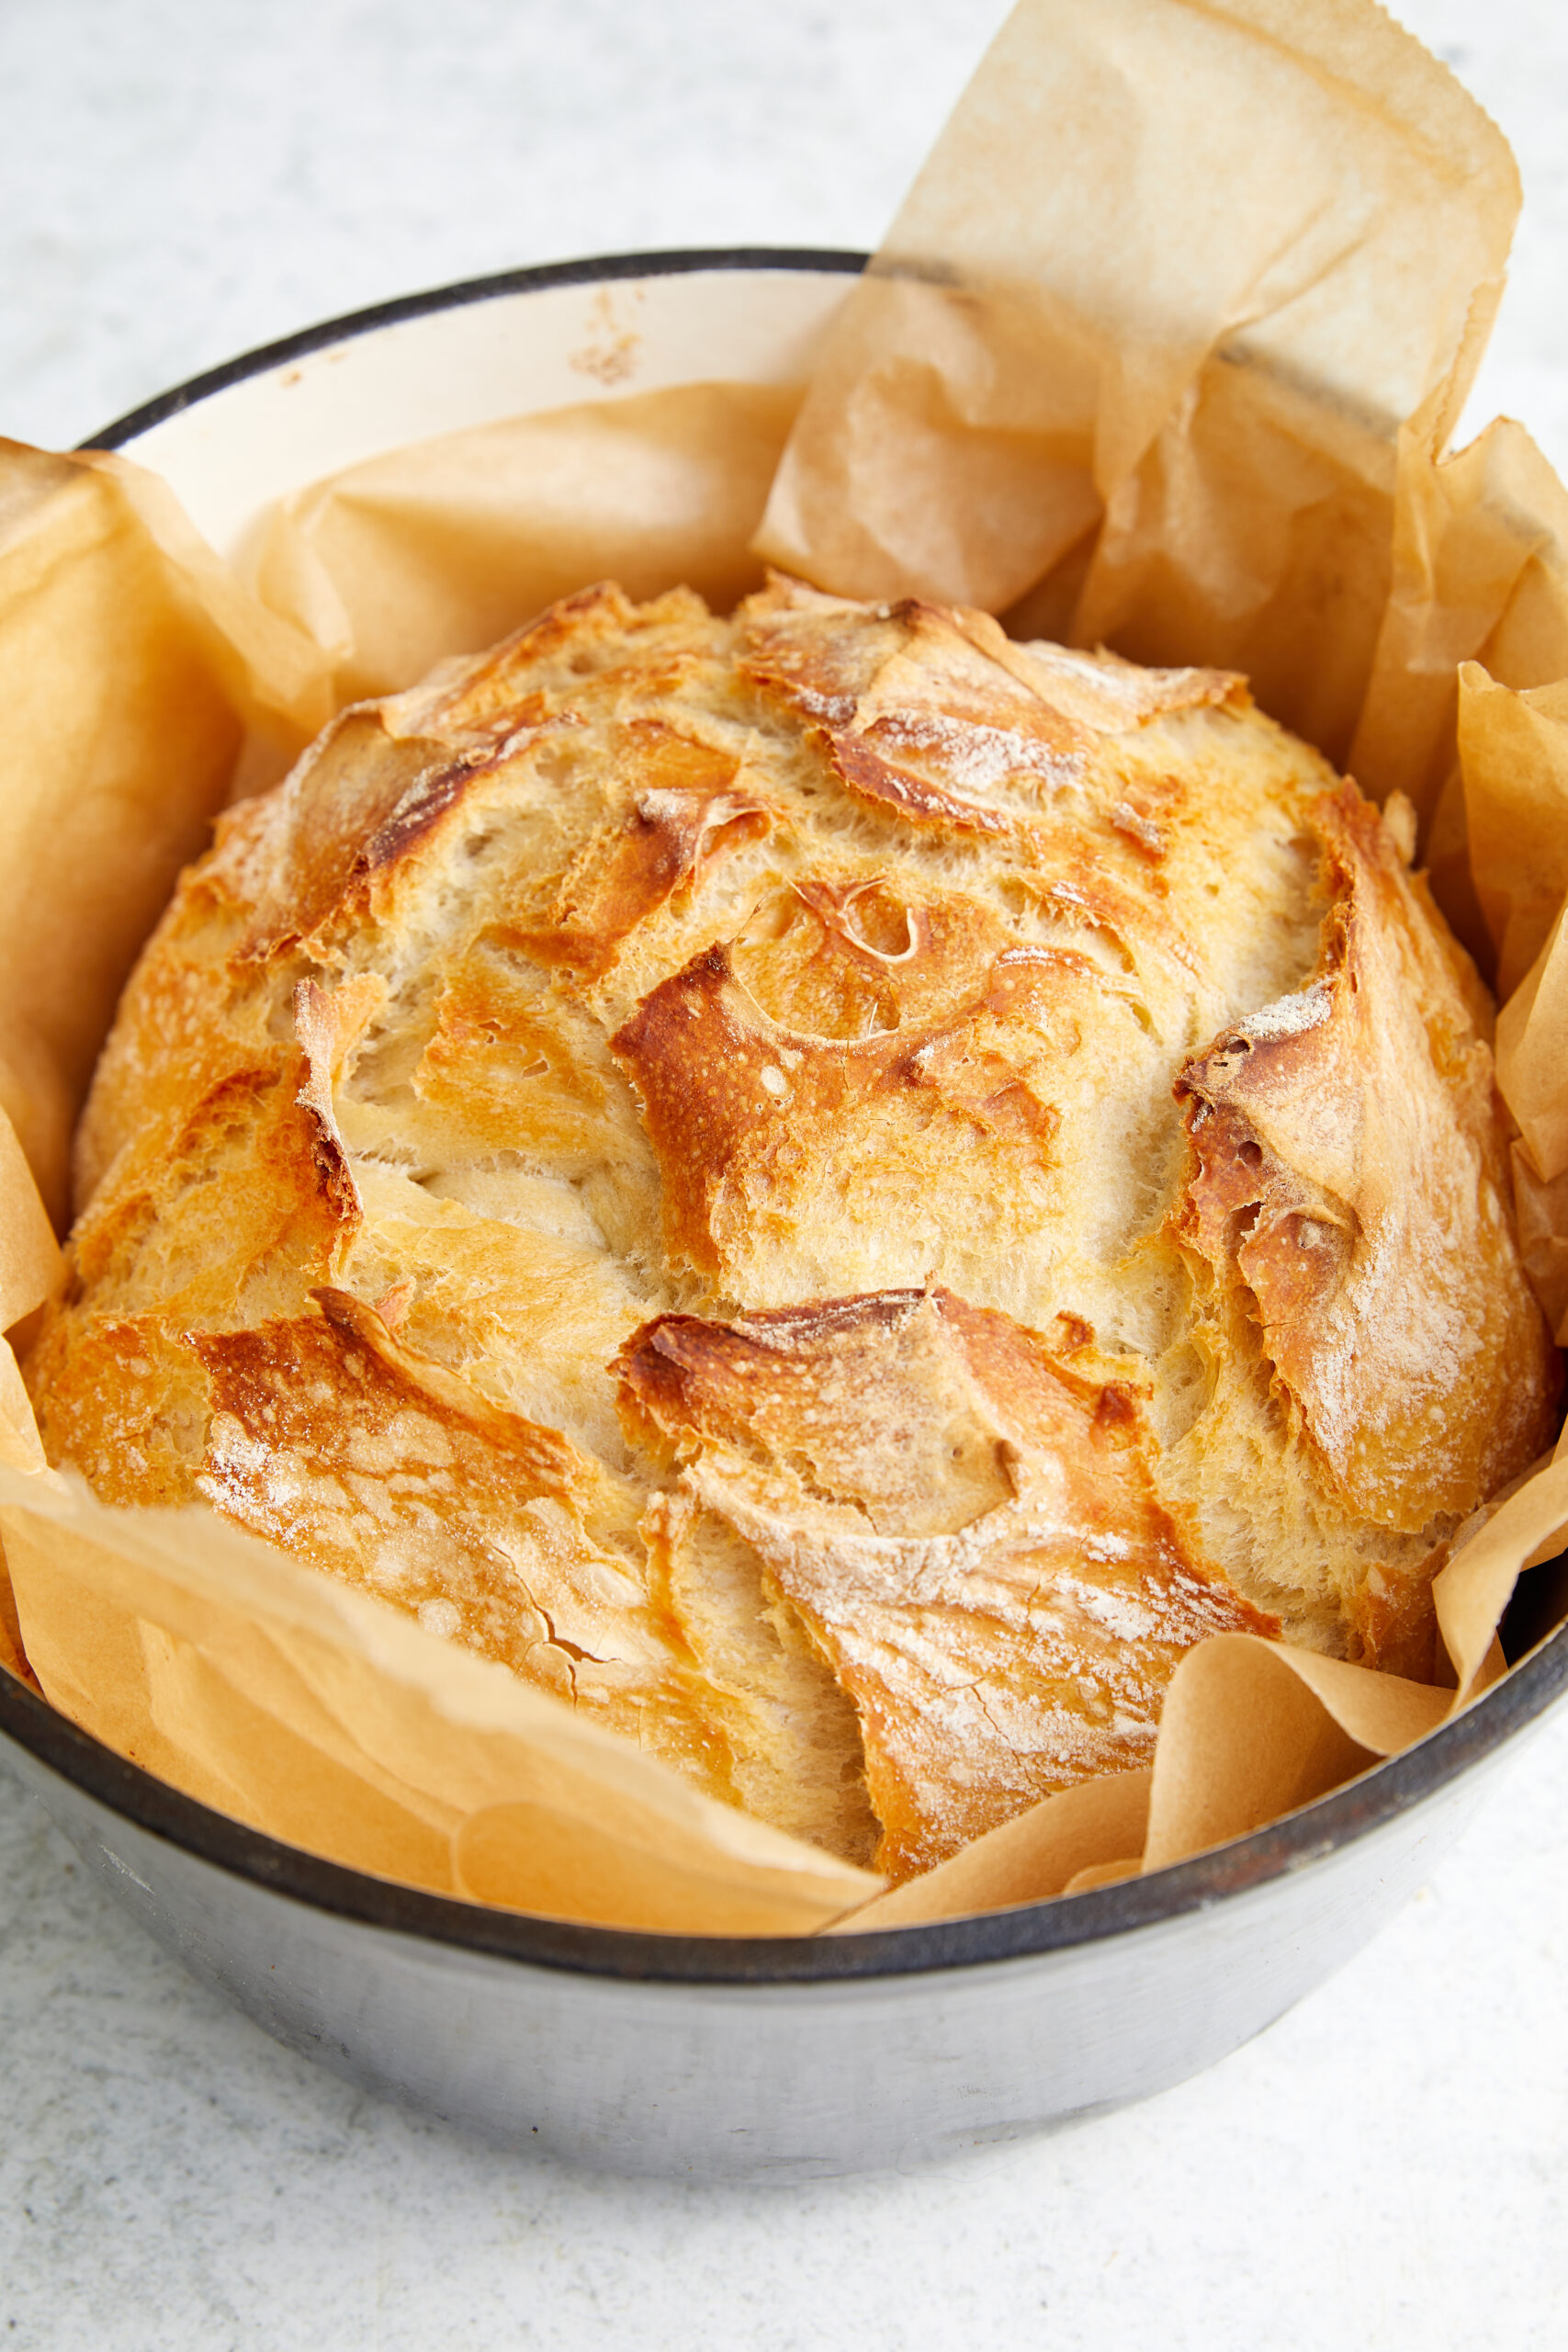
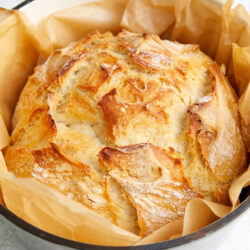
Discover the secret to making the perfect crusty-on-the-outside, moist, tender, and chewy-on-the-inside bread!
It’s funny how you can eat something without really knowing what it is. For example, take Dutch oven bread. Clearly, it’s bread, and I always figured it was made in a Dutch oven, but that was the extent of my knowledge. Surely, there had to be more to it than that—and there was. What I didn’t know was that you let the dough rise for 8 to 12 hours, rather than the one or two hours I was used to with other bread recipes.
The other nice thing about this bread is that the dough requires no kneading. You simply combine the ingredients as instructed, cover the bowl, and let it sit. No fancy bread machines or equipment necessary. How much easier does it get than that? Just make sure you undertake the required resting time. This is not a loaf of bread that you will have ready in two hours. If you prepare it the night before, it will be ready to bake in the morning. Is there any better way to start the day than with freshly baked bread?
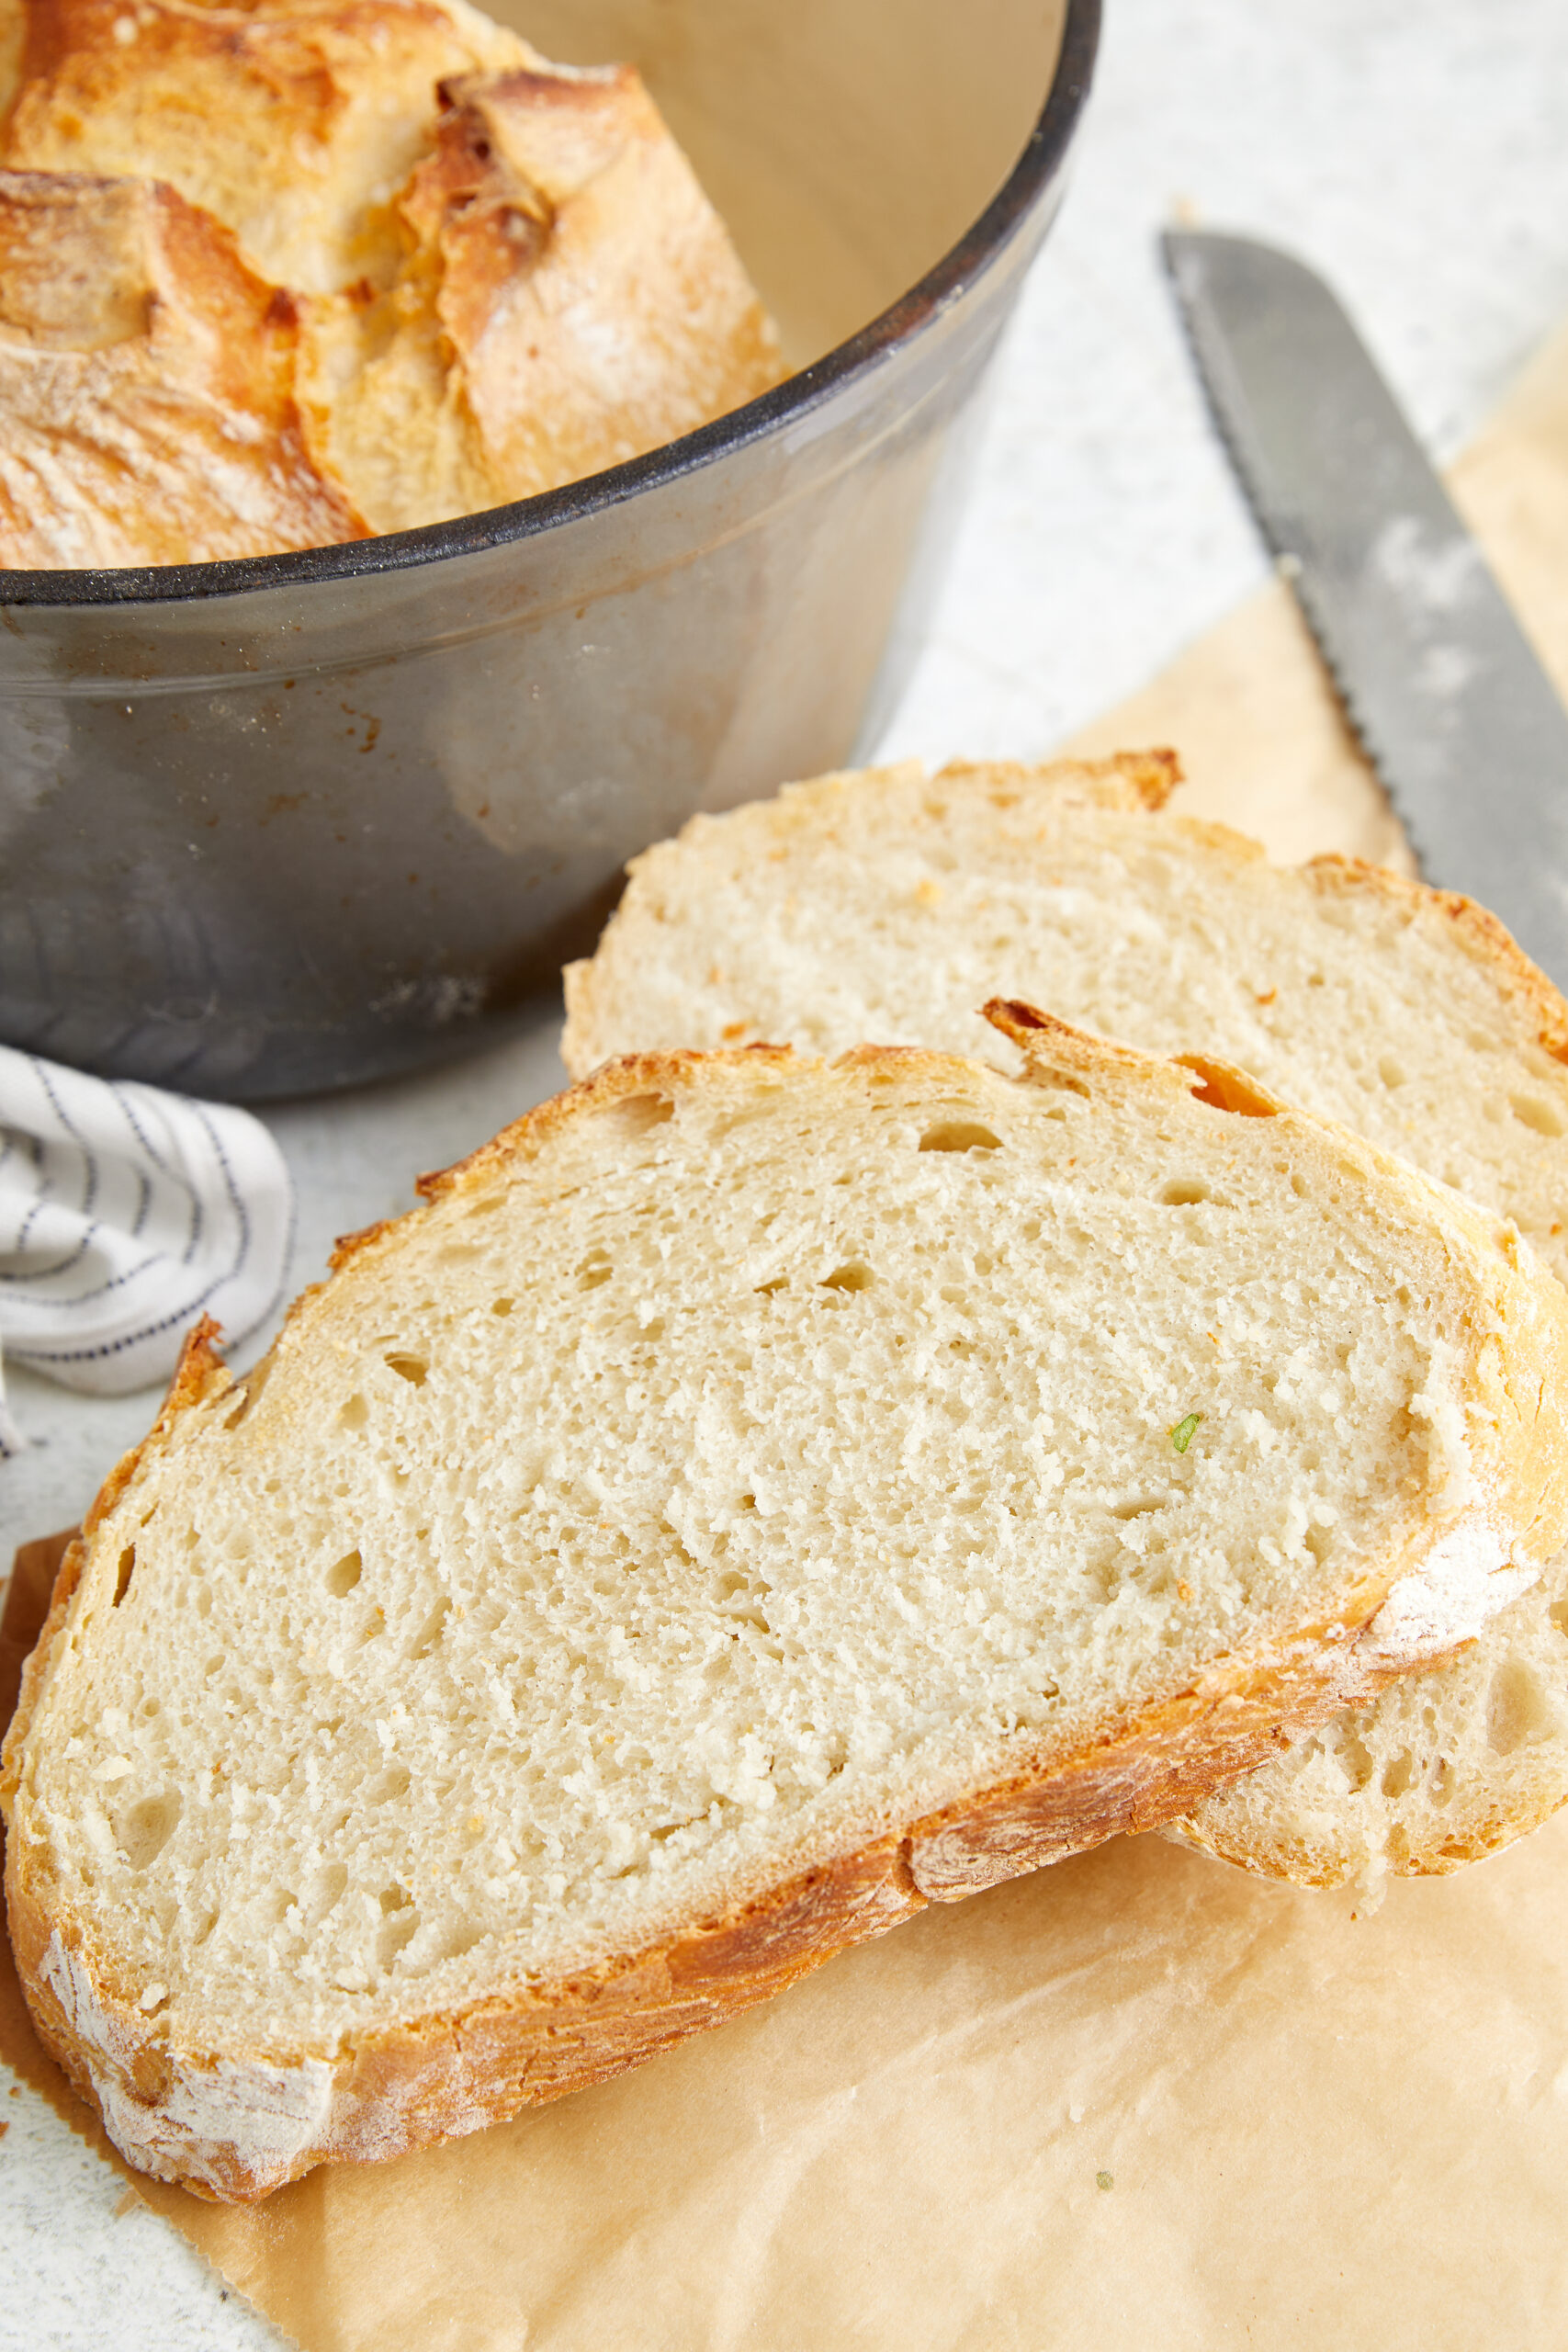
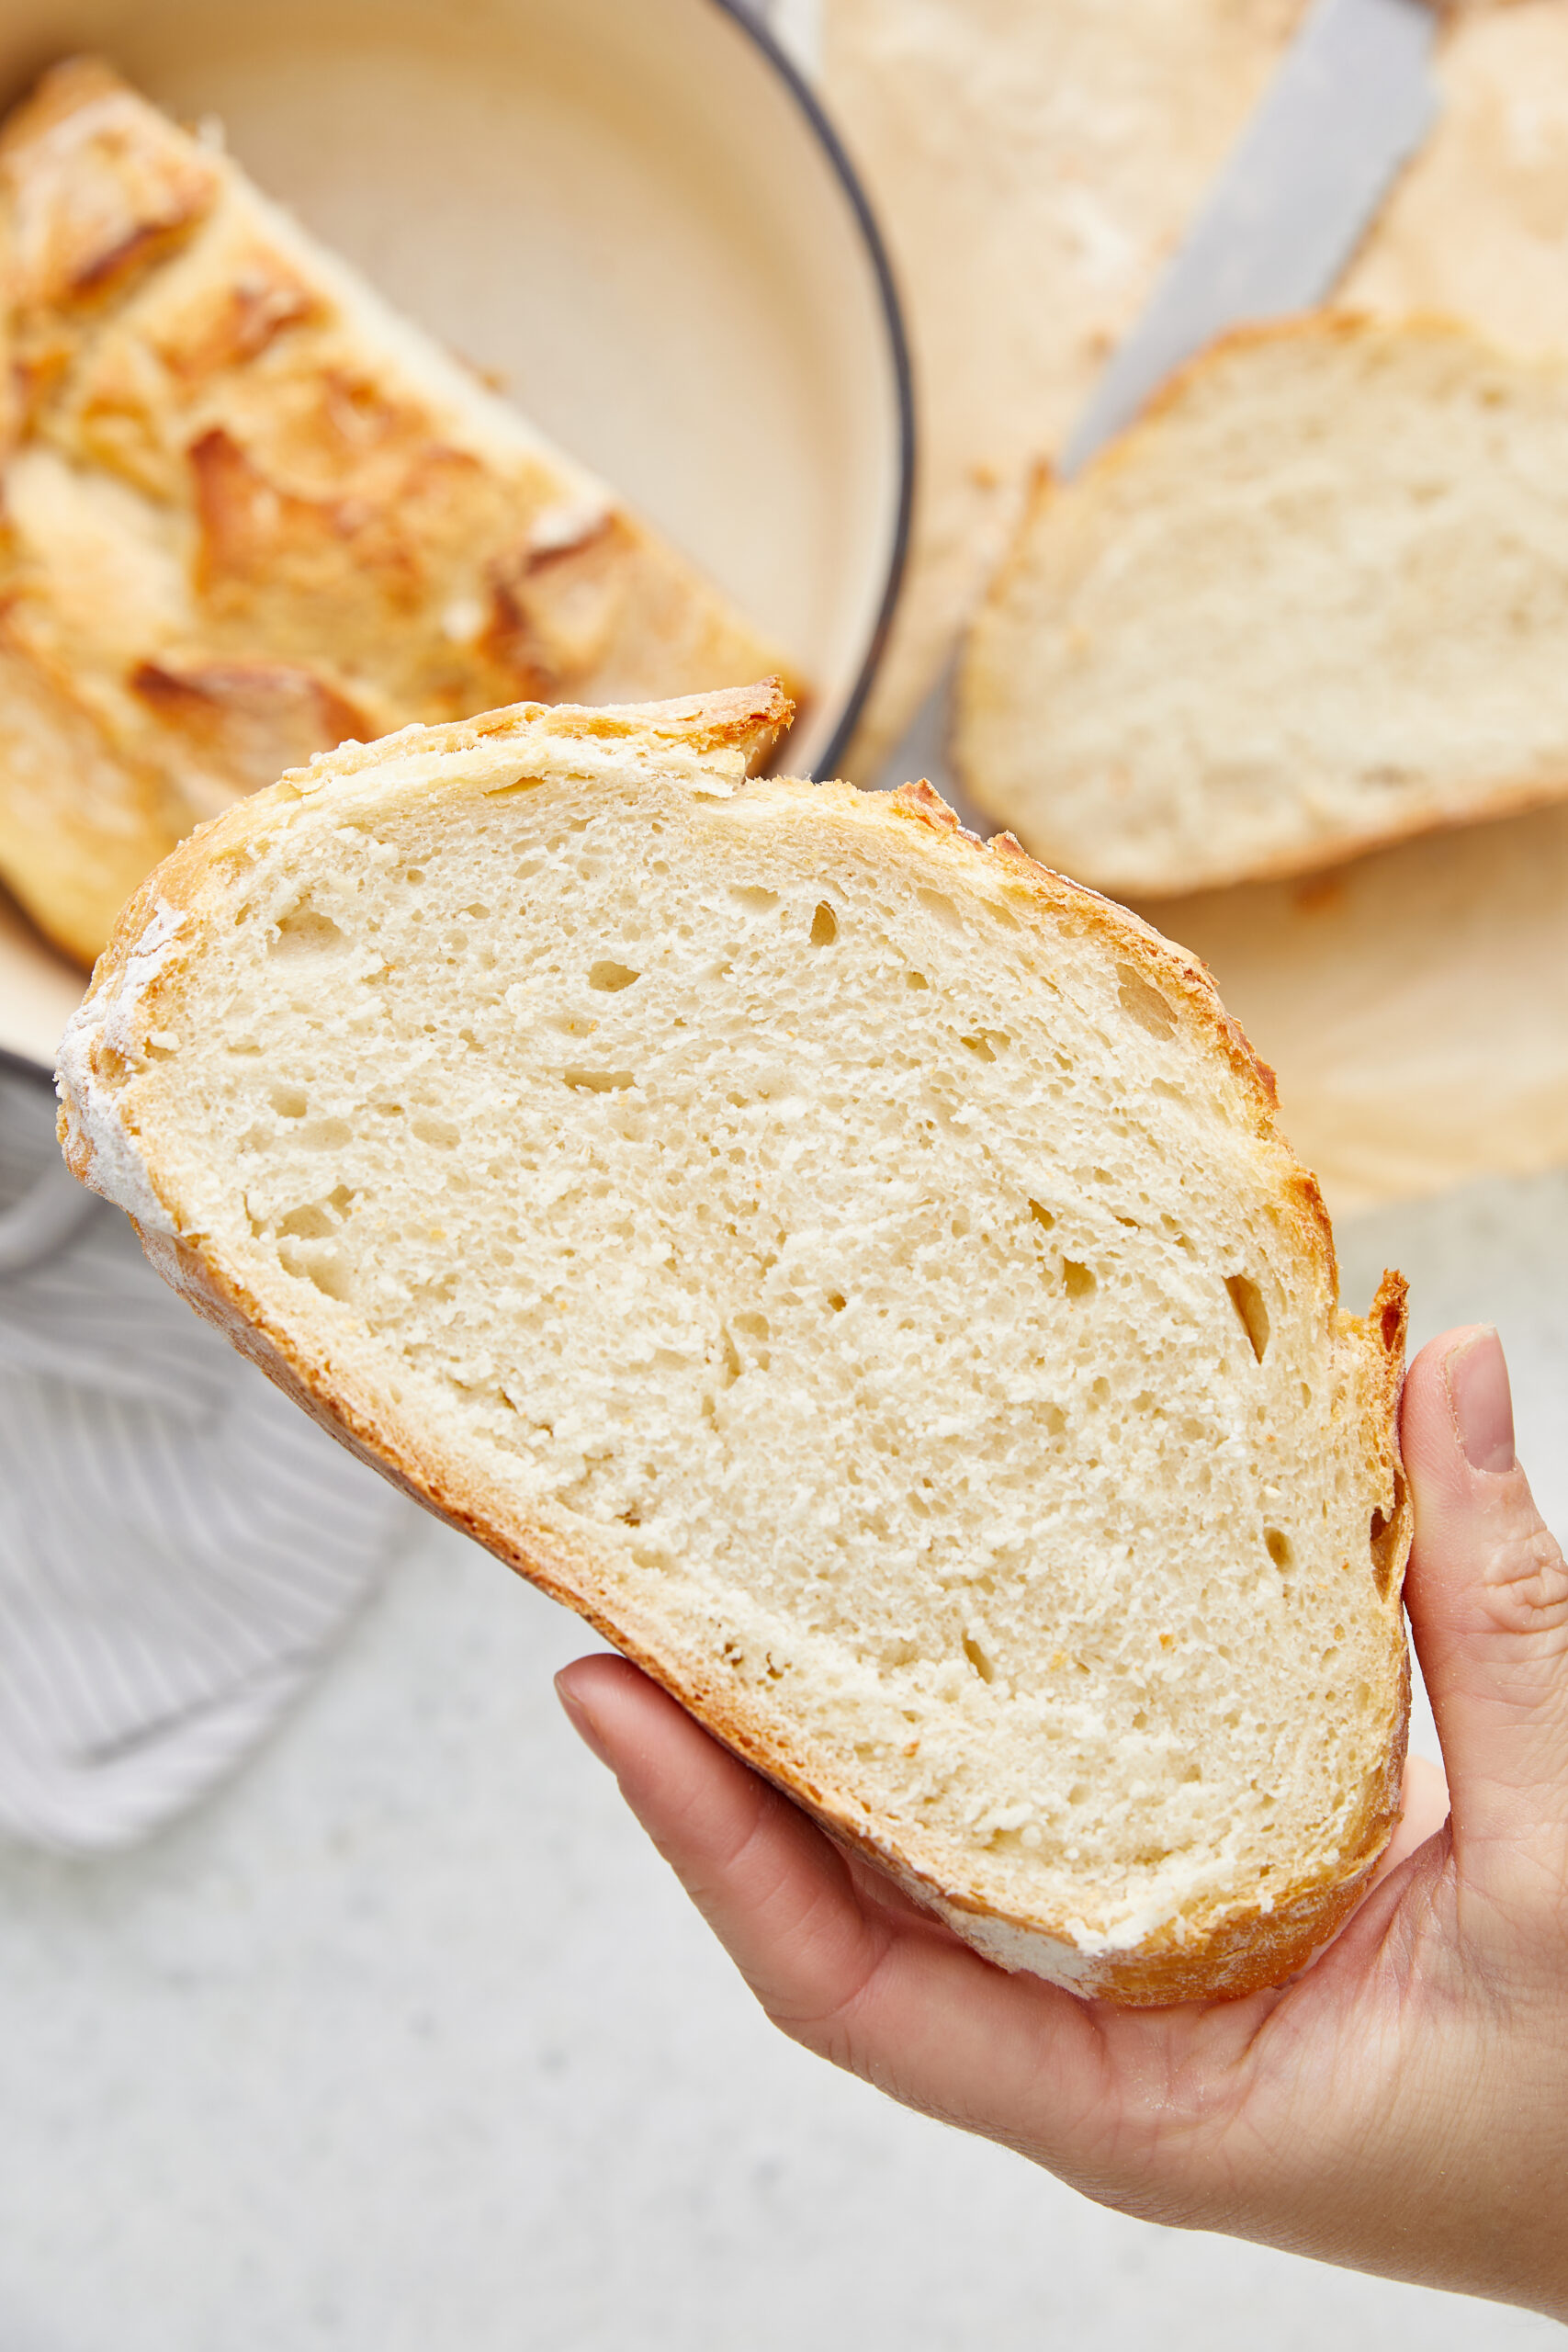
So, other than the fact that you make this bread in a Dutch oven, what makes it different from other breads? First, the long resting time already mentioned. Next, it cooks at a high temperature in the Dutch oven—creating a moist environment that yields the bread’s trademark crispy crust. The bread is soft and chewy on the inside, and it tastes as fresh and good as it smells.
As good as this bread is, you can create amazing flavor variations with a few simple add-ins. Mix in some cinnamon and raisins for the perfect morning bread just begging to be turned into French toast or served with a smear of butter or cream cheese. Add some fresh rosemary and thyme for an herb-filled delight. Mix in dried cranberries and chopped nuts for a delicious cranberry-nut bread. Brush the exterior with egg wash, then sprinkle on sesame or pumpkin seeds (or both). Get creative and let us know what you add to your loaf in the comments below.
Can I Make Dutch Oven Bread Without A Dutch Oven?
Although the name “Dutch oven” gives it away, it is possible to make a similar style loaf without that type of pot. You can place the prepared dough on a preheated baking sheet, or in a cast-iron skillet or other pot. Since you are not using a Dutch oven, you need to add steam to your oven in another way to ensure a crusty exterior. Place a water-filled oven-safe dish on the lower rack of your oven when you turn it on to preheat. That way, the water will be hot, creating a steamy interior for your bread to bake in. Since there’s no lid to remove, keep an eye on the color of the bread. It should be done in around 25 to 30 minutes, with the bottom sounding hollow when tapped. It won’t turn out exactly like the recipe, but it will still yield an absolutely delicious bread.
How do I store leftovers?
Allow your Dutch oven bread to cool to room temperature, then store it in a bread box for up to 5 days. You can also leave it sitting out on a cutting board, with the cut side down. Do not refrigerate this bread, as it will go stale faster. Also, it’s not recommended to store it in an airtight container, as the crust will soften quickly.
If you want to freeze the bread, make sure it is completely cool, then slice it first if you only want to pull out a few pieces at a time. I recommend wrapping the slices tightly in plastic wrap, then placing them in a zippered freezer bag. If you want to freeze the whole loaf, wrap it tightly and store it as you would the slices. Defrost the bread before toasting or warming in the oven.
Serving suggestions
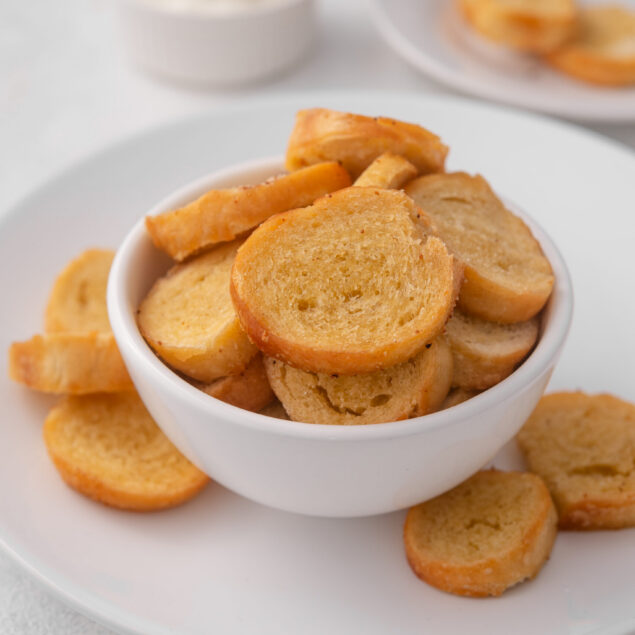
Dutch oven bread is the ideal accompaniment to Eggs In Purgatory or my favorite Shakshuka Recipe, making for the perfect breakfast or brunch. Enjoy the bread at lunch with this Greek Pasta Salad. And, since it is the perfect bread for dipping, enjoy it with a bowl of this Homemade Tomato-Basil Soup, Tomato-Beef Stew, or Turkey Swedish Meatballs. Just wait until you dip the bread in that delicious gravy!
Dutch Oven Bread
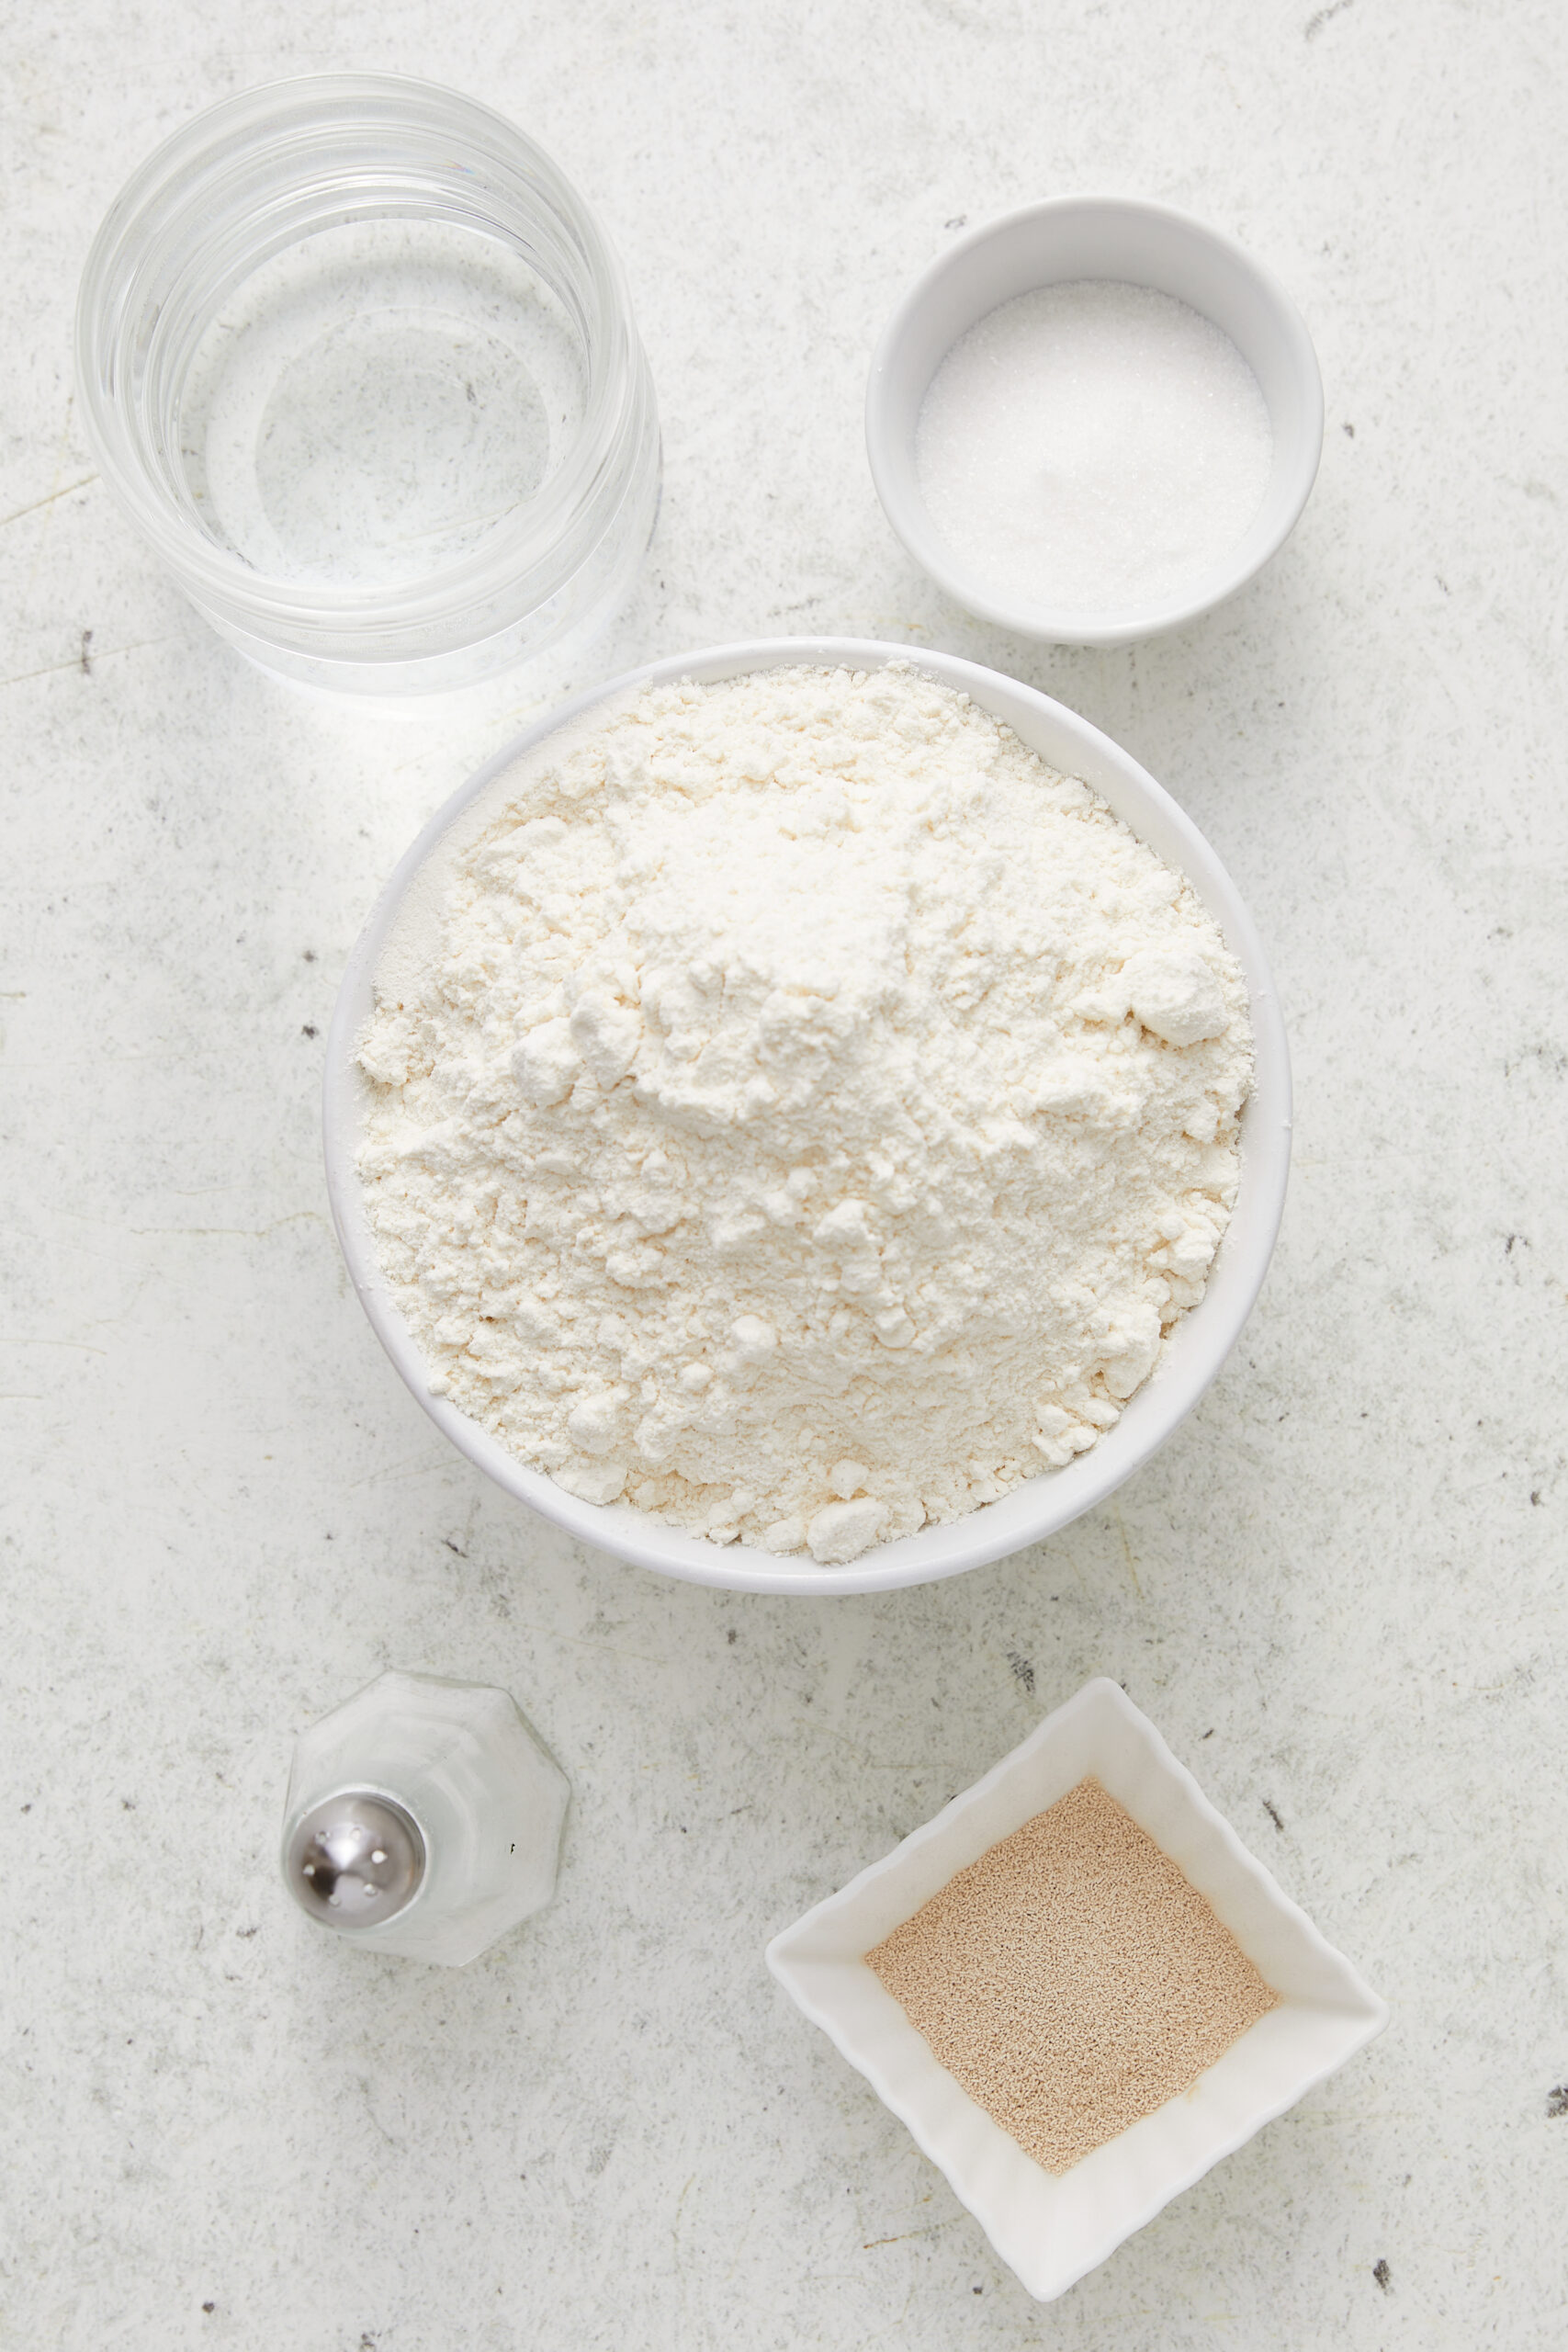
Ingredients
- 1 1/2 cups warm water about 105°F
- 2 teaspoons active dry yeast
- 1 teaspoon granulated sugar
- 3 cups all-purpose flour
- 1 1/4 teaspoons sea salt
- Extra all-purpose flour for dusting
Instructions
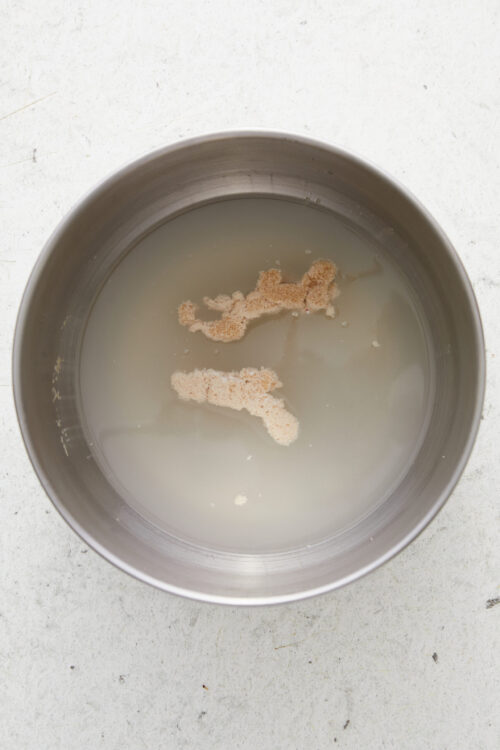
- In a large bowl, combine the warm water, active dry yeast, and sugar. Stir until the yeast is dissolved and allow to sit for 5 minutes.
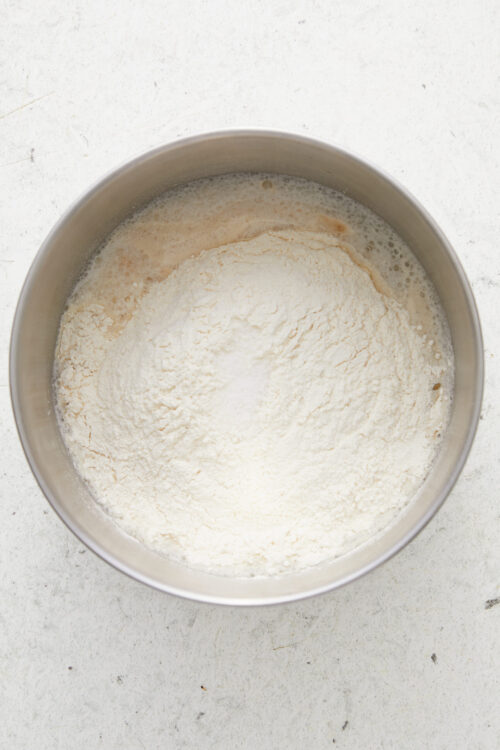
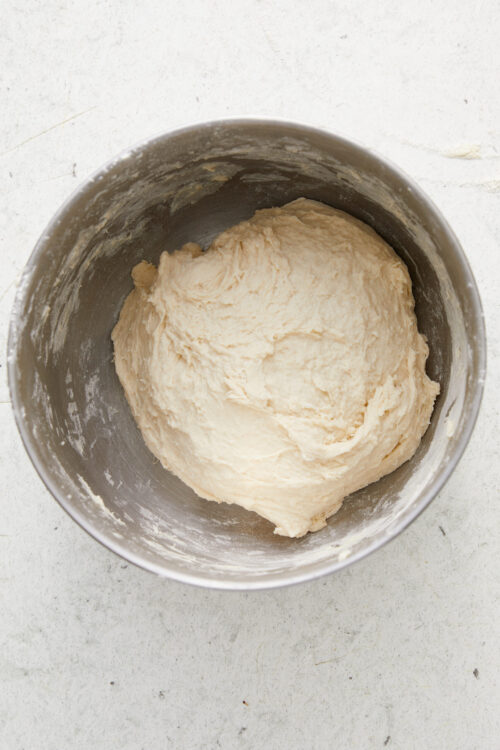
- Add the all-purpose flour and salt; stir with a wooden spoon until a sticky, shaggy dough forms into a ball.
- Cover the bowl loosely with a kitchen towel or oiled plastic wrap. Let the dough sit at room temperature for about 8-12 hours.
- About 30 minutes before baking, preheat your oven to 450°F with the 2.75-quart Dutch oven (with its lid) inside for even heating.
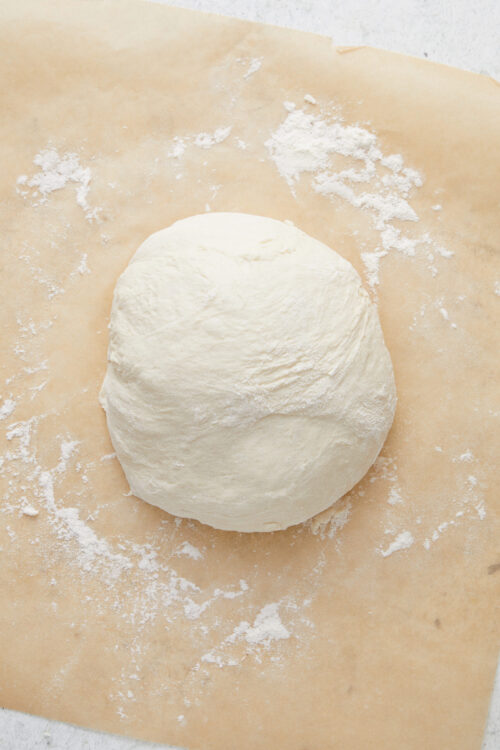
- Meanwhile, turn the dough onto a floured surface and gently shape it into a round loaf on a piece of parchment paper. The dough should be floppy and loose. It is okay if the top looks slightly flat. If you like, score the top of your dough with a sharp knife.
- Carefully remove the hot Dutch oven from the oven and, using the edges of the parchment, transfer the dough into it. Cover with the lid and bake for 35 minutes. Then remove the lid and bake for an additional 5 to 10 minutes until the crust turns golden brown and it feels hollow when you tap the bottom.
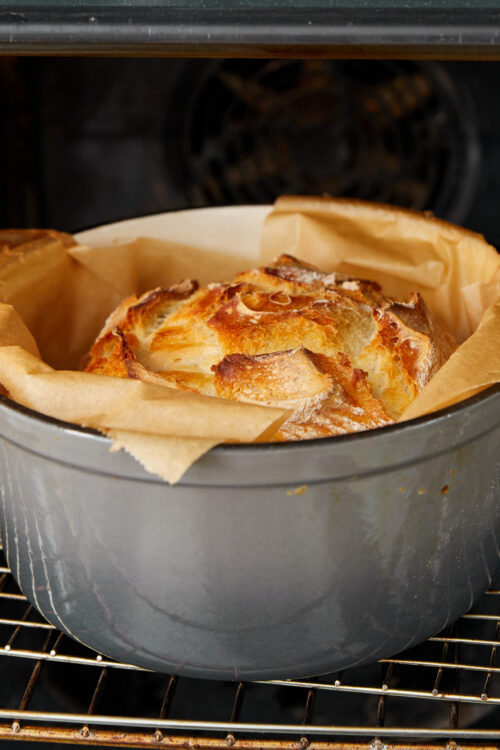
- Transfer the bread to a wire rack and let it cool for at least 10 minutes before slicing.
Leave a Comment