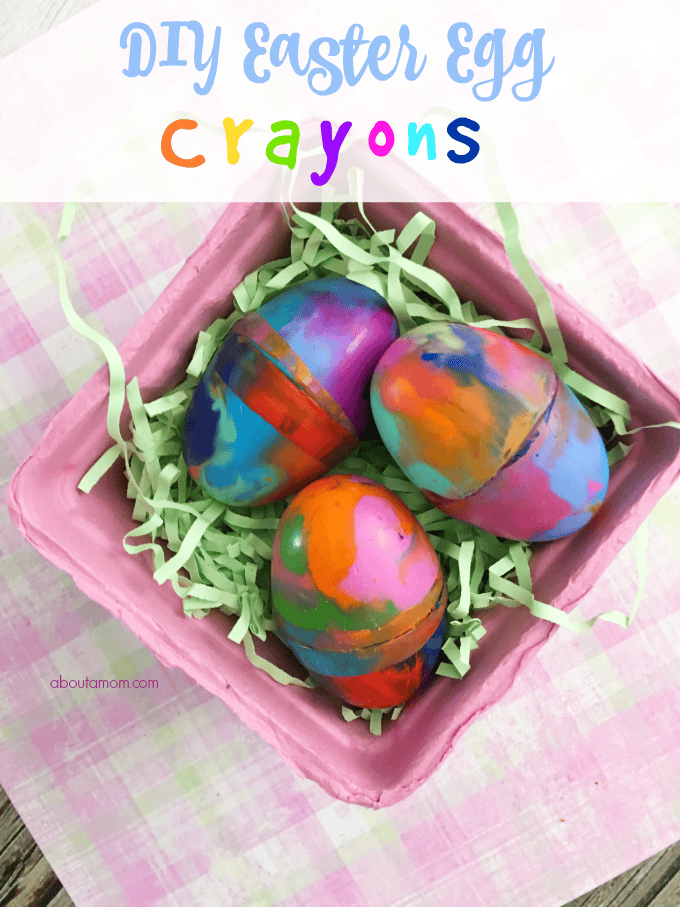
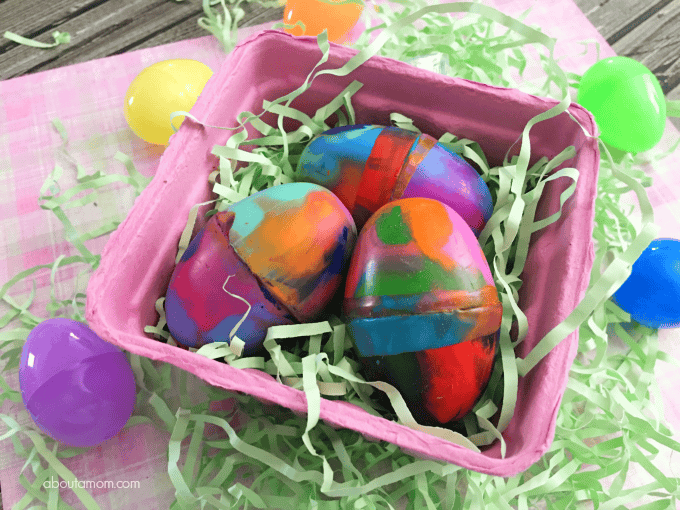
These DIY Easter Egg Crayons are an easy Easter craft, and would be so much fun for the kids to use on their next coloring project. You can make these as an Easter surprise and pack them up into your child’s Easter basket with some new coloring books. Or you can get your child to help make them, only be extra careful since you will be using the oven.
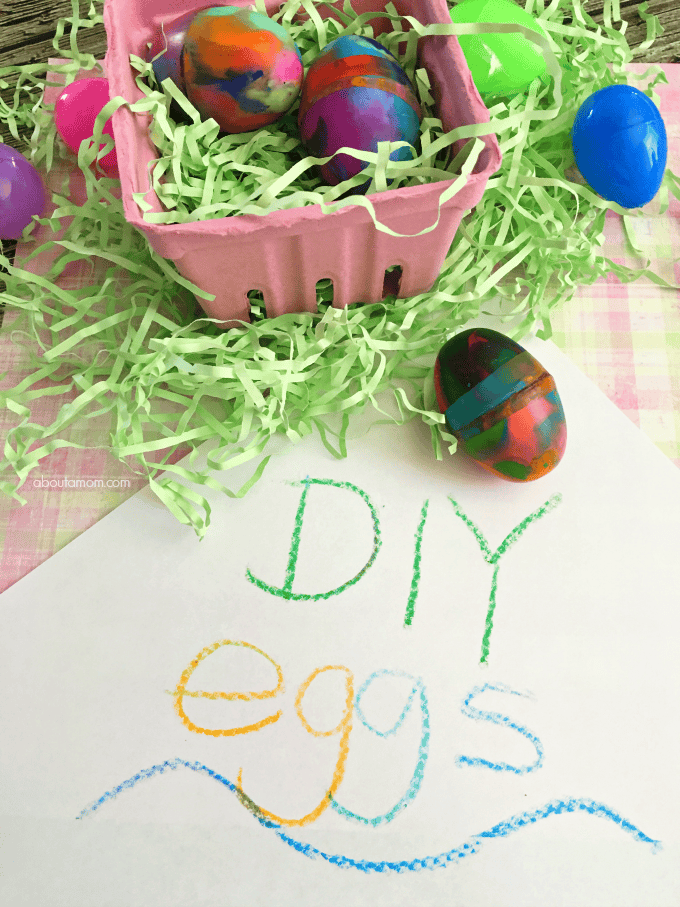
I have always tried to come up with some fun non-candy treats for Easter to balance out some of the candy. These easy DIY Easter Egg Crayons are just perfect, and they are incredibly easy to make.
You could even make these to give out to your child’s classmates. They are sure to be a huge hit at the class party.
If you don’t already have an egg shaped silicone mold, it should be rather easy to find at the craft store this time of the year.
DIY Easter Egg Crayons
To get started on this project, you’ll need the following supplies:
Materials:
64 pack Crayola crayons
Half egg shaped silicone mold
Knife
Cutting board
Oven
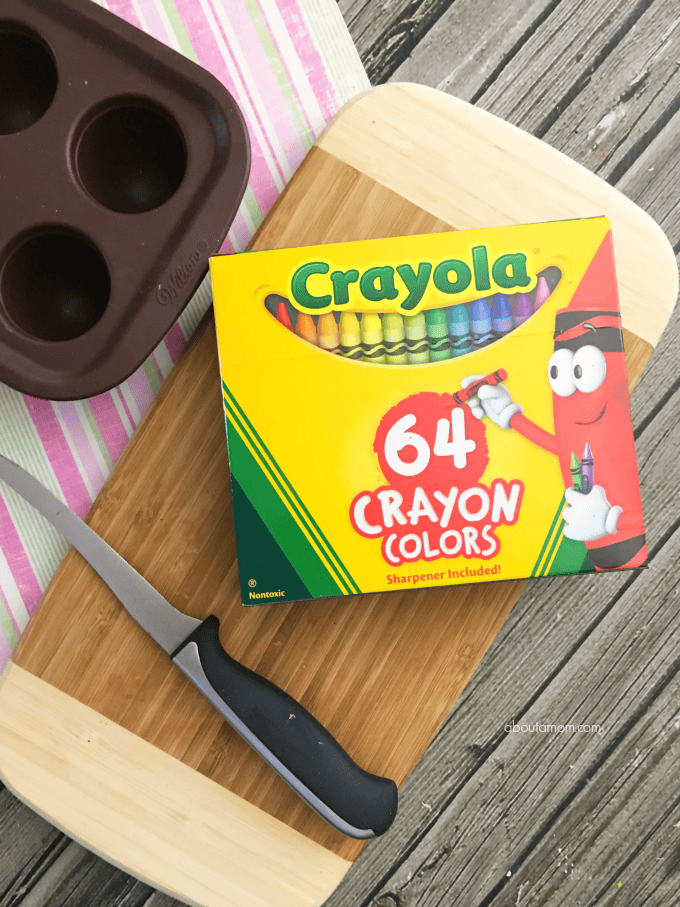
A 64 count box of Crayola crayons works perfectly for this project. However, if you have broken crayons you would like to recycle that work just fine. I have always despised throwing away perfectly useful pieces of crayons.
*supervise children while using crayons
How to Make:
1. Preheat your oven to 350 degrees.
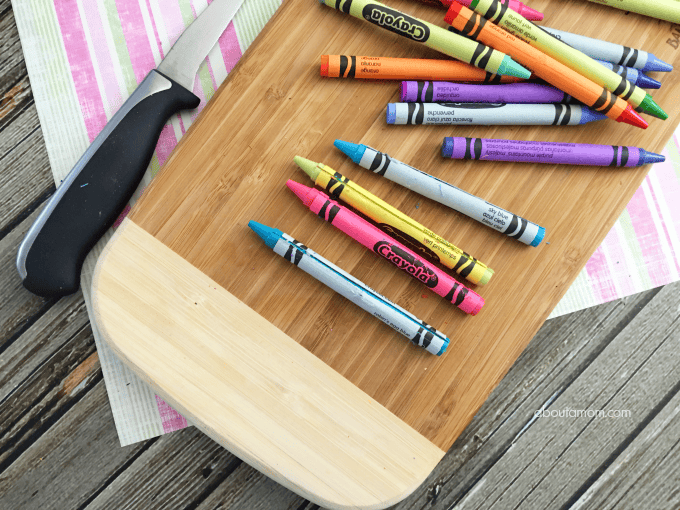
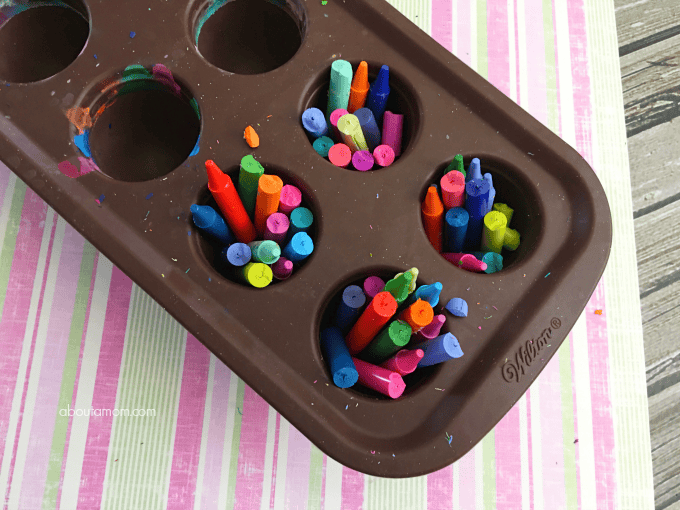
2. Carefully score your crayon wrappers with a knife, and remove wrappers.
3. Break your naked crayons in half and place into your mold standing upright. (each half egg takes about 5-6 crayons)
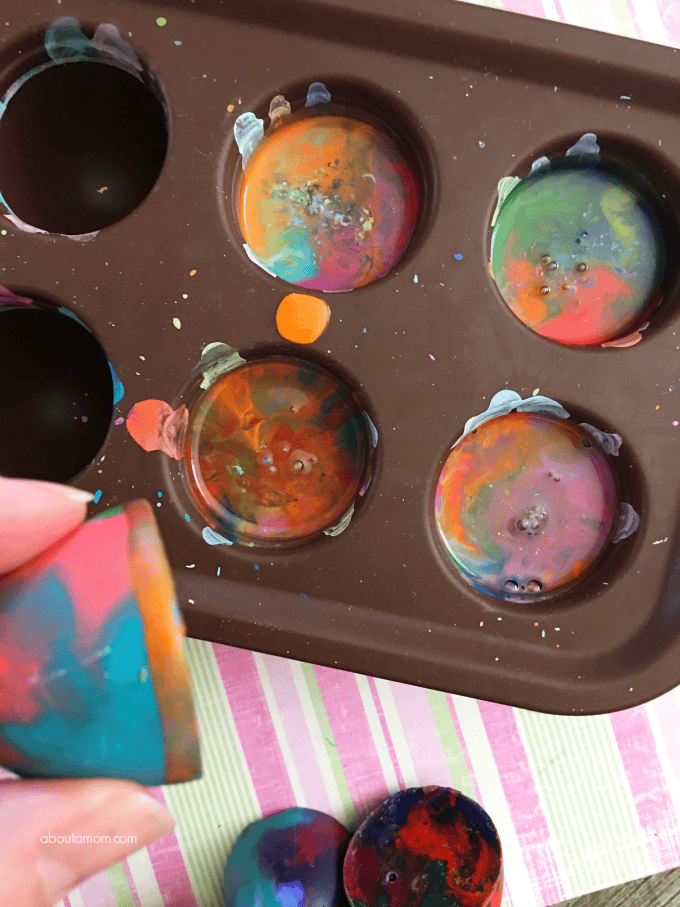
5. Bake the crayons. Place mold into the oven for about 5-7 minutes.
6. Carefully remove from the oven, and place on the counter until they start to harden. It can take a couple of hours for them to harden completely. Optionally, transfer them to the freezer for about 20 minutes to harden faster.
7. Press up on the bottom of the mold and pop them out carefully.
8. Now start your next batch (repeat steps 2-5)
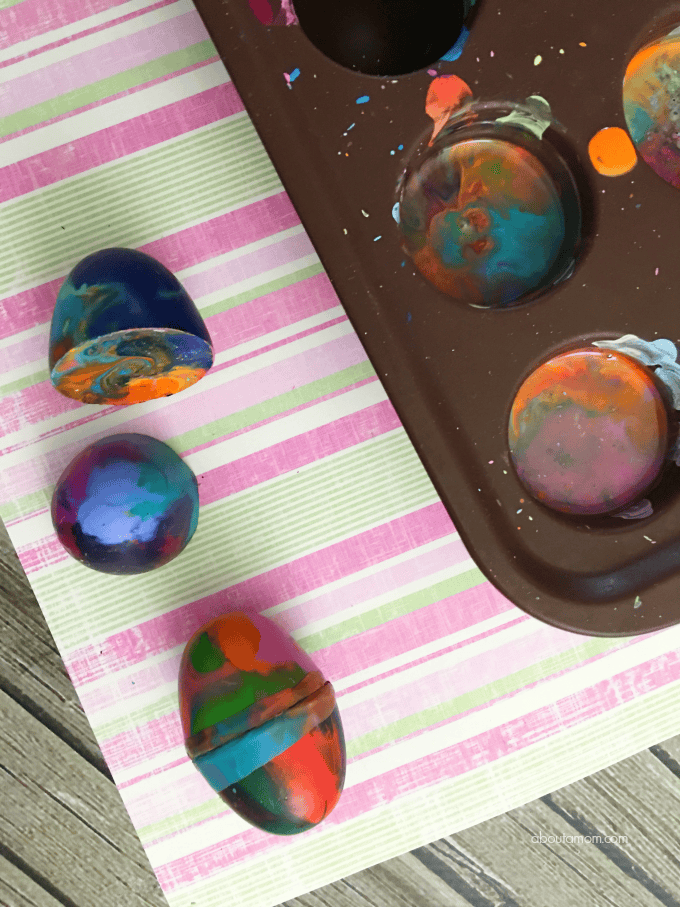
9. Be careful with the step as the wax is very hot. You are not going to allow these to cool completely. They will still need to be warm to form a seal. Let them cool enough that you can handle them without getting burned.
When you take your next batch out of the oven and mold, gently press the flat side of one of your warm eggs against the flat side of one of your cooled eggs. Hold them together gently for about 30 seconds, until they are sealed together.
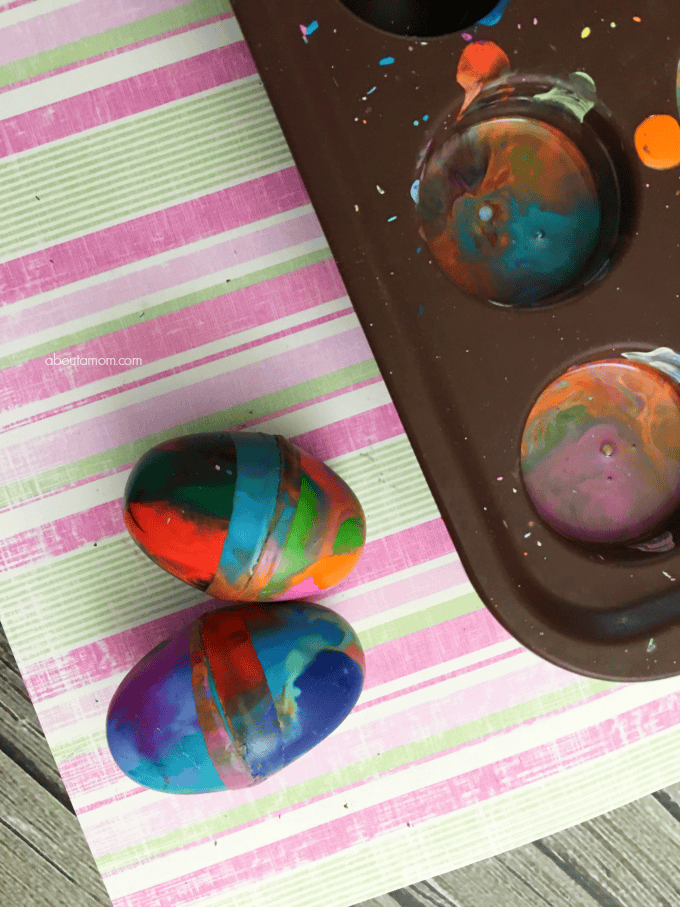
If necessary, you can use your finger to smooth out any overflow around the edges. Allow the eggs to cool completely, before they are packaged or used.
These are so cute great craft for Easter! Thanks for linking up to Merry Monday! Pinned & Sharing on FB! Have a great week!
Kim
I love these, would never have thought to do this! Thanks for sharing at #HomeMattersParty
I’ve never heard of doing this before! How neat!