Mother’s Day is the perfect opportunity to celebrate the amazing women in your life. What I love about celebrating Mother’s Day in my family is the chance to make meaningful, home-made gifts! I know how precious it is to receive a gift from a loved one that was personally made by them.
Each year my children and I brainstorm home-made gift ideas for the special women in our lives. This year we decided to make a home-made card as a keepsake for the incredible women in our family.
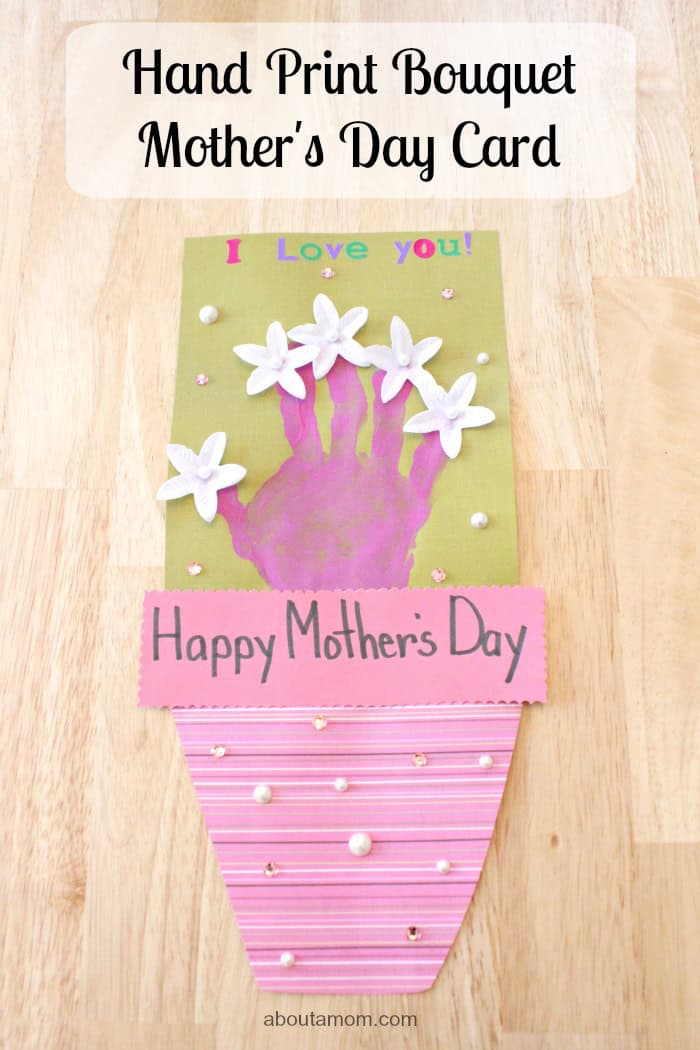
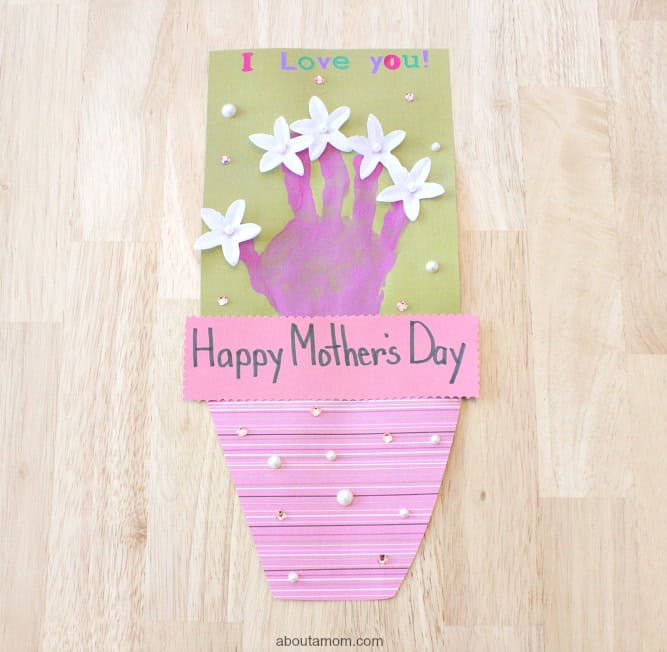
Not only is this Hand Print Bouquet Mother’s Day Card fun to make, it’s simple and so adorable! It’s sure to be a hit at your Mother’s Day celebration!
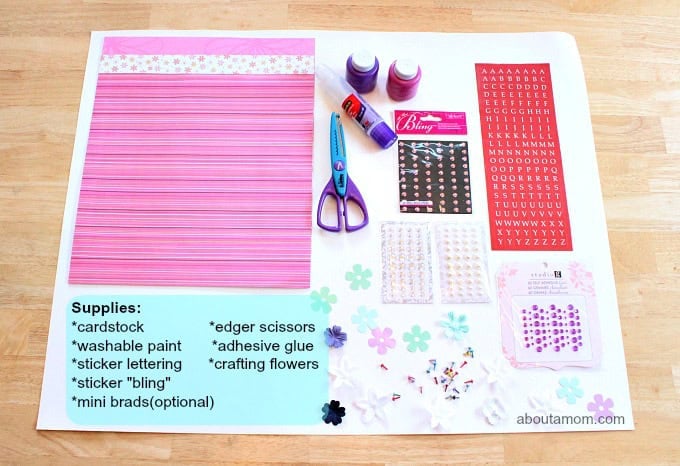
Let’s get started! With just some simple supplies that I already had on hand in my craft closet and some washable children’s paint from my kids’ art stash, we were off to a great start! *If you don’t have these supplies on hand, be thrifty and shop your local dollar store or craft store dollar bins!
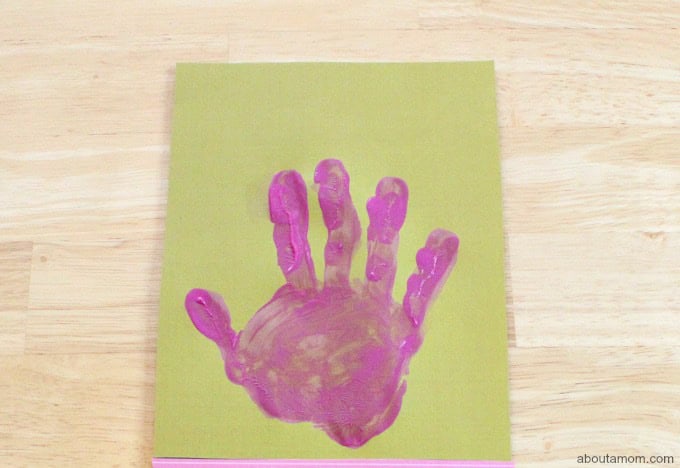
Step #1
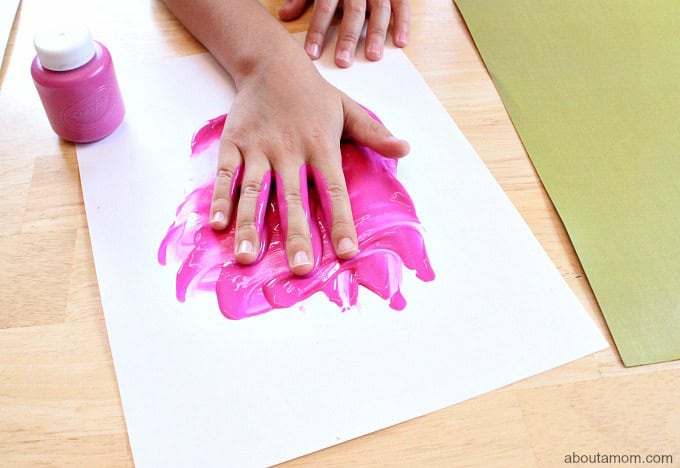
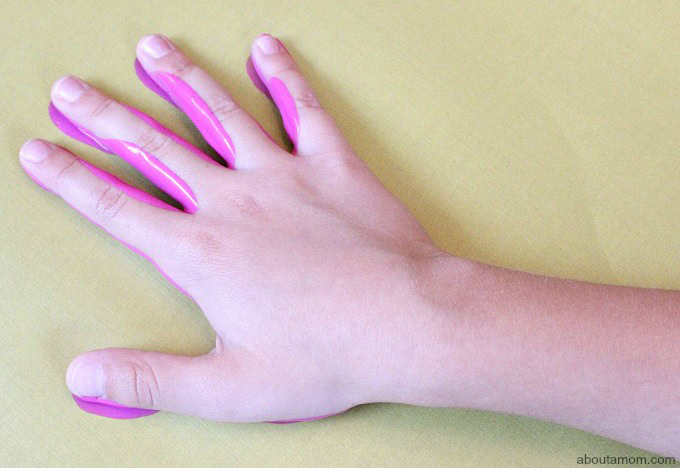
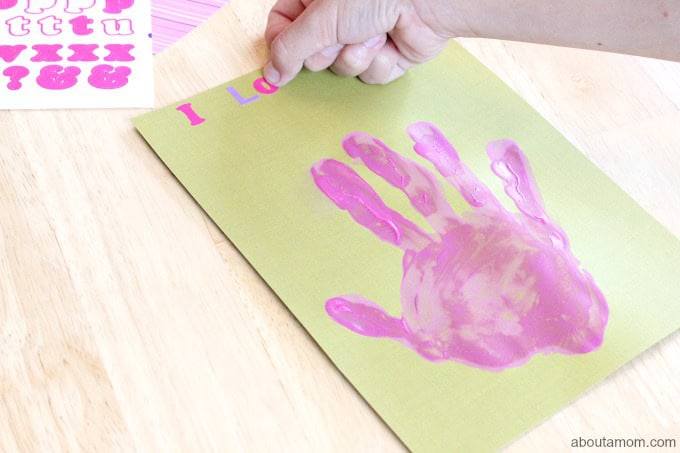
Choose a solid cardstock color for the background of your child’s hand print. My son went with green to compliment the pink stripes on the bottom of his card. Then choose which paint color you want for your child’s hand print. Be generous with the amount of paint on your child’s hand, it creates a much fuller and complete hand print.
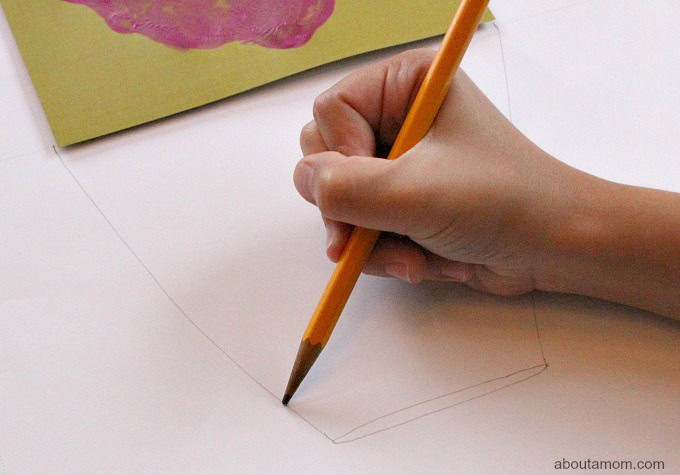
Step #2
While the paint dries, sketch the bottom of your card into the shape of a flower pot. Choose a piece of cardstock that compliments the top of your card. We went with different shades of pink and white stripes for our flower pot design. Simply flip over your desired cardstock piece, line up the edge of the paper with your hand print paper and then sketch a flower pot!
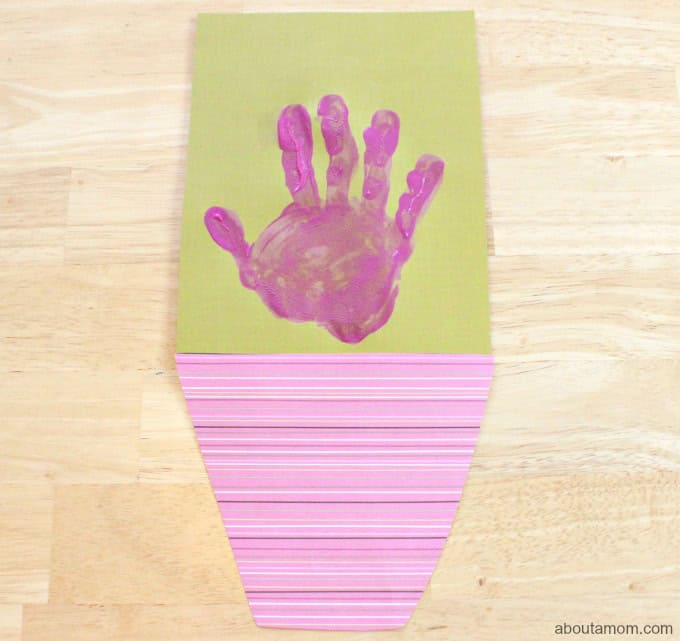
Step #3
Cut out your flower pot shape. Once the hand print dries, place a thin piece of glue (we used Elmer’s) to the very top of your flower pot and press down to glue the two pieces of your card together.
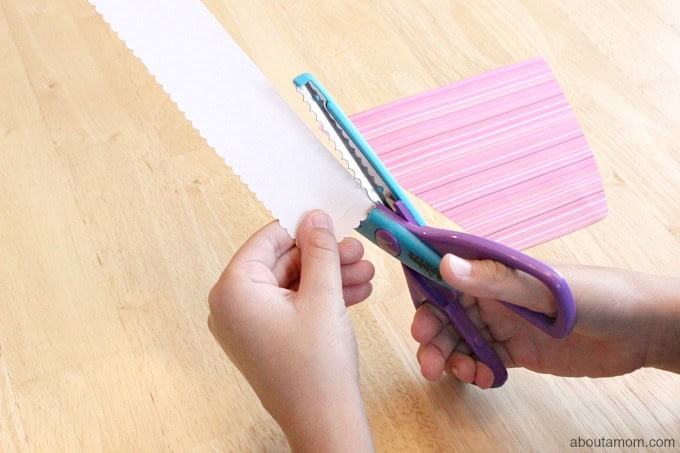
Step #4
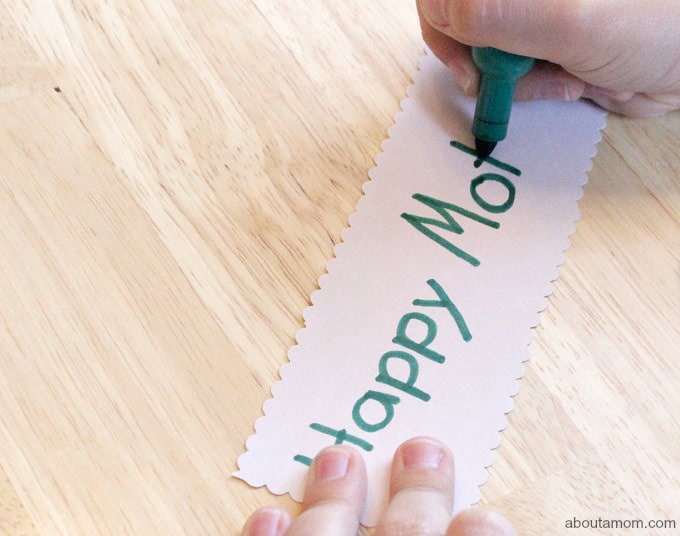
Using the edger scissors, cut a strip of paper large enough to create the top lip of your flower pot. It’s the perfect spot for a Mother’s Day message!
Step #5
My son wanted to use the letter stickers to put “I love you” at the top of his card. You could certainly use the letter stickers to create your flower pot message or in any other way your heart desires!
Step #6
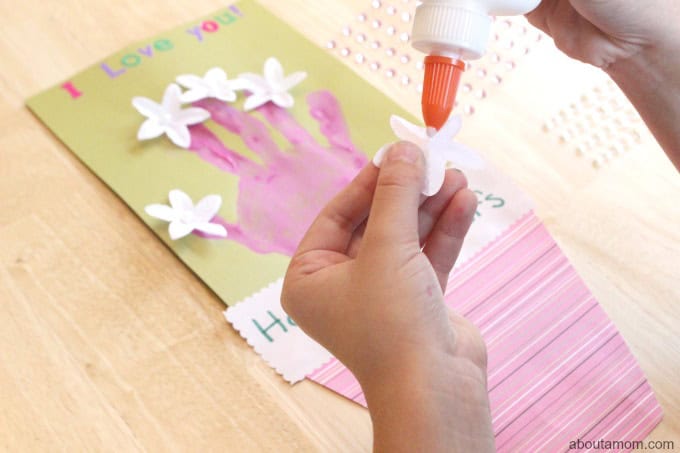
Time for flowers! You can use a variety of crafting flowers for this part! My son chose flowers that came with a pearl already in the center. So all we had to do was add a dab of glue, place the flower on the ends of the fingertips and let them dry. Tip: You could also use colorful mini brads to compliment your crafting flowers by poking them through the center of your flowers and fastening them on the backside of your card. This method gives more depth to your flower bouquet.
Step #7
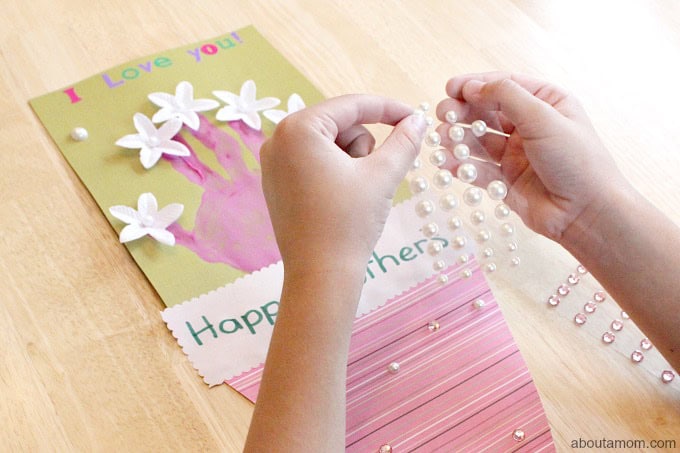
Get the bling! When crafting…one must use some bling! That’s our family motto anyway. We chose pink sticky-back gemstones and pearls to finish off this one-of-a-kind Mother’s Day card! Tip: Take a peek in your crafting closet to see what other materials you might have on hand to make your card special and unique if bling isn’t your thing!
My son and I had a wonderful time creating this Hand Print Bouquet Mother’s Day Card for a very incredible lady in our life! We hope that you too create memories and bring joy to those special ladies in your life this Mother’s Day!
Written by About a Mom contributor, Mandy Mae. Mandy is a wife, mother, teacher, and frugal-DIY-enthusiast. Hoping to inspire mothers to take action in making a positive influence in the lives of their children with simple DIY, crafting, thrifting, and teaching projects.

Leave a Comment