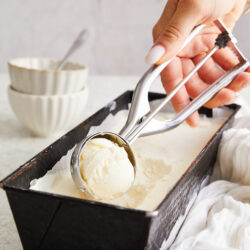
Making No-Churn Ice Cream with your children is fun and yields tasty results!
I scream, you scream, we all scream for ice cream! And you can bet that your family will squeal with joy when you make a batch of no-churn ice cream as a special treat. It’s best to start this activity early in the day because it takes time for the ice cream to set. The anticipation of this tasty dessert may also keep them on their best behavior all day. We can hope, can’t we?
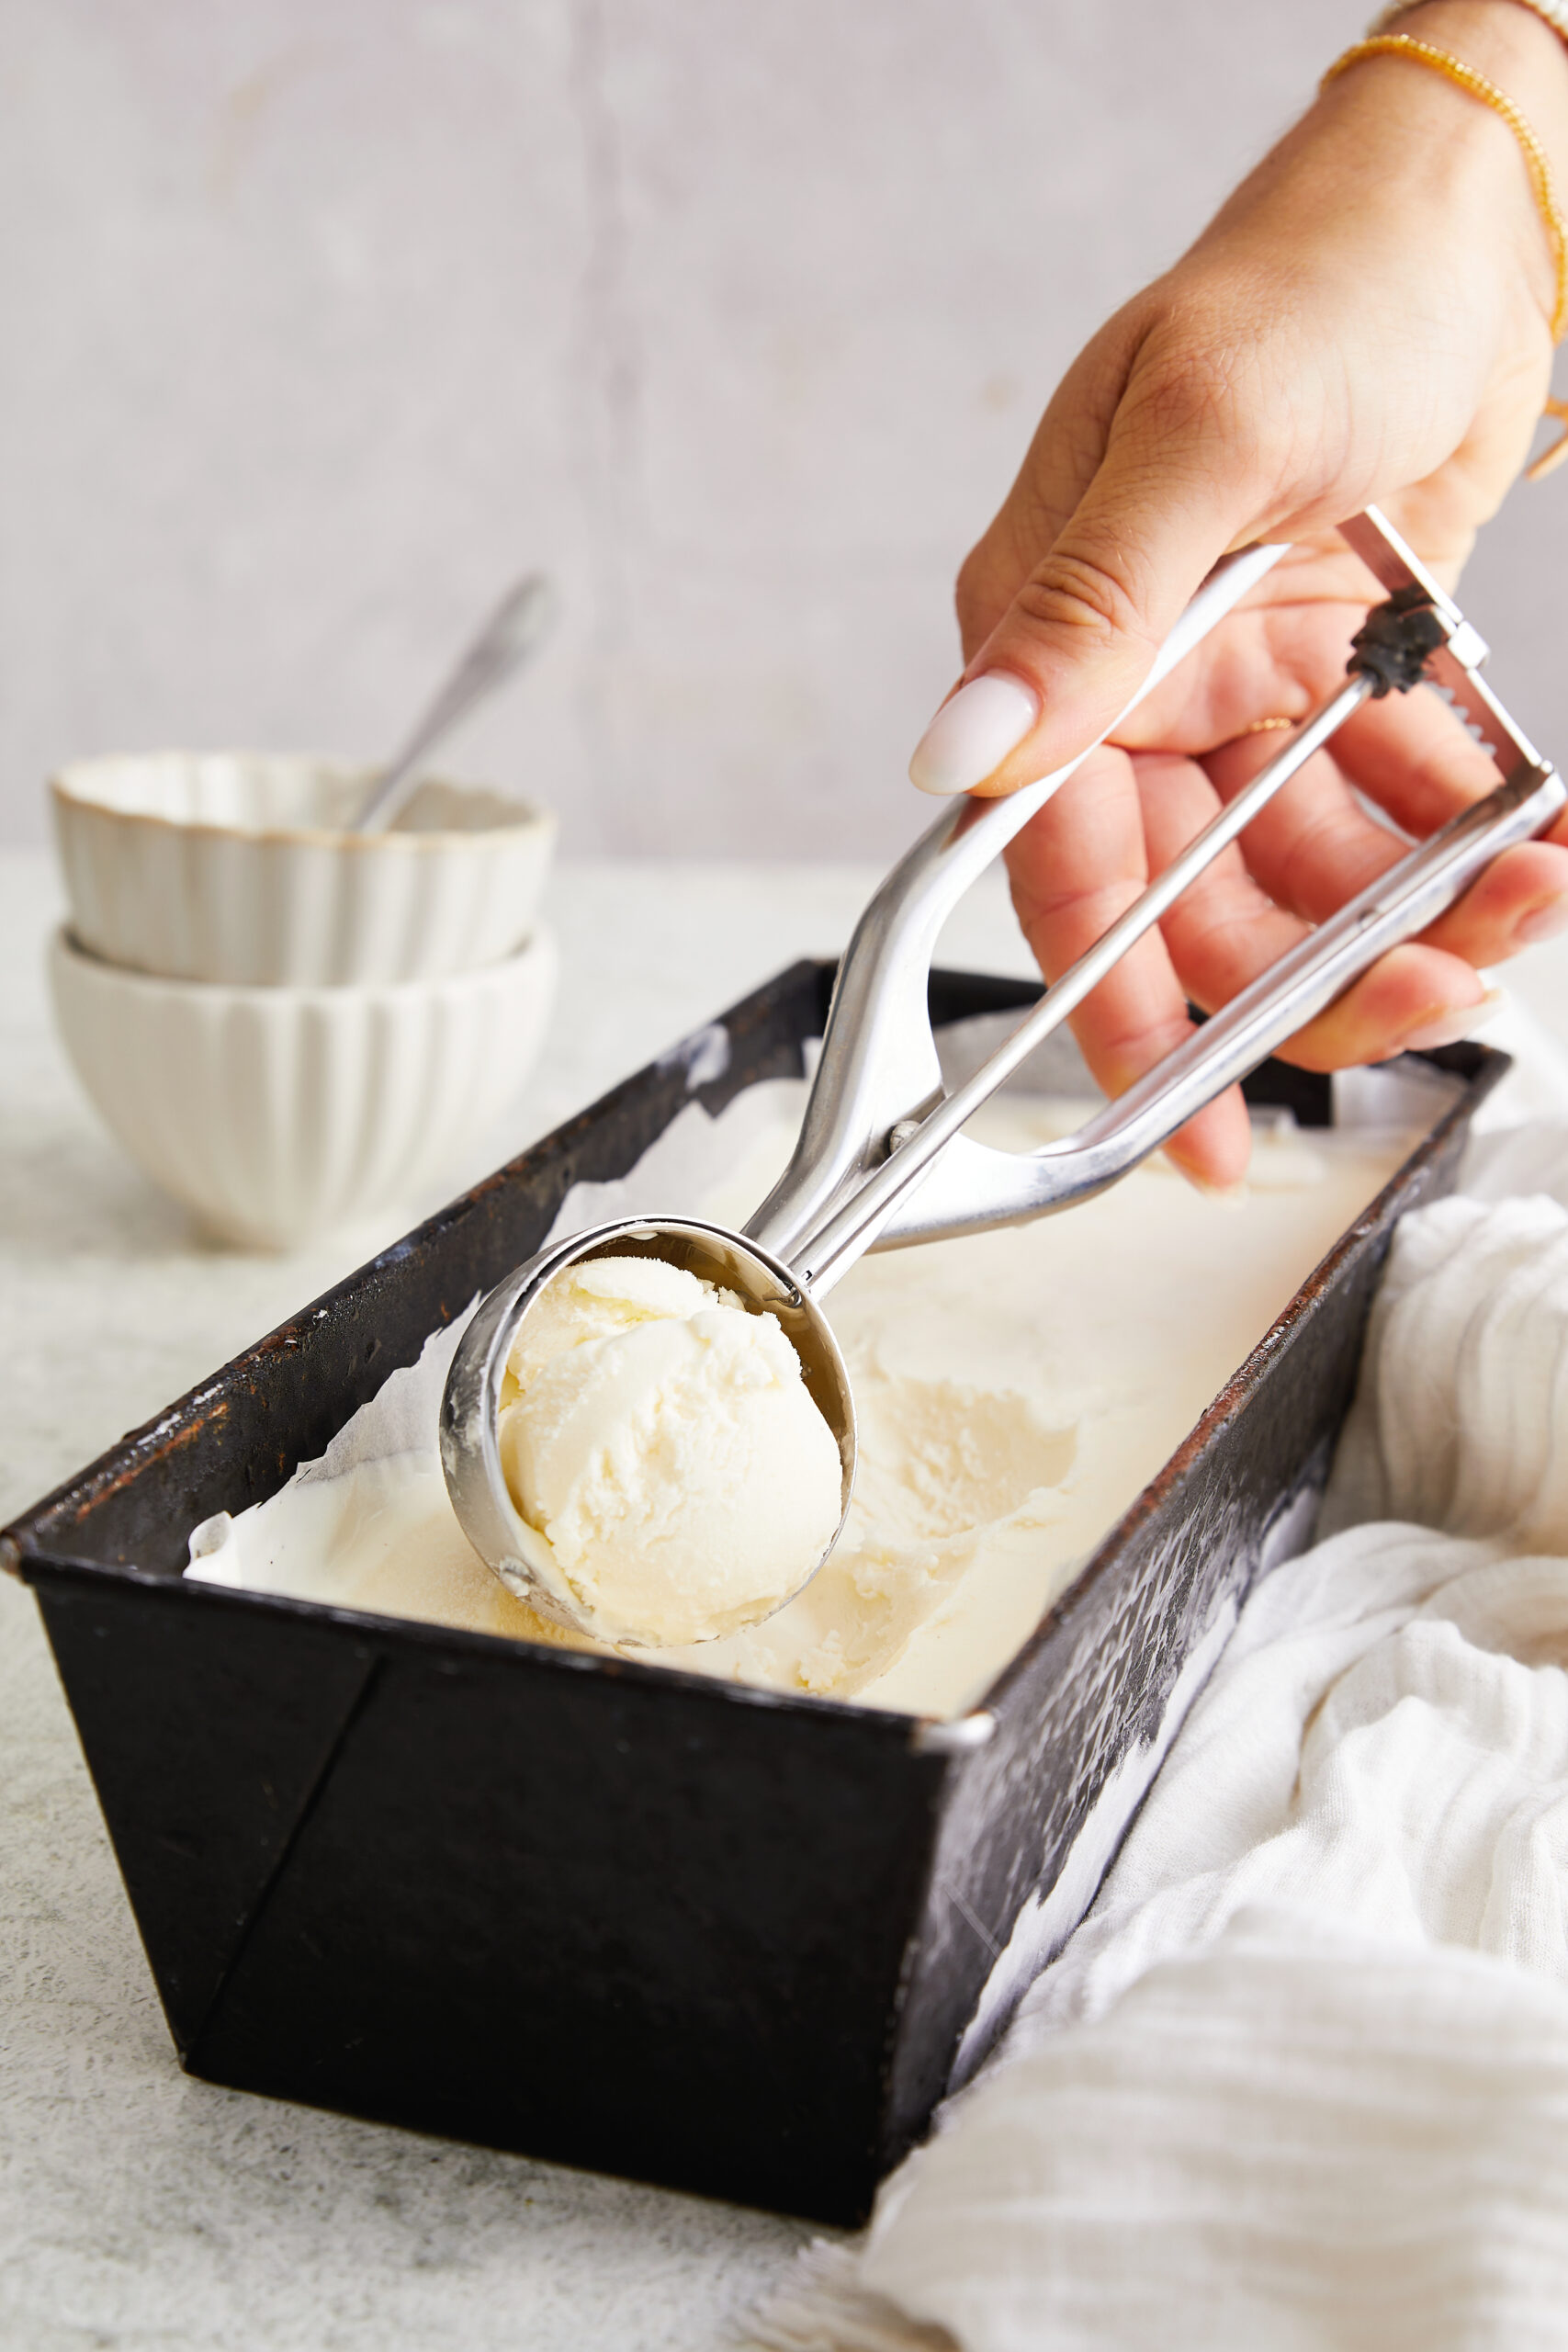
While I have various ice cream makers in the house, they can be a pain to use and clean. I try to simplify life as much as possible, and this recipe for homemade ice cream fits the bill. There are no eggs to crack or machines to pull from the cupboard. You only need two bowls, a measuring cup, measuring spoons, a whisk, a hand or stand mixer with a whisk attachment, a spatula, and a 9×5 inch loaf pan. Metal pans freeze the ice cream faster than ceramic or glass pans. You can also use containers made for ice cream.
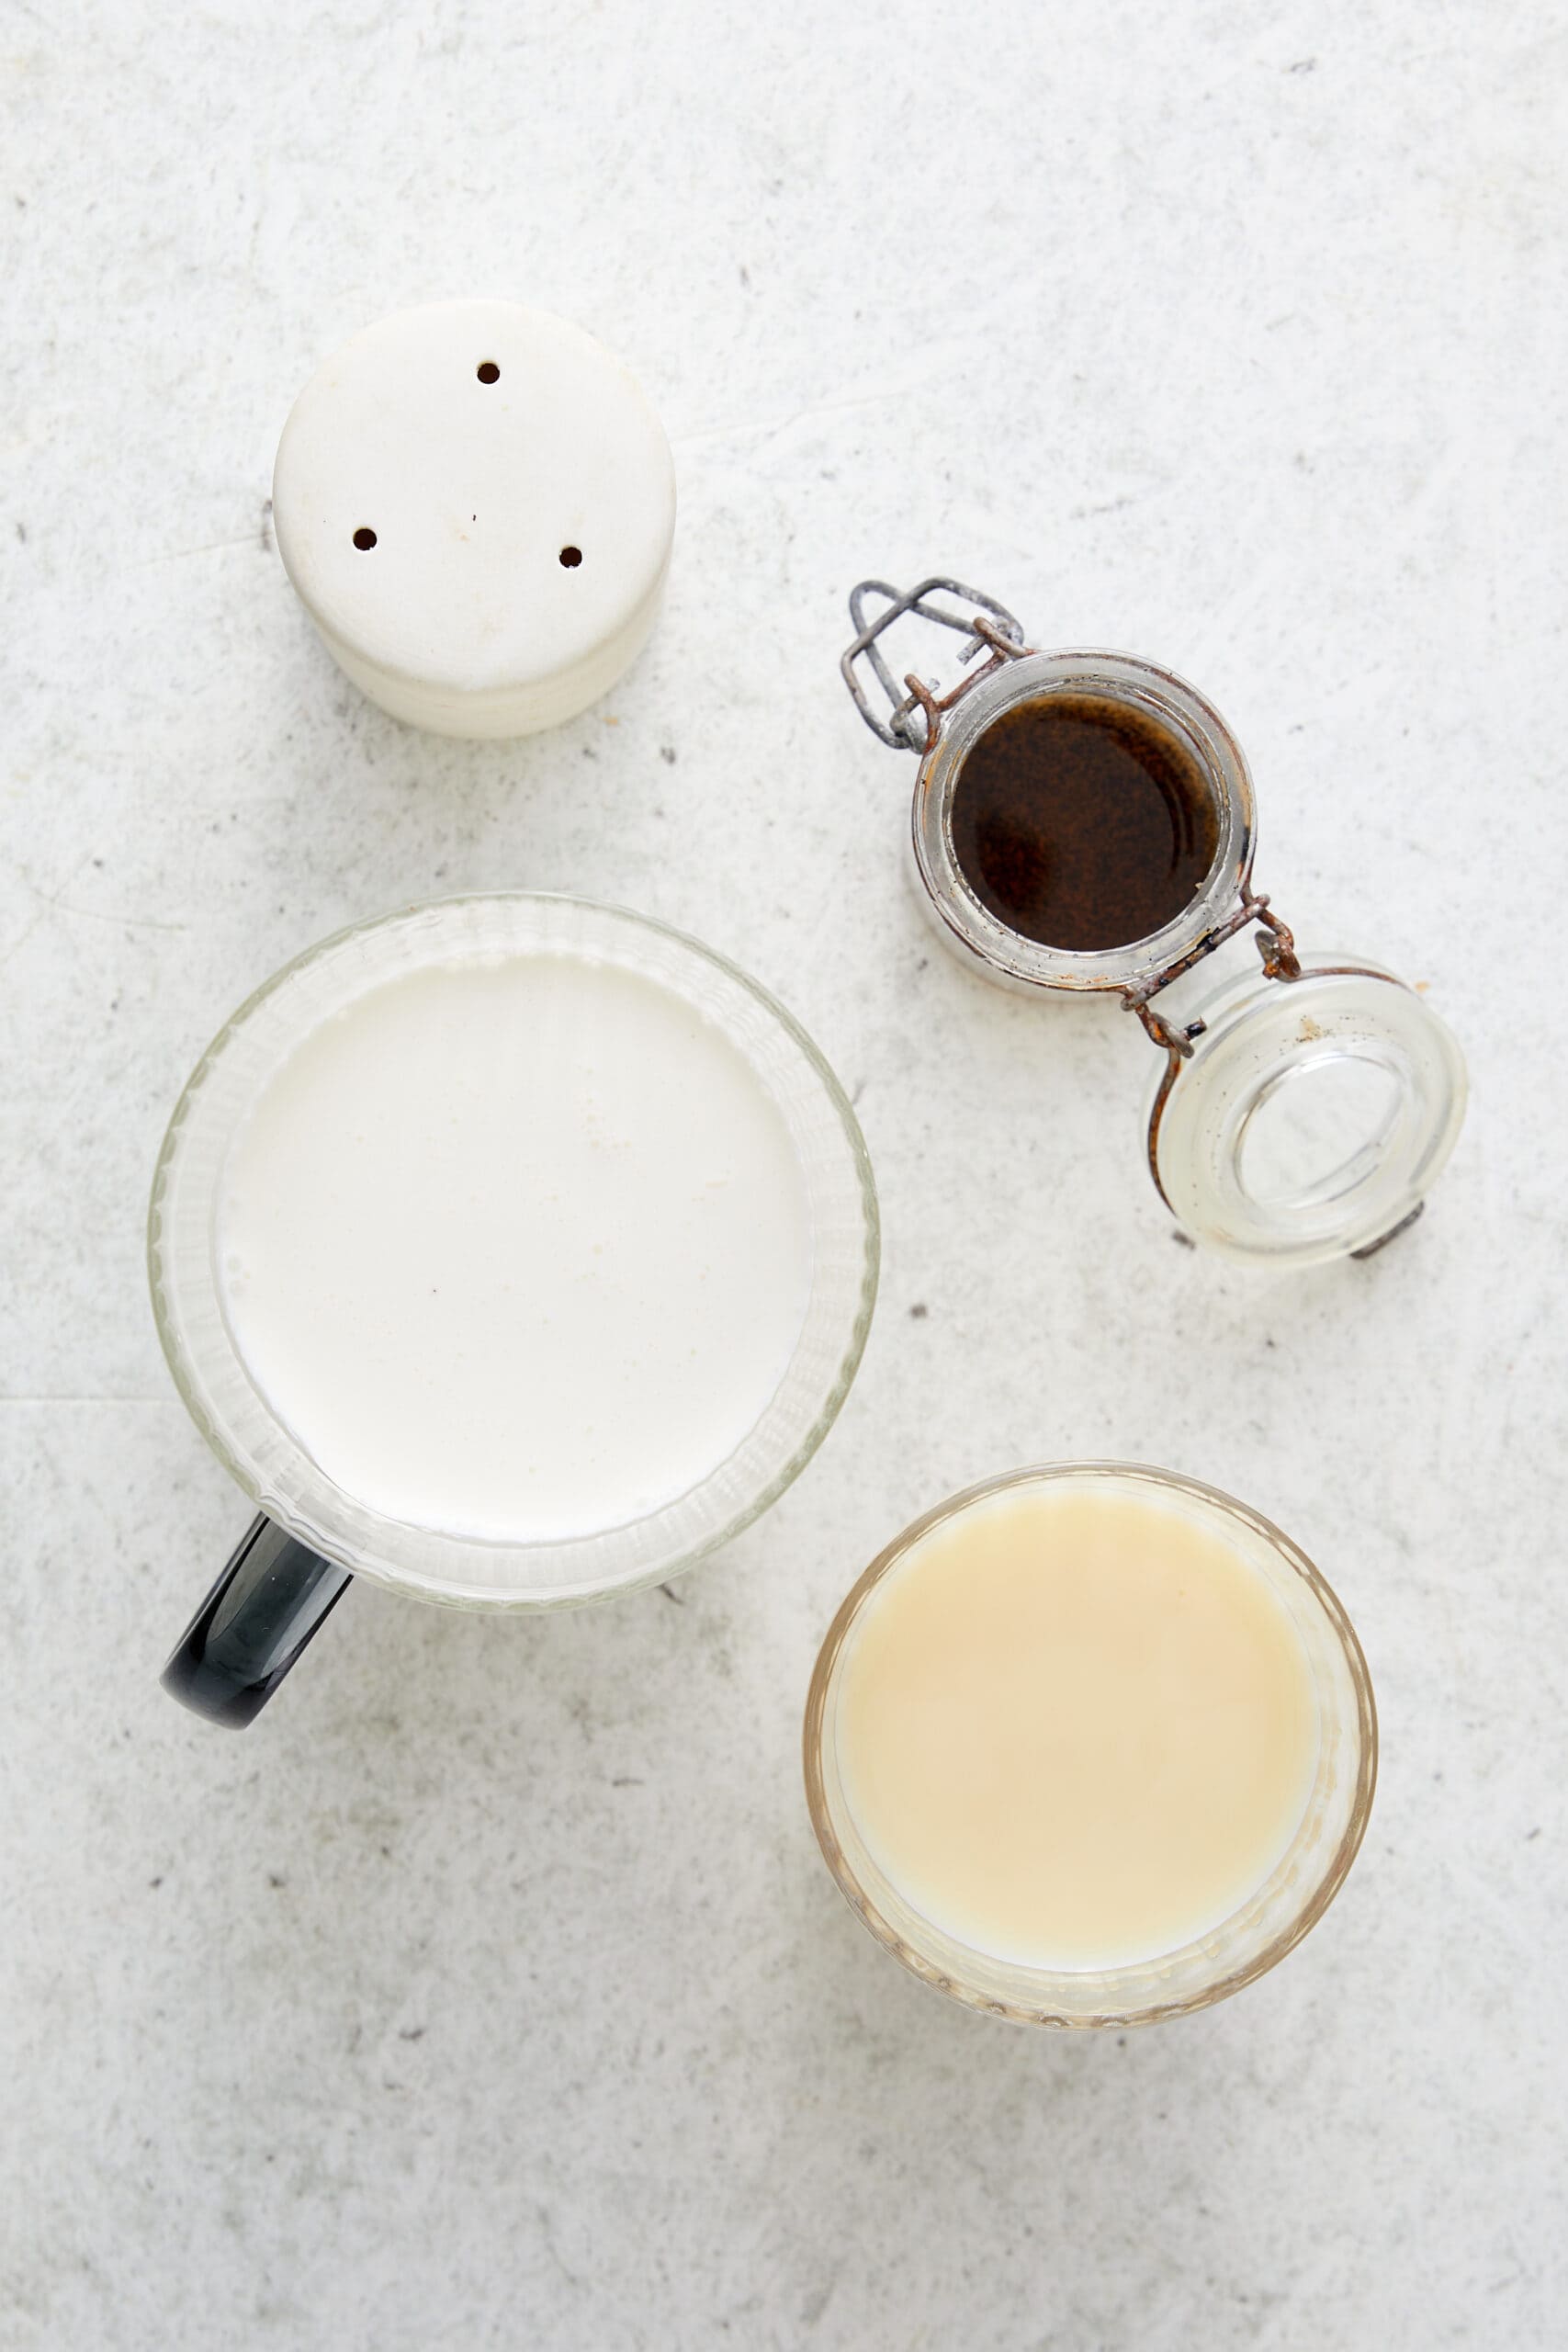
Of course, you also need four ingredients—heavy whipping cream, sweetened condensed milk, vanilla, and salt. That’s all it takes to make a frosty dessert that will surely please your family’s pickiest ice cream lovers.
Start With This Recipe And Customize As You Like
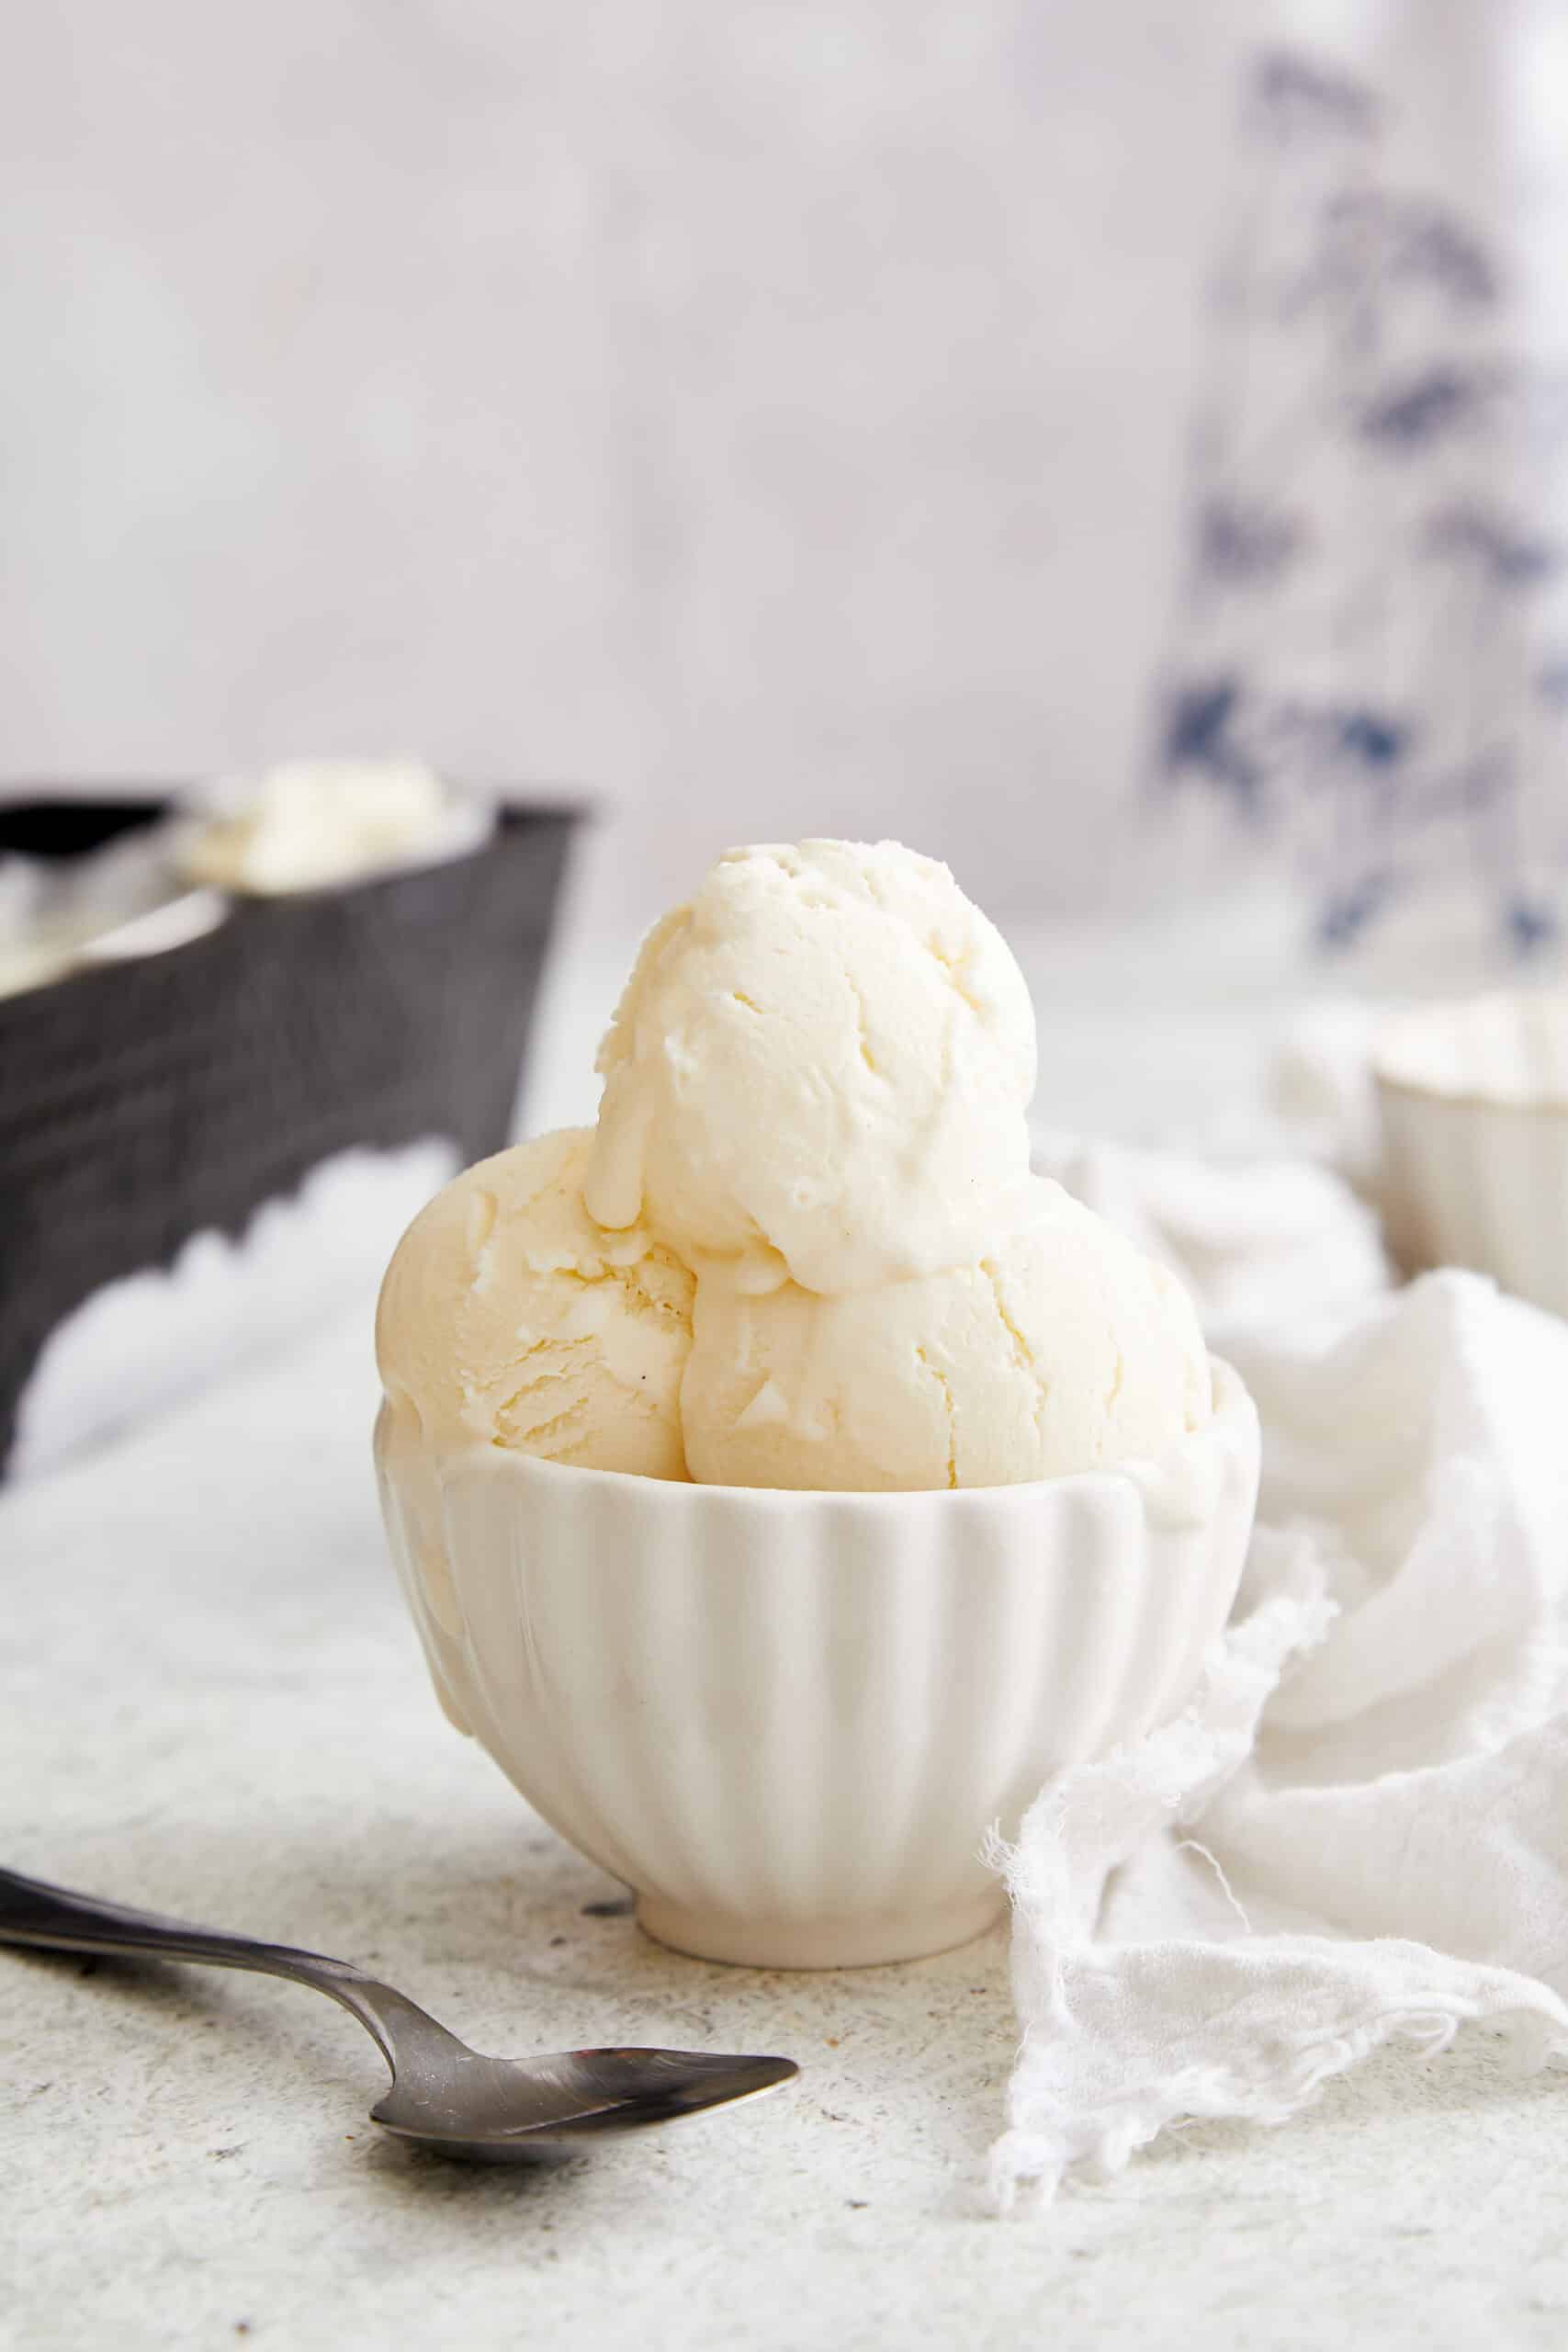
Making no-churn vanilla ice cream is so easy that you will likely want to expand your horizons with other flavors. I’m a chocoholic, so making chocolate ice cream tops my list of favorite flavors. However, I don’t stop there. After all, what goes better with chocolate than peanut butter? I like to swirl peanut butter into my chocolate ice cream before freezing it. If that’s not decadent enough, add in some chocolate chips and marshmallows or caramel syrup.
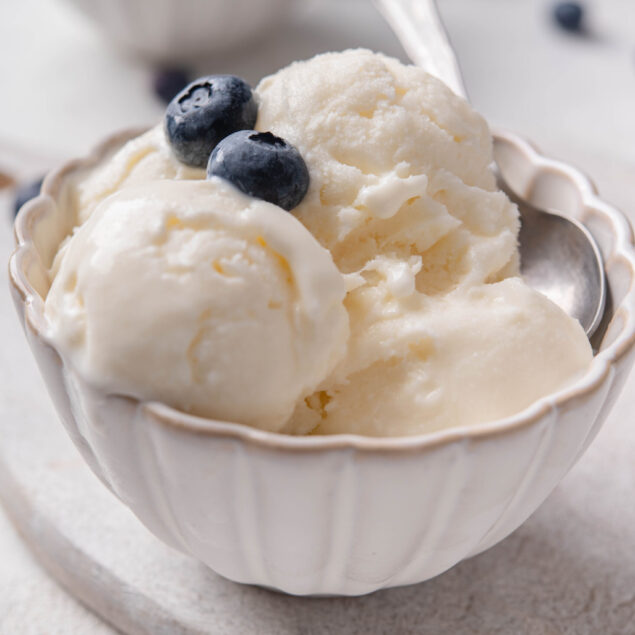
You can make chocolate ice cream by adding 2 tablespoons of unsweetened cocoa powder to the heavy cream when you whip it and 4 ounces of cooled and melted milk, semisweet, or dark chocolate to the sweetened condensed milk when you whisk it. I also like to blend frozen blueberries or strawberries to add to my vanilla ice cream for a fruity flavor.
How To Make Ahead And Store
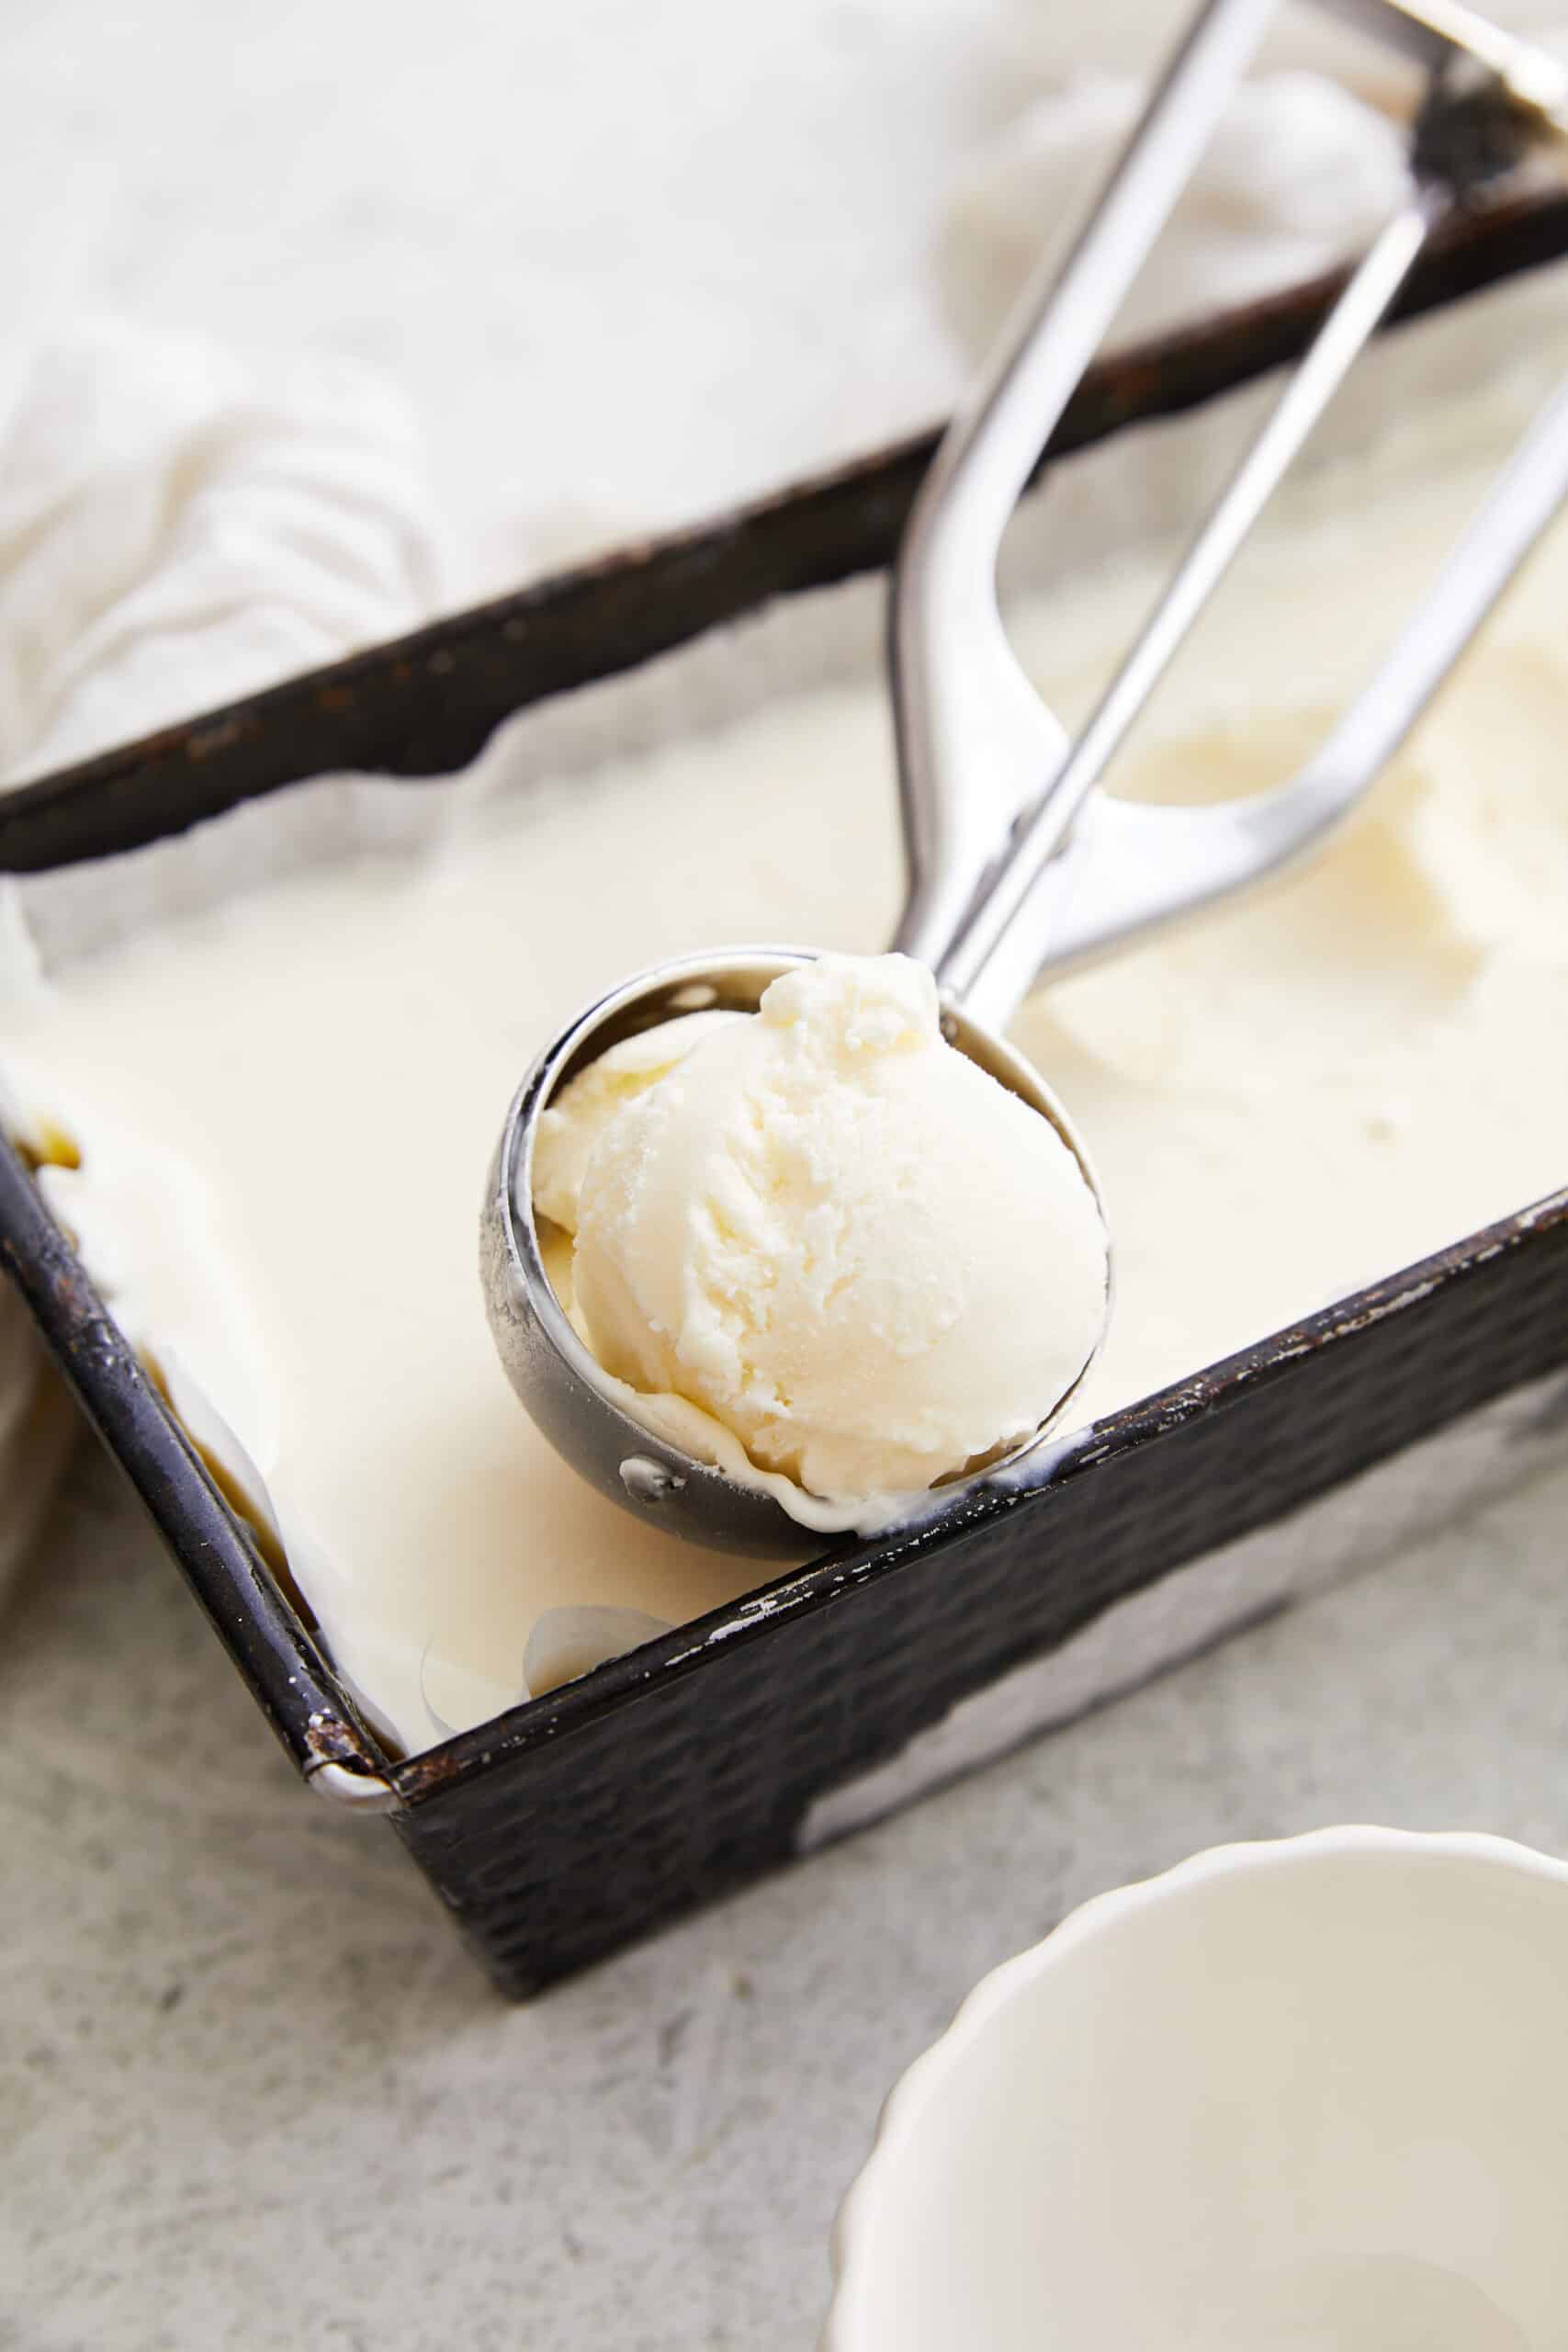
No-churn ice cream is a make-ahead recipe that takes about 8 hours to set. Although you can eat it once it’s ready, it lasts 2-3 months when stored in the back of the freezer. Make sure it is well sealed. Covering the ice cream with plastic wrap before sealing it with the container’s cover will help preserve its freshness.
Serving Suggestions
Vanilla no-churn ice cream tastes great over these Slow-Cooker Apples. You can also add a scoop to a slice of Lemon Buttermilk Pie with Blueberries for the perfect summertime or anytime dessert. If you want to get creative, place a scoop of ice cream in a bowl and top it with one or two of these refreshing Fruit Skewers. The presentation is stunning, and you are giving your family loads of vitamins and other nutrients with the added fruit.
No-Churn Ice Cream
Ingredients
- 1 14-ounce can sweetened condensed milk
- 1 teaspoon pure vanilla extract
- 1/8 teaspoon salt
- 2 cups heavy whipping cream cold
Instructions
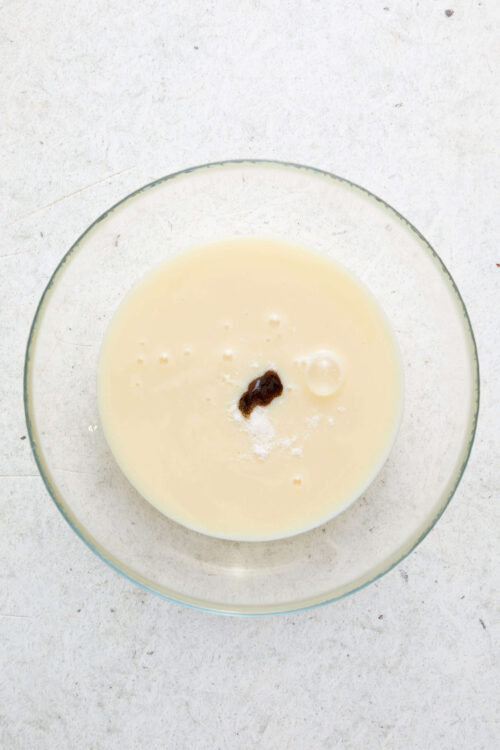
- In a large mixing bowl, whisk together the sweetened condensed milk, vanilla extract, and salt until well combined.
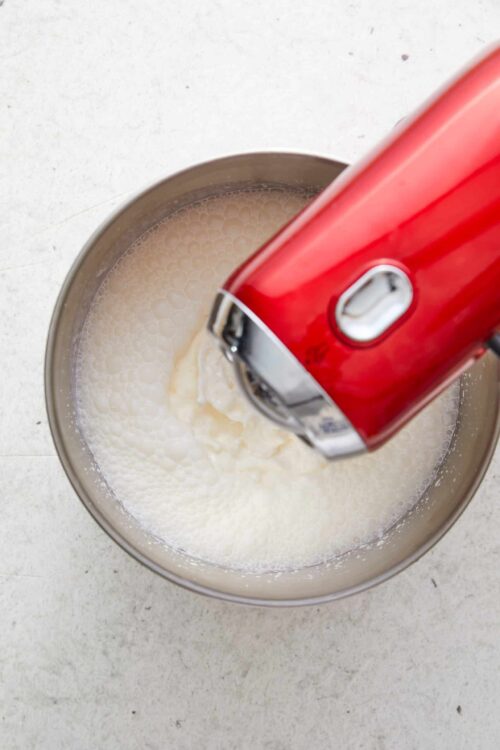
- In a separate bowl, using a hand mixer or stand mixer with a whisk attachment, whip the cold heavy whipping cream on low speed, gradually increasing to high, until stiff peaks form.
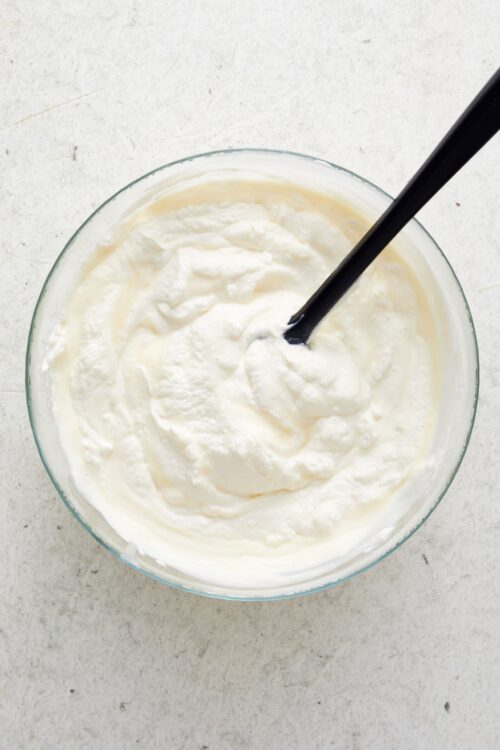
- Gently fold half of the whipped cream into the sweetened condensed milk mixture until just combined, then fold in the remaining whipped cream, being careful not to deflate the mixture.
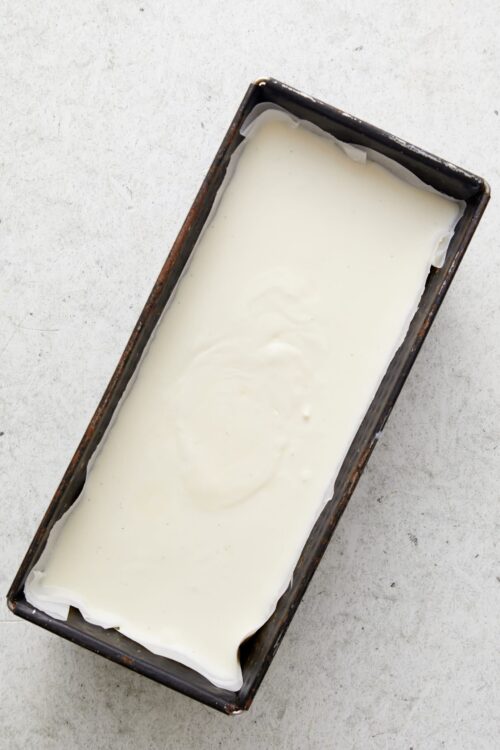
- Transfer the mixture into a 9×5 inch loaf pan, smoothing it into an even layer. Cover the surface directly with plastic wrap to prevent ice crystals from forming. Freeze for at least 8 hours, or overnight, until firm.

Leave a Comment