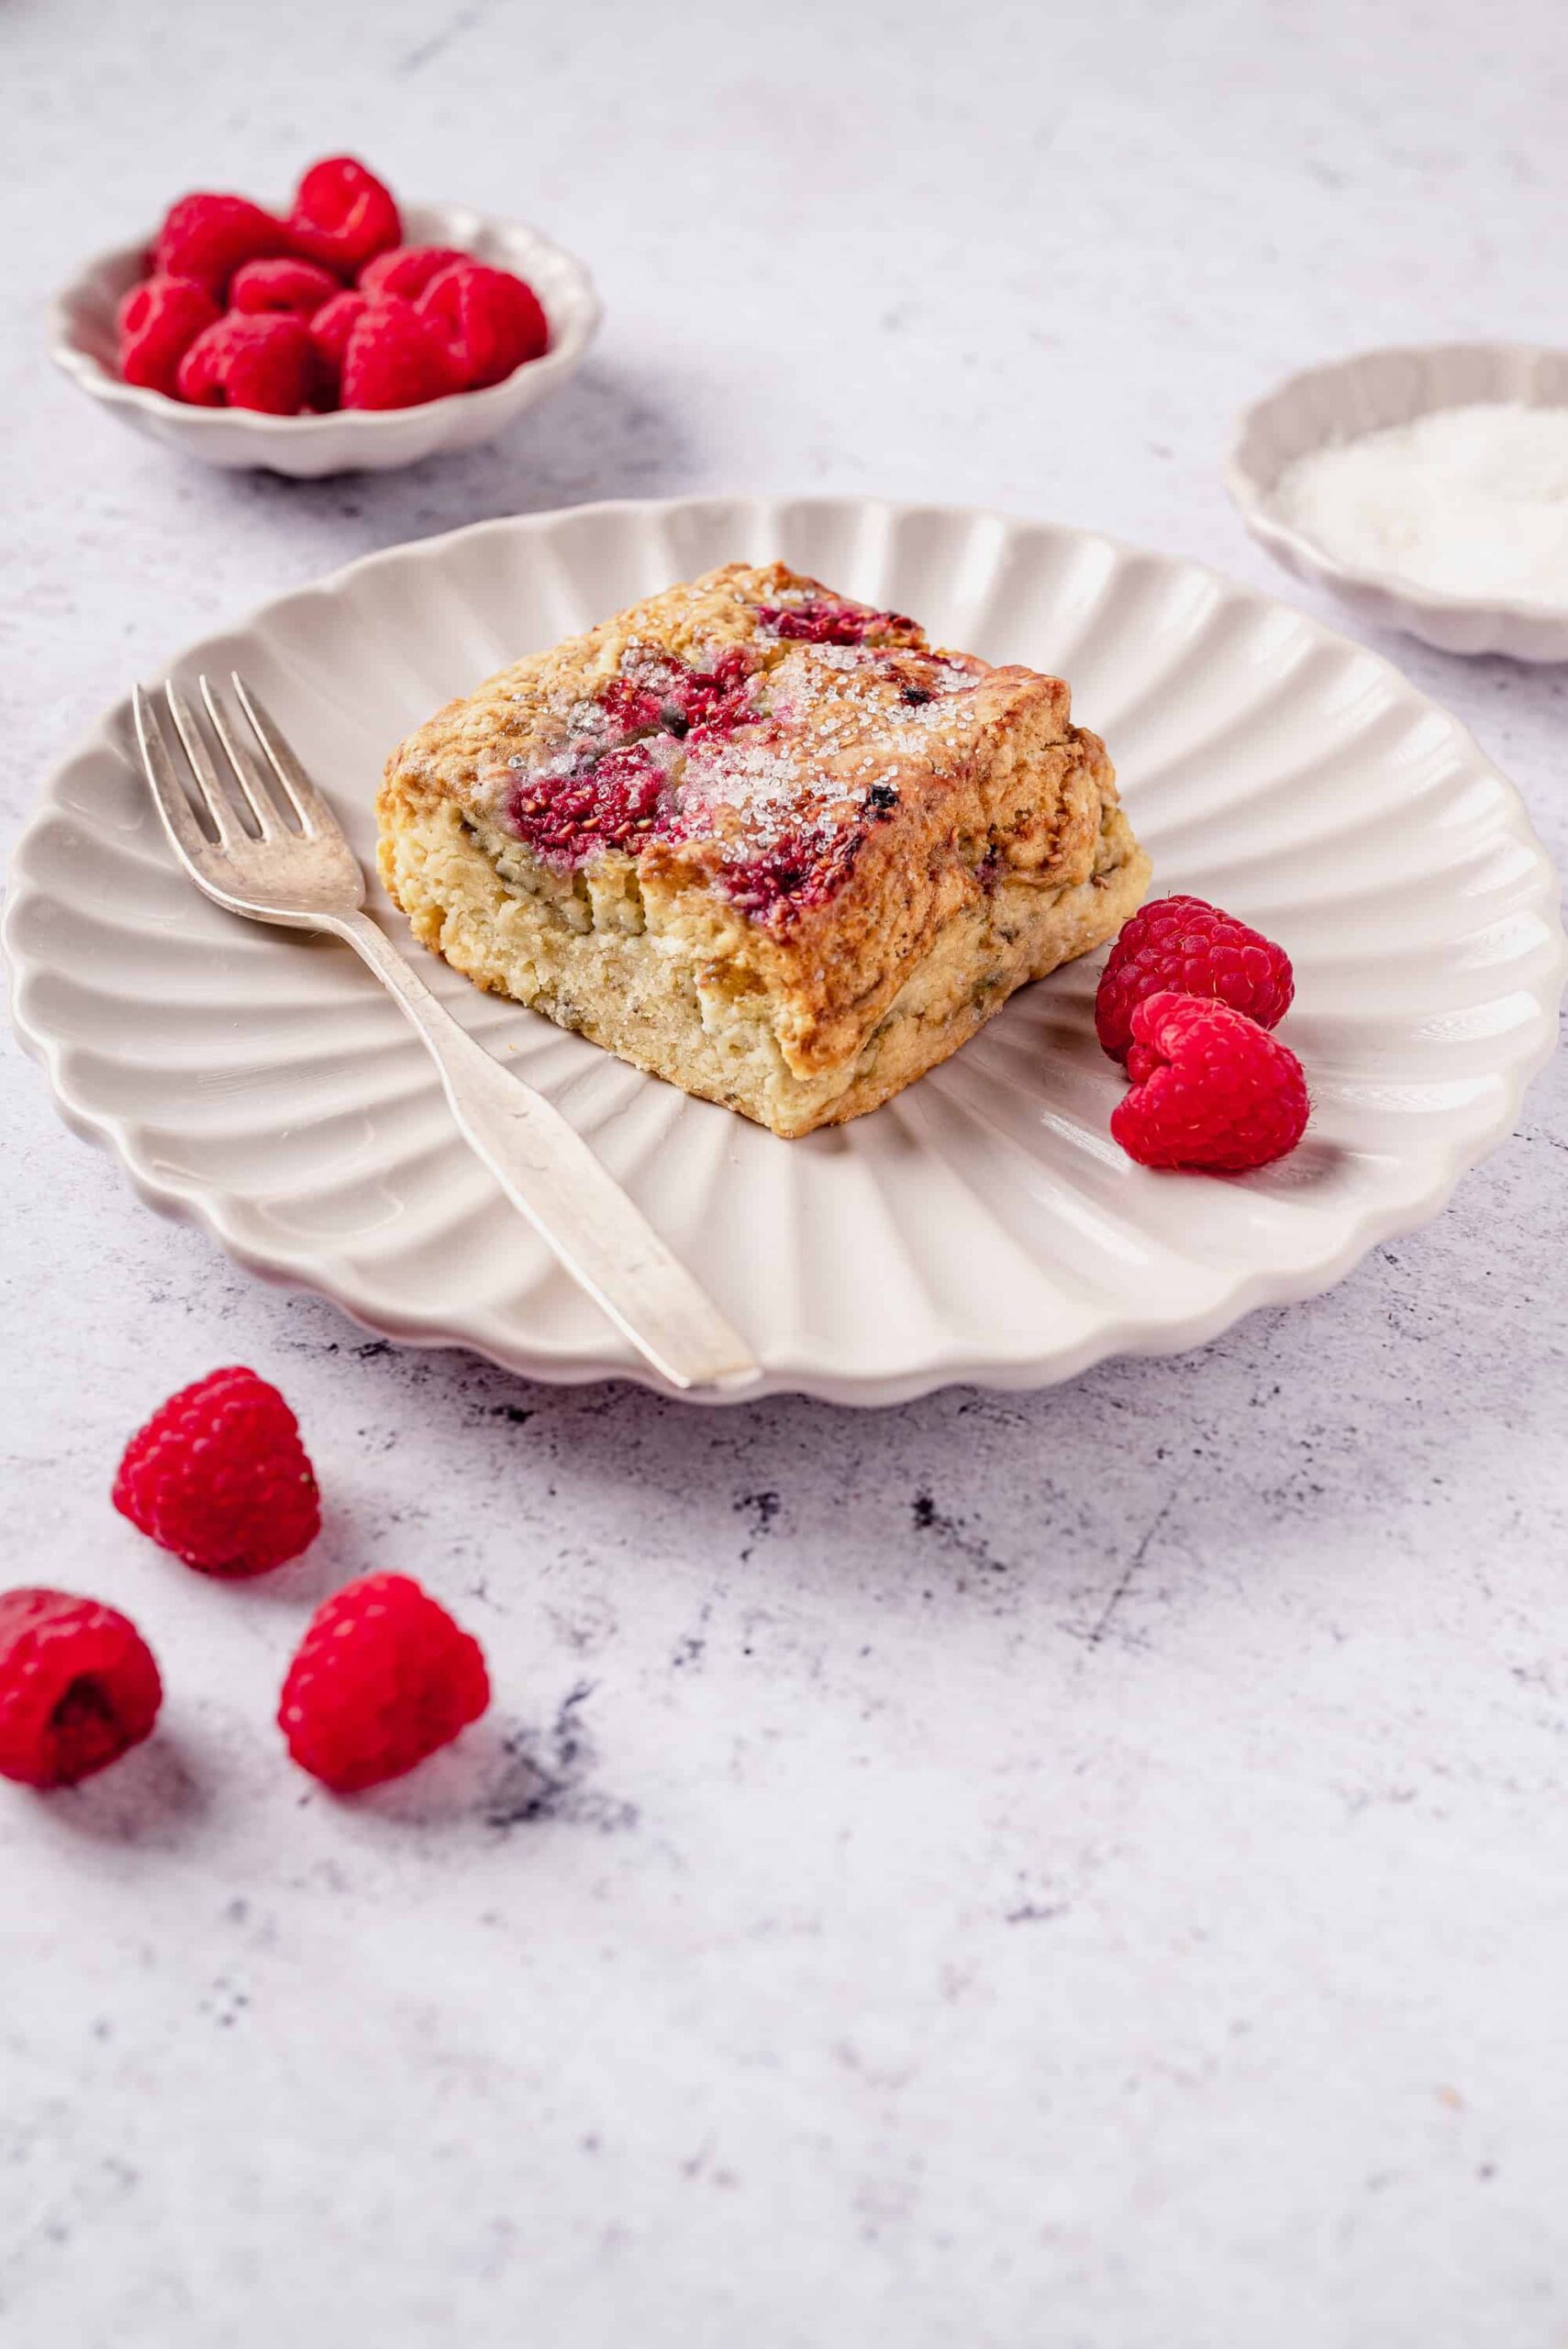
I love a scone. Love them. But a Raspberry Scone—somebody catch me please— because I faint for these. The sweet, tangy raspberry addition against this buttery dough—I’m talking the herald of a new scone dawn!
Oh boy! It’s time to write about my favorite of all baked goods—raspberry scones. I mean, these are right up there with Danish pastries for me. Did you know, by the way, that a Danish pastry has 128 layers when you do it right, book fold after book fold? But I digress.
I first tasted a raspberry scone when my daughters and I went dollhouse furniture shopping. This meant frequenting all the dollhouse shops near our house, which sell the best dollhouse furniture kits—real antique little kitchen table kits with little plates and mats.
We’d get several of these to make together and buy some of our favorite cinnamon tea and some raspberry scones to eat while we crafted these together. These are moments I treasure and will never forget.
So, I decided to develop my own recipe for these. At home, we call them our dollhouse raspberry scones.
The Secret to Perfect Raspberry Scones
I can give you several secrets to making perfect raspberry scones that will help you create the most delicate of biscuit textures and ensure you have plump raspberries to bite into as well.
First, select your raspberries carefully. The last thing you want is raspberries with lots of squishy berry bits. You’ll want just-ripe raspberries for this, or you’ll end up with nothing but pinkish, red dough!
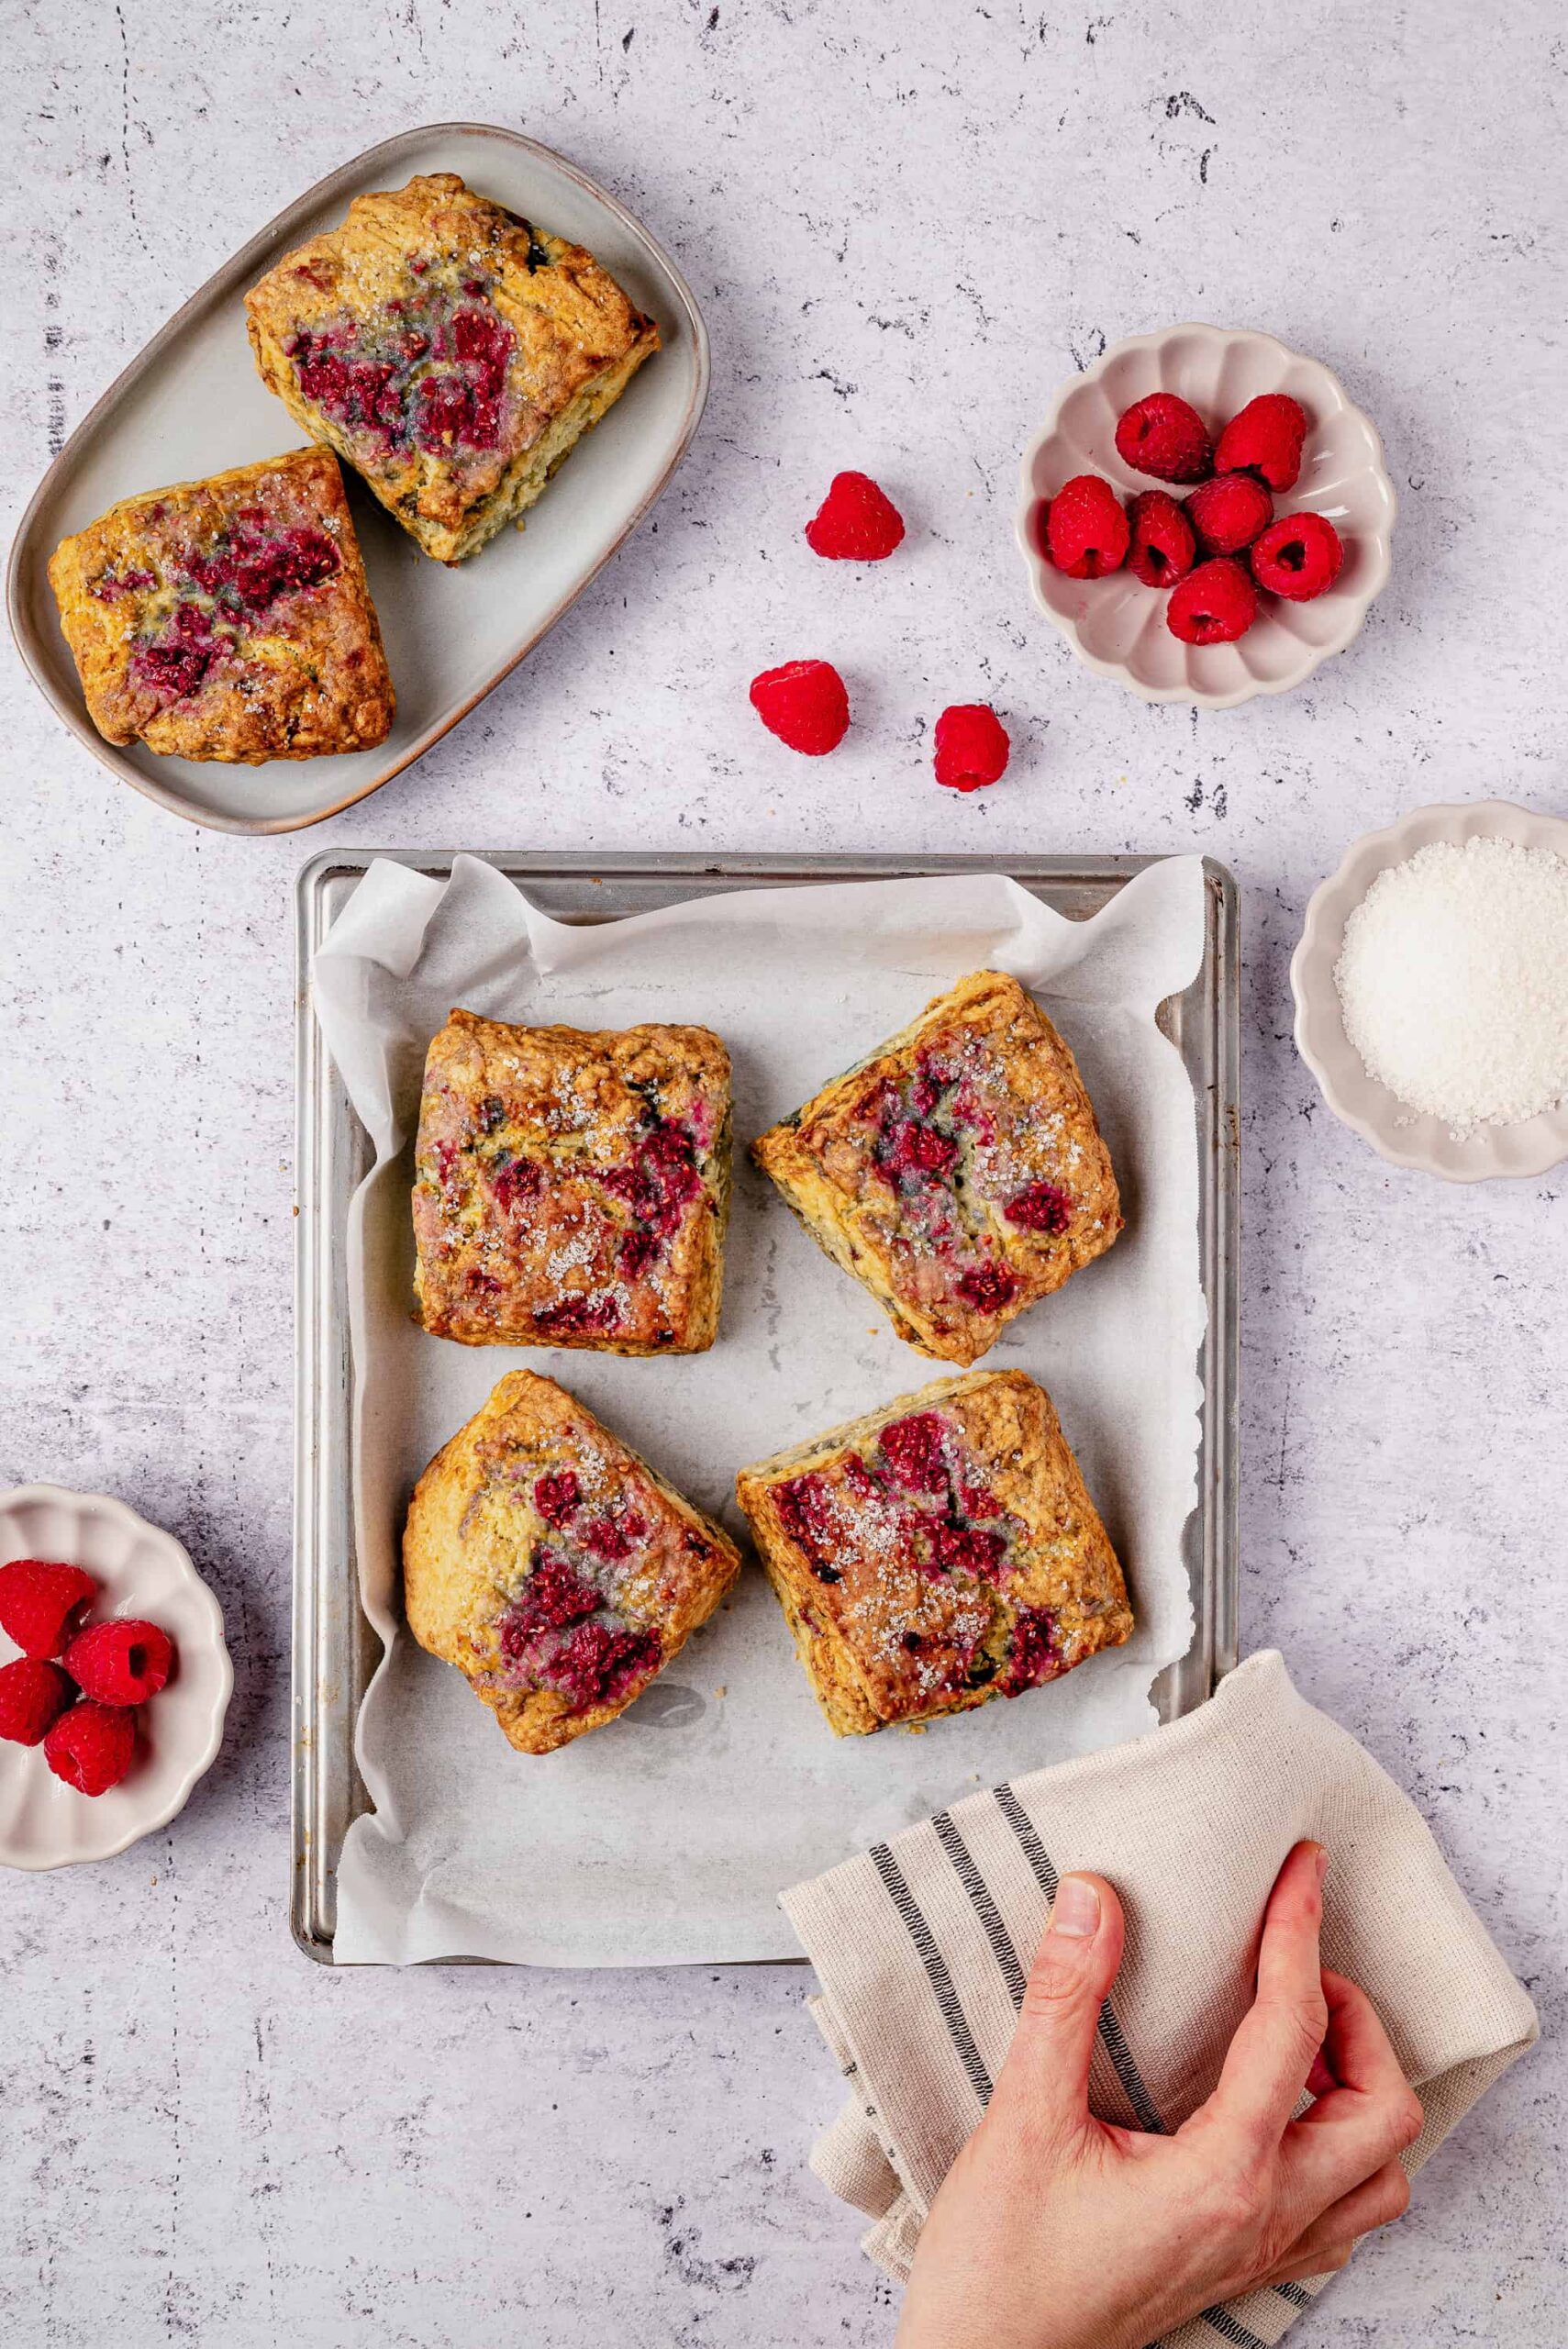
Speaking of dough, keep your dough, berries, and, most of all, your butter and your hands very cold for this recipe. Butter starts to melt quickly enough. With your warm hands on it, it’s slippery in seconds. You need your dough to stay as cold as possible if you want the proper texture for scones—that and let your scones touch just a bit—not so much they cook into one big mass but just a bit. If they swell and rise together, then so much the better. You’ll have a knife to take care of that when you separate them for eating anyway!
How to Make Ahead and Store
You can refrigerate scone dough for up to 3 days before baking. You can also freeze it for up to 3 months, but it’s better to shape it out and freeze it with parchment paper between each piece.
The Kind of Bowl Matters!
Think really quickly: Throughout your baking career, which bowls get coldest to the touch? Metal ones, right? That’s your answer!
Should I Roll My Dough?
No! Scones are better if they look a bit rustic. That way, you don’t smash your raspberries either. Always remember, work your dough less, and you’ll enjoy it more.
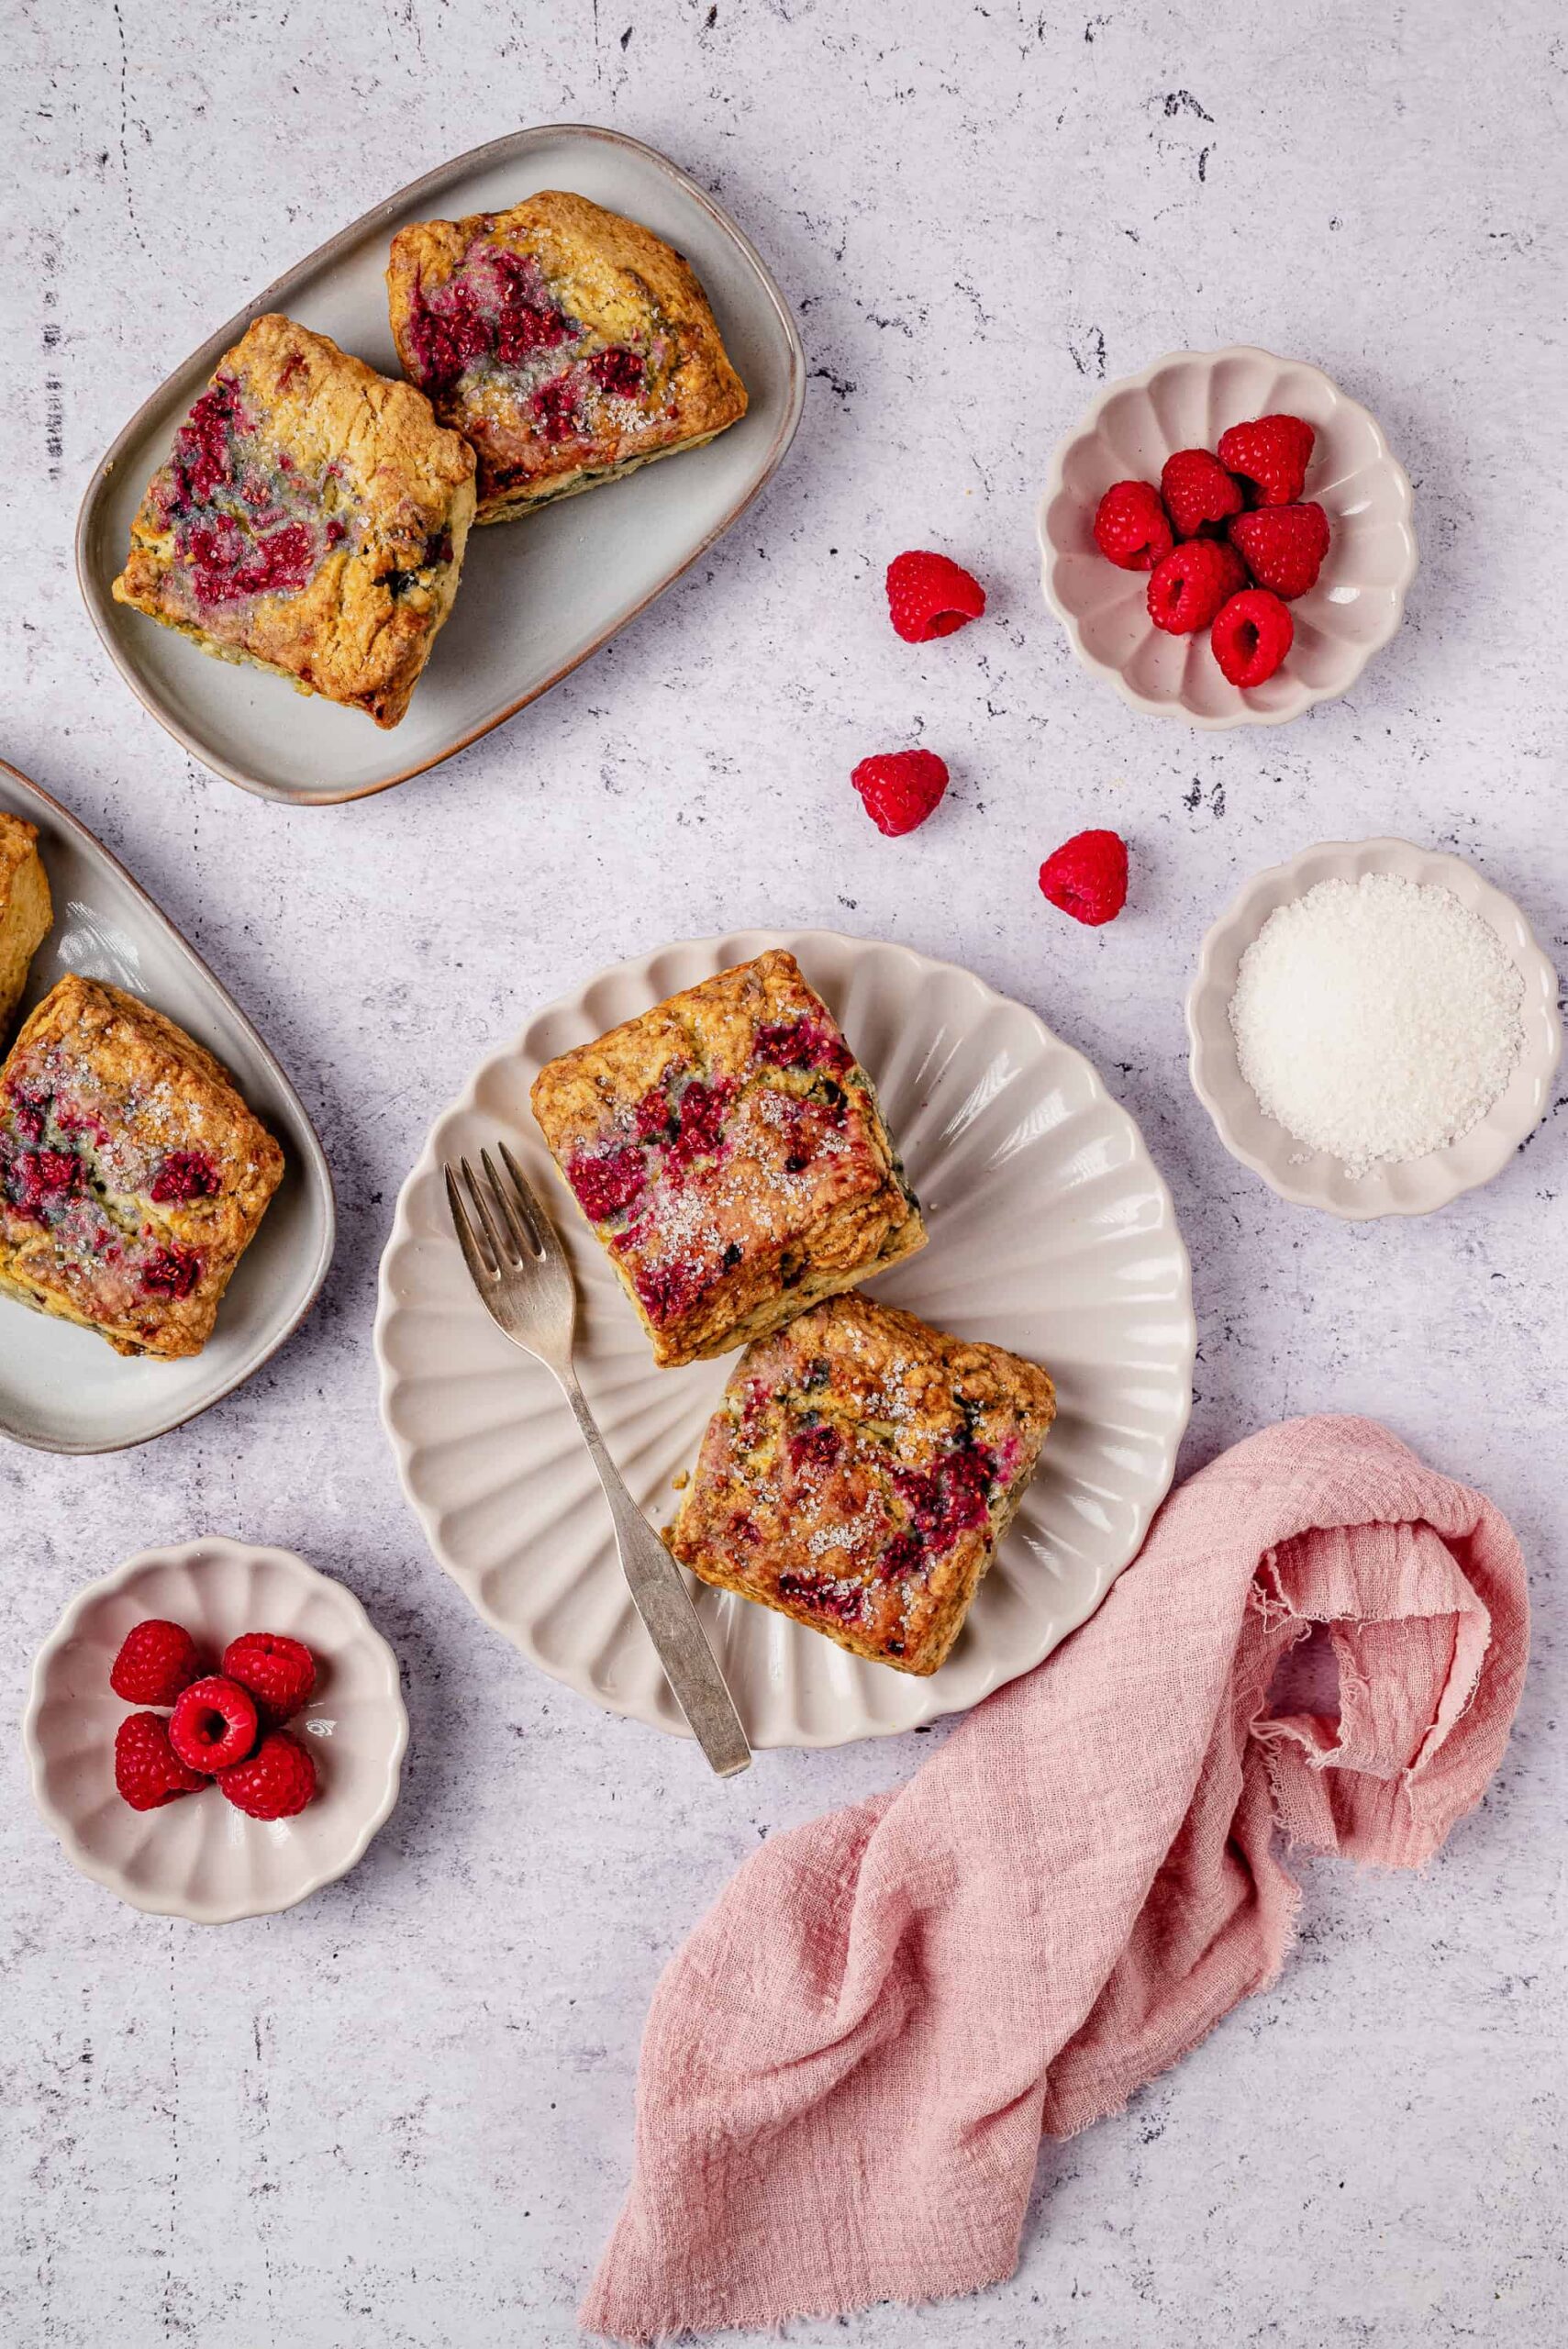
Serving Suggestions
Oh, I can eat these raspberry scones with anything. But they’re especially good with Iced Mochas, these Delicious Vanilla Milkshakes, or simply tea or coffee.
For more scone recipes, take a look at these Lemon-Blueberry Scones, these Chocolate Chip Scones or these Apple Cinnamon Scones.

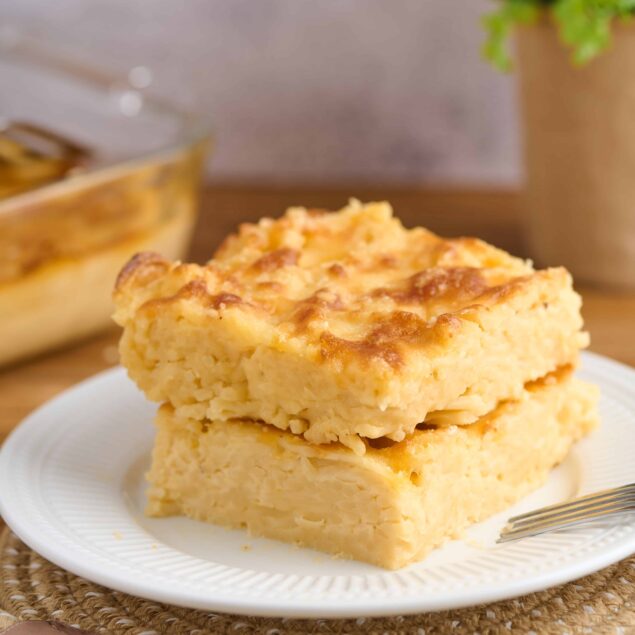
Raspberry Scones
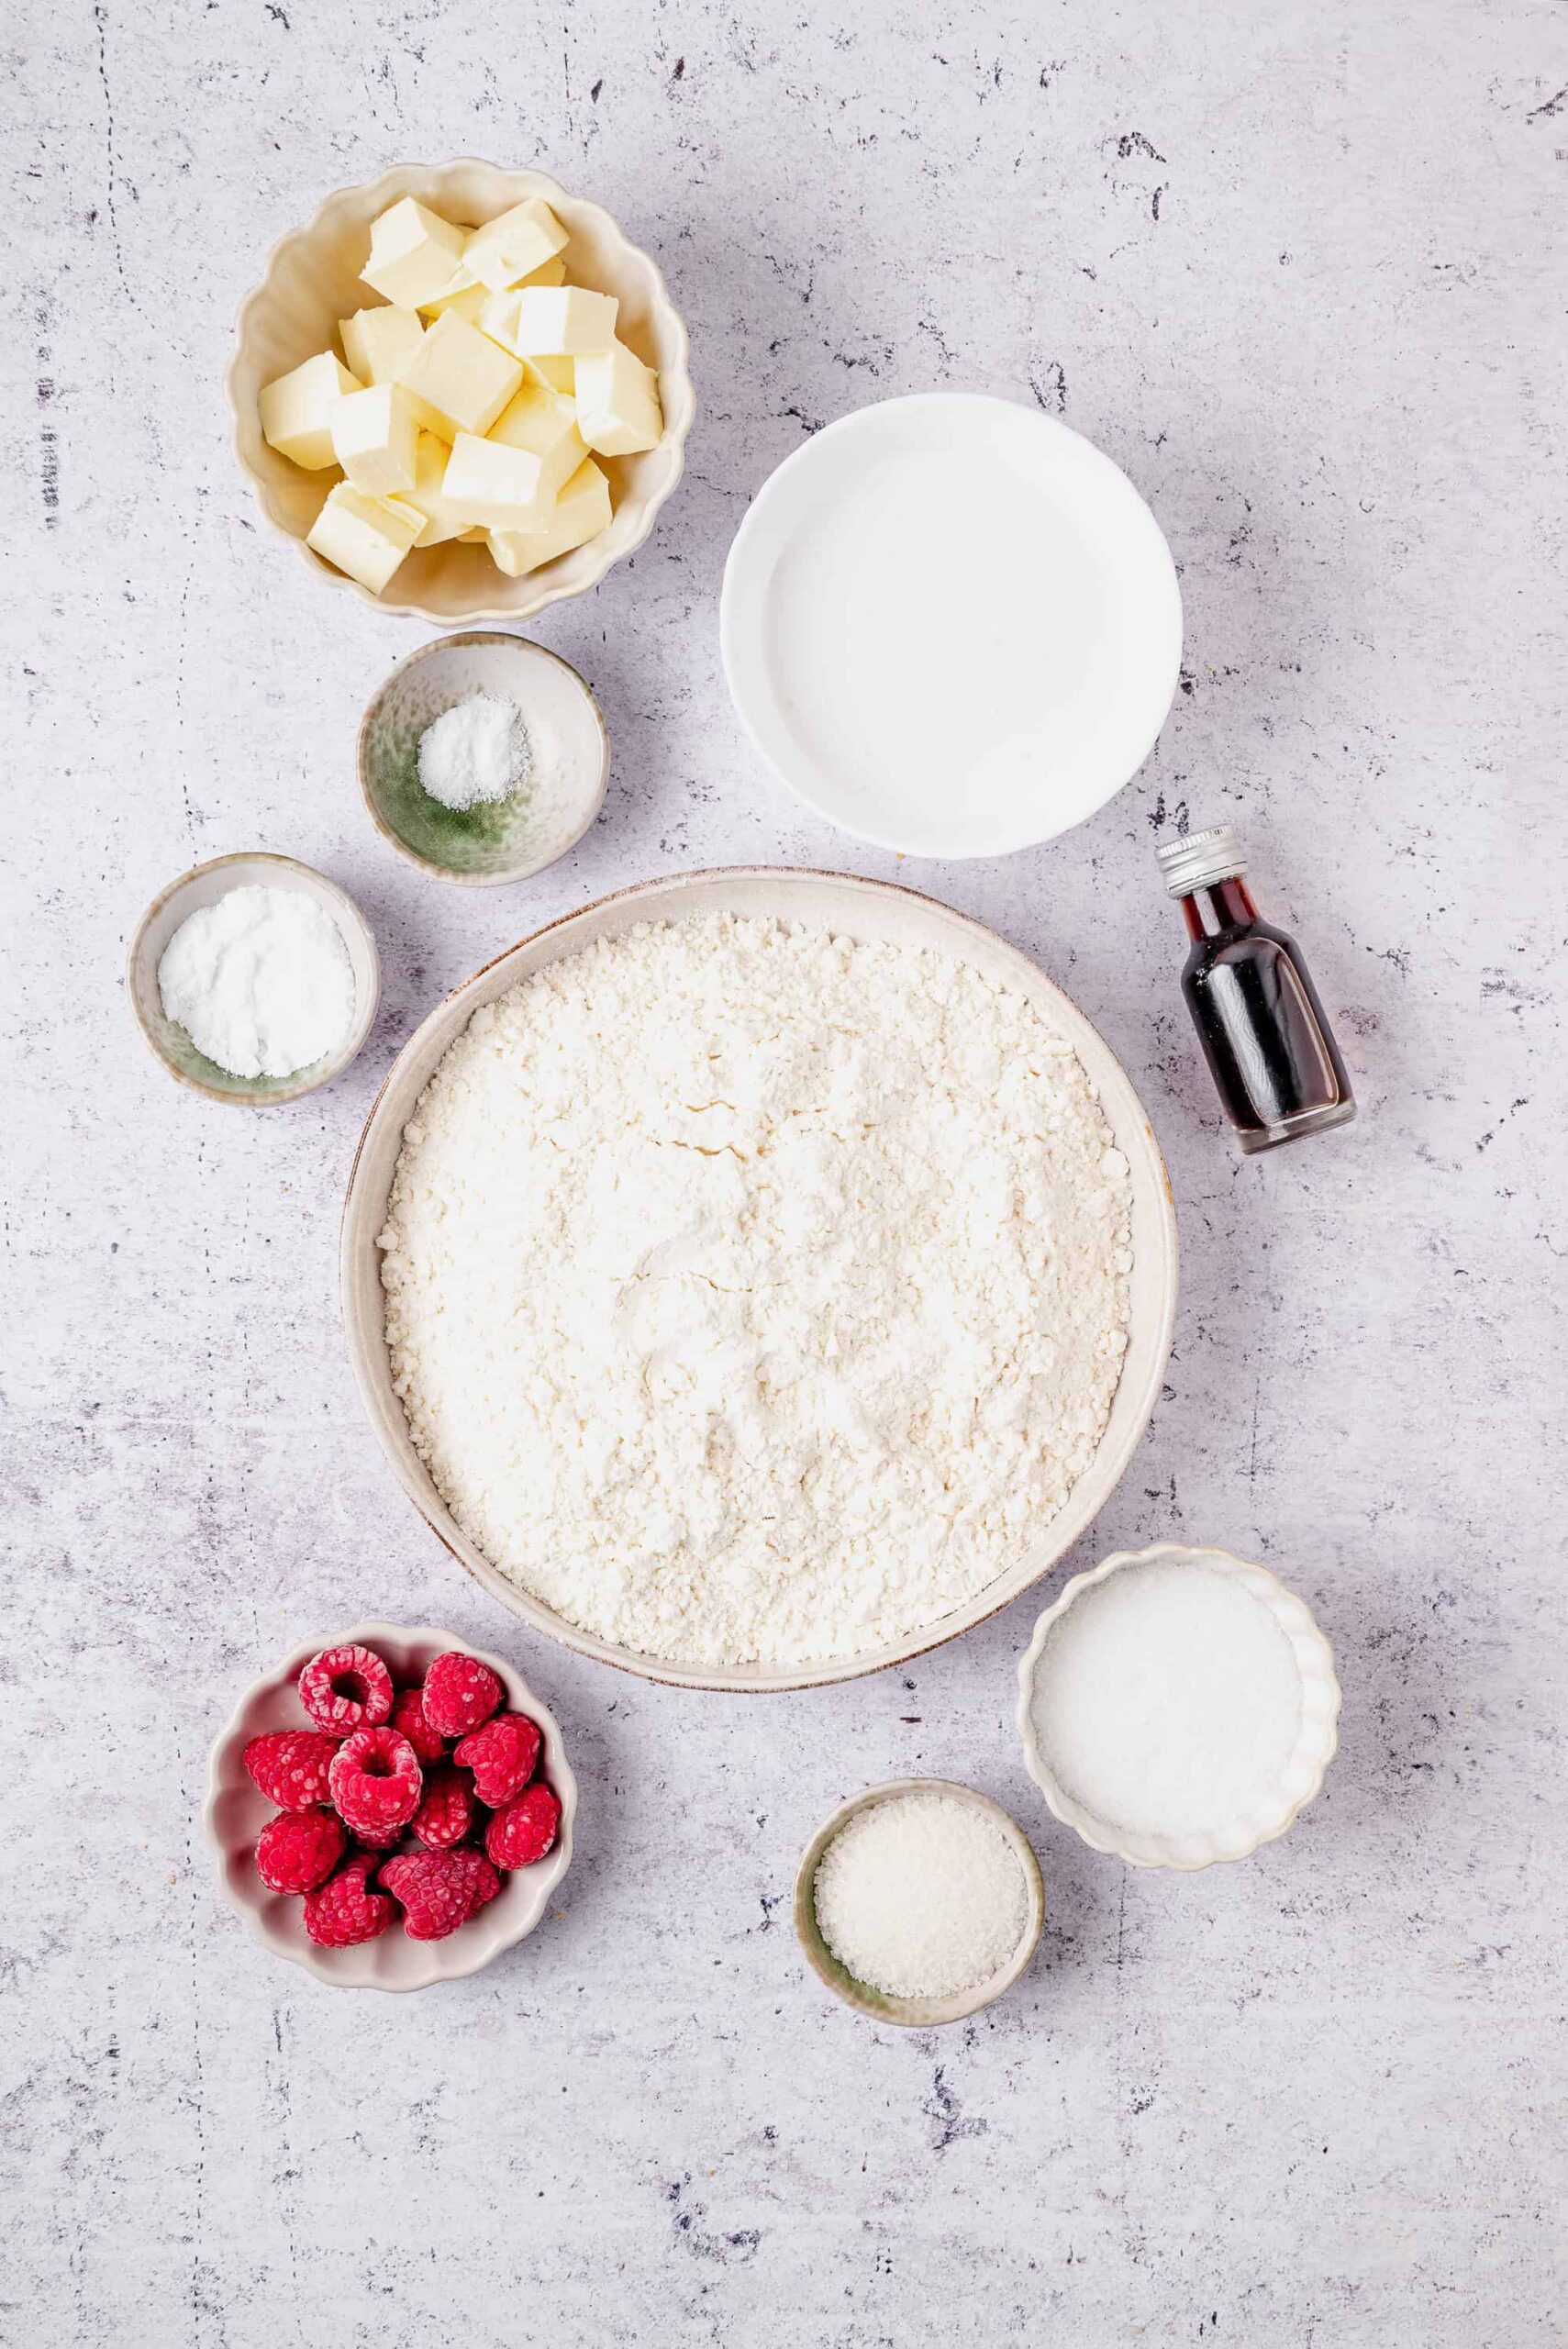
Ingredients
- 3 cups all-purpose flour
- 6 tablespoons granulated sugar
- 1 tablespoon baking powder
- 1/2 teaspoon salt
- 12 tablespoons cold unsalted butter cut into pieces
- 3/4 cup cold heavy cream plus more for brushing
- 1/4 teaspoon vanilla extract
- 1/2 heaping cup frozen raspberries
- Coarse sugar for sprinkling optional
Instructions
- Get ready. Preheat your oven to 375°F and line a baking sheet with parchment paper for easy cleanup.
- Mix dry ingredients. In a food processor, pulse the flour, sugar, baking powder, and salt just until combined.
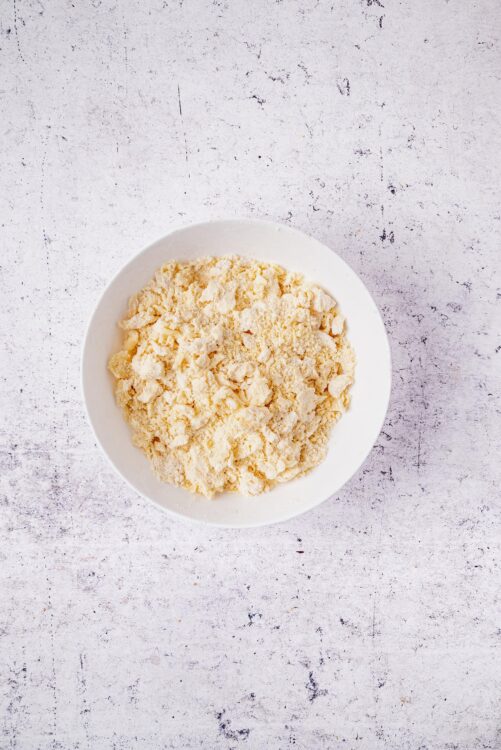
- Add butter. Scatter the cold butter pieces over the dry mix and pulse until the mixture resembles coarse crumbs.
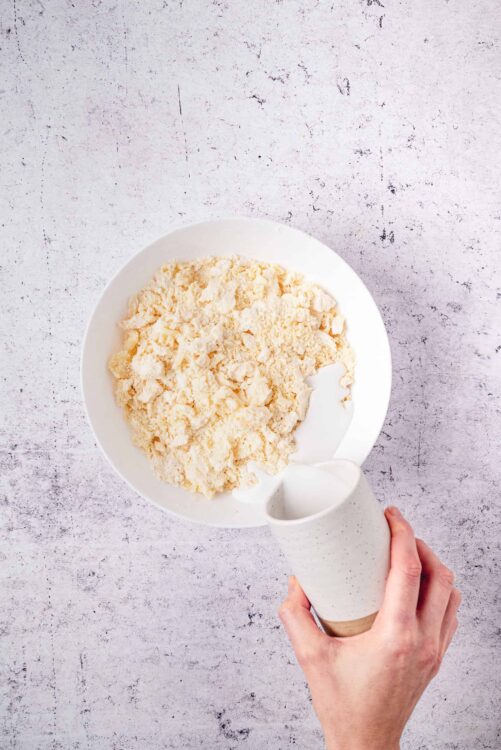
- Combine wet ingredients. In a small bowl, whisk together the cold heavy cream and vanilla extract, then drizzle over the flour mixture. Pulse until the dough starts to come together.
- Incorporate raspberries. Turn the dough out onto a floured surface and sprinkle frozen raspberries on top. Gently fold the dough over the raspberries to distribute them evenly.
- Shape the dough. Cut the dough in half and stack one half on top of the other. Flatten into a rectangle, then repeat the stacking and flattening 3-4 times. Finally, shape into an 8×5 inch rectangle.
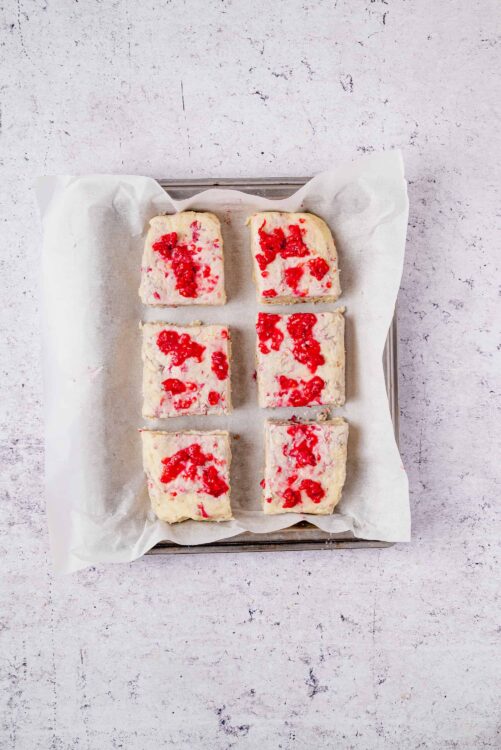
- Cut scones. Slice the dough into six even squares, pressing straight down with the knife.
- Prepare for baking. Place the scones on the prepared baking sheet, brush with extra cream, and sprinkle with coarse sugar if you like a sweet crunch.
- Bake to perfection. Bake for 15-17 minutes or until the scones are golden brown at the edges. Let them cool a bit before serving.

Leave a Comment