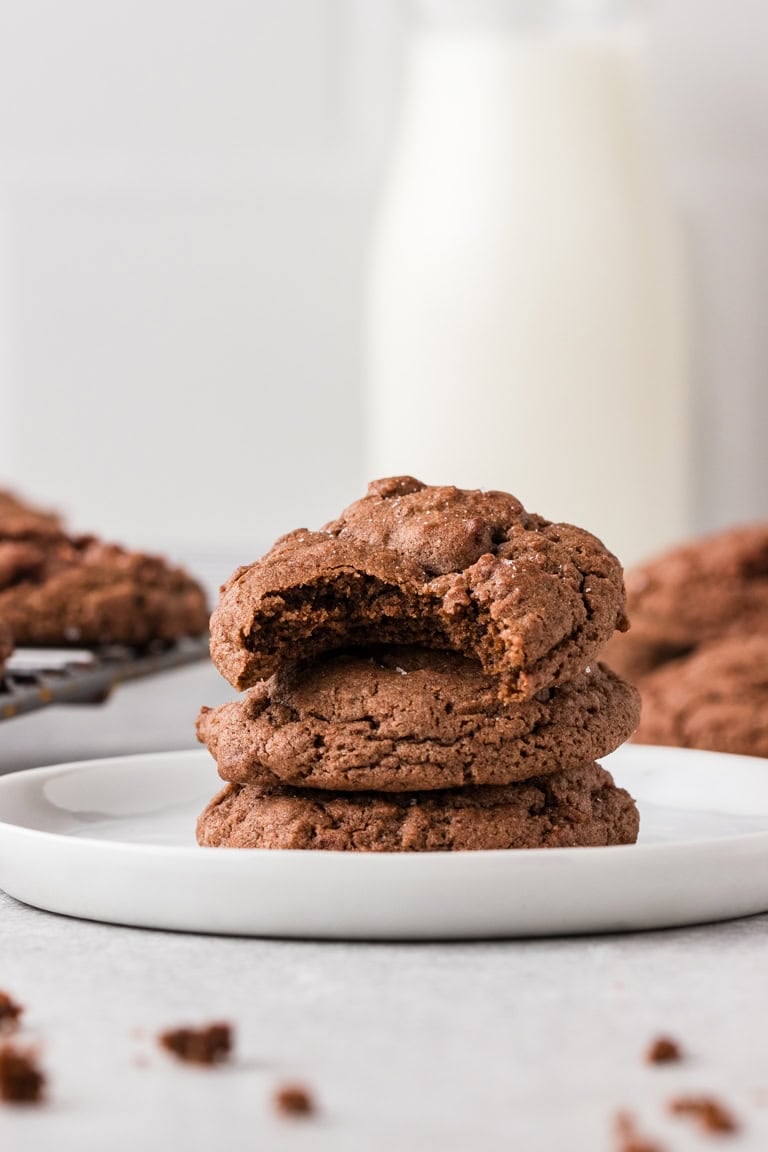
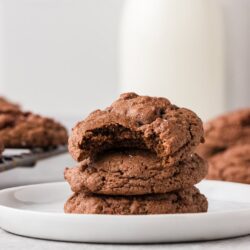
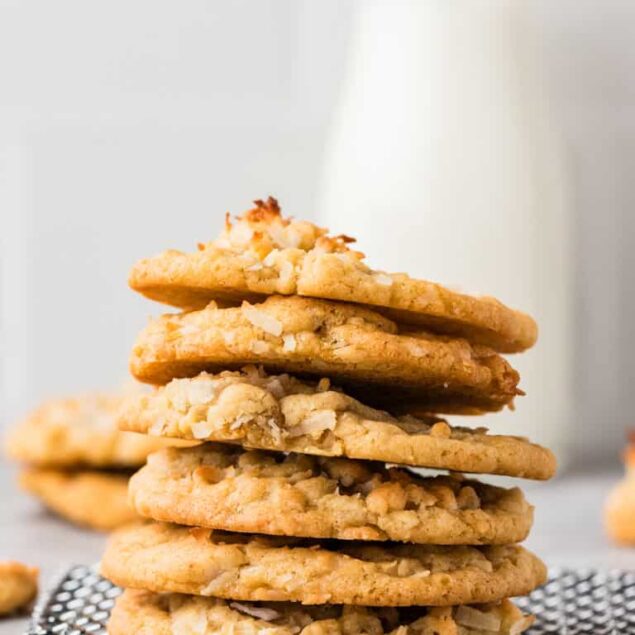
These Chewy Chocolate Cookies win hearts (and disappear fast) wherever they go.
When I agree to make cookies for someone (or a group of people), I always start with a very important question: “Are you a ‘crisp’ cookie person or a ‘chewy’ cookie person?” From that moment on, I mentally sort people into cookie camps and define them forever by their preference. “There goes Susan—she’s a chewy-cookie person.” Or, “I saw Mike the other day at the bank. I bet he told the teller he likes crispy cookies.”
Knowing how someone likes their cookies is a big deal if you plan to bake for them. Sure, a chewy-cookie lover will eat a crispy one, but they won’t love it. And that’s a shame, because cookies—those little circles of heaven—deserve to be loved. That’s why recipes like this one are so essential for any baker worth their salt (or sugar).
Being able to bake a cookie that perfectly matches someone’s preference elevates you from “person who bakes cookies” to “cookie whisperer.” It’s bespoke baking—part science, part intuition, and all about delighting your audience. And honestly, few things bring me more joy than asking, “How do you like them?” and watching someone’s face light up as I hand over a batch made exactly to their taste.
I made these chewy chocolate cookies for a group of my chewy-cookie-loving friends recently, and let me tell you, they were devoured in no time. With their dense, chocolaty crumb and dark, luscious flavor, these treats are hard to resist. And the best thing? They’re so easy to make!
Secrets to chewy cookie perfection
If you’ve ever wondered why some cookies stay soft and chewy while others crisp up like crackers, it really comes down to a few small—but mighty—details. Start with the butter-to-sugar ratio. Butter adds moisture and richness, while too much sugar (especially white sugar) can dry the dough and create a crunchier texture. If chewiness is your goal, brown sugar is your best friend. Its molasses content locks in moisture and lends that deep, caramel-like flavor that makes chewy cookies irresistible.
How you handle the dough matters, too. Overmixing develops too much gluten, which can make cookies tough, so stop as soon as the ingredients are just combined. And don’t skip chilling the dough—about 30 minutes in the fridge helps solidify the fat, preventing excessive spread in the oven and ensuring that soft center we all love. Finally, take your cookies out a minute or two before they look done. They’ll continue to cook and set as they cool, leaving you with tender, melt-in-your-mouth perfection.
How do I store leftovers?
Baked cookies keep best when stored in an airtight container at room temperature—they’ll stay soft and delicious for about 3–4 days. If you’d like them to last longer, refrigerate them for up to 1 week (just let them come to room temp before serving). For long-term storage, freeze baked cookies in a freezer-safe bag or container for up to 3 months. When you’re ready to enjoy, simply let them thaw on the counter—or pop them in the microwave for a few seconds to bring back that just-baked warmth.
You can also prep these cookies ahead of time so a warm batch is always within reach. Wrap the dough tightly in plastic wrap or store it in an airtight container in the fridge for up to 3 days. For longer storage, freeze the dough instead. The easiest way is to flash-freeze it: scoop tablespoon-sized portions onto a baking sheet, freeze for 1–2 hours until solid, then transfer them to a freezer-safe bag. They’ll keep well for up to 3 months.
When the craving strikes, you don’t even need to thaw—just bake them straight from frozen, adding 2–3 extra minutes to the bake time. If you prefer a more even bake, let the dough rest at room temperature for 10–15 minutes before it goes into the oven. Either way, you’ll have fresh, chewy cookies in no time.
Serving suggestions
One kind of cookie is great—but a whole assortment? That’s where the fun really begins. Picture a platter piled high with Delicious Chocolate Peppermint Cookies, Rainbow Swirl Cookies, Heart-Shaped Chocolate Chip Cookies, Date Pinwheel Cookies, Italian Wedding Cookies, and Almond Butter Cookies—a little something for everyone. Or, package up a mix of them in cute bakery boxes for a thoughtful (and irresistible) holiday gift. However you serve them, a spread like this turns simple baking into pure celebration.

Chewy Chocolate Cookies
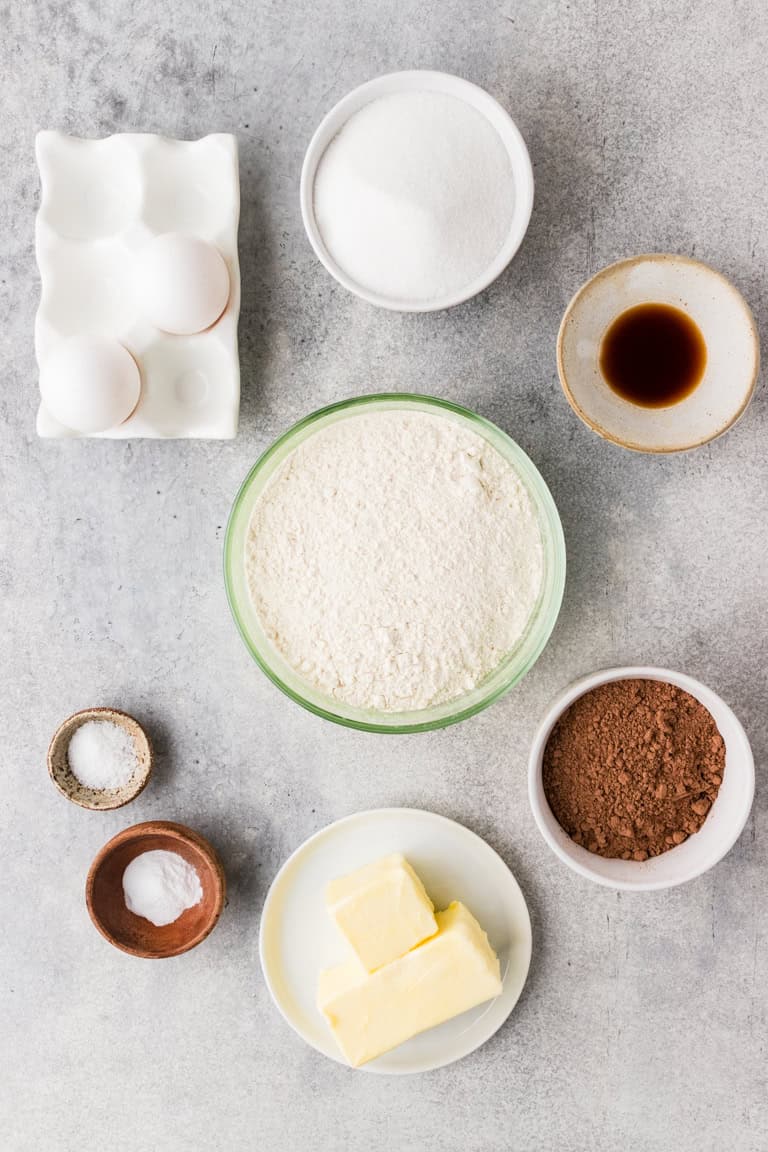
Ingredients
- ¾ cup unsalted butter at room temperature
- 1½ cups granulated sugar
- 2 large eggs
- 2 teaspoons vanilla extract
- 2 cups all-purpose flour
- ⅔ cup unsweetened cocoa powder
- 1 teaspoon baking soda
- ½ teaspoon salt
- Coarse sugar or salt for sprinkling (optional)
Instructions
- In a stand mixer, beat the butter and sugar until light and fluffy, then add the eggs one at a time, followed by the vanilla, ensuring each is well incorporated.

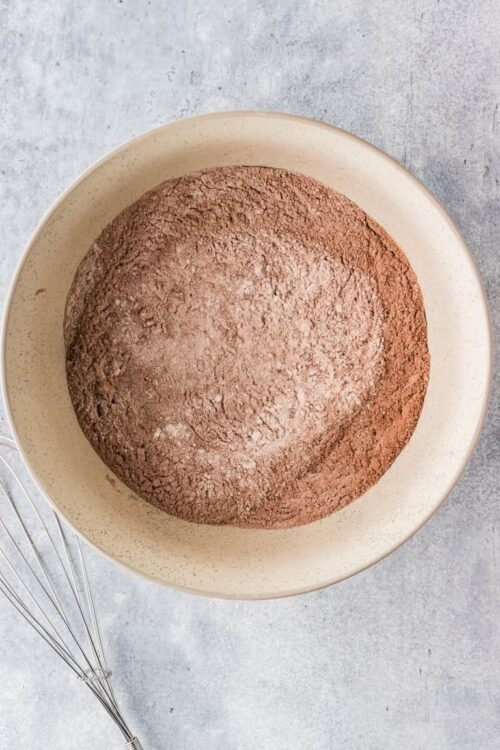
- In a separate bowl, whisk together the flour, cocoa powder, baking soda, and salt.
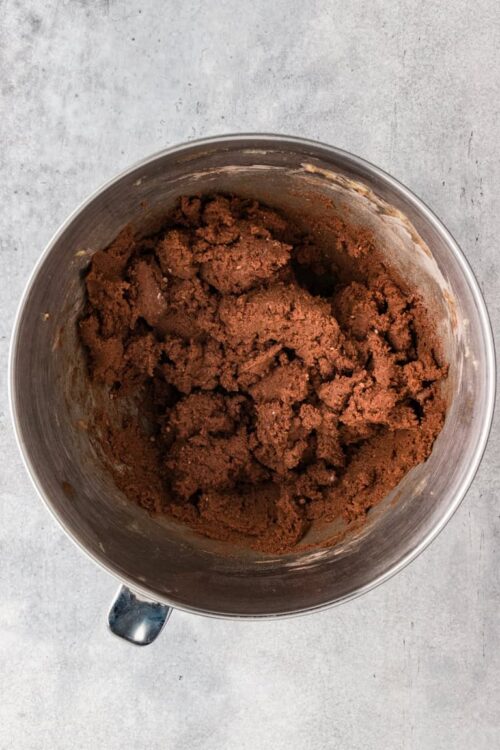
- Gradually add the dry ingredients to the wet mixture until just combined, taking care not to overmix. Refrigerate the dough for about 30 minutes.
- Preheat your oven to 350° F and line a baking sheet with parchment paper for easy cleanup.
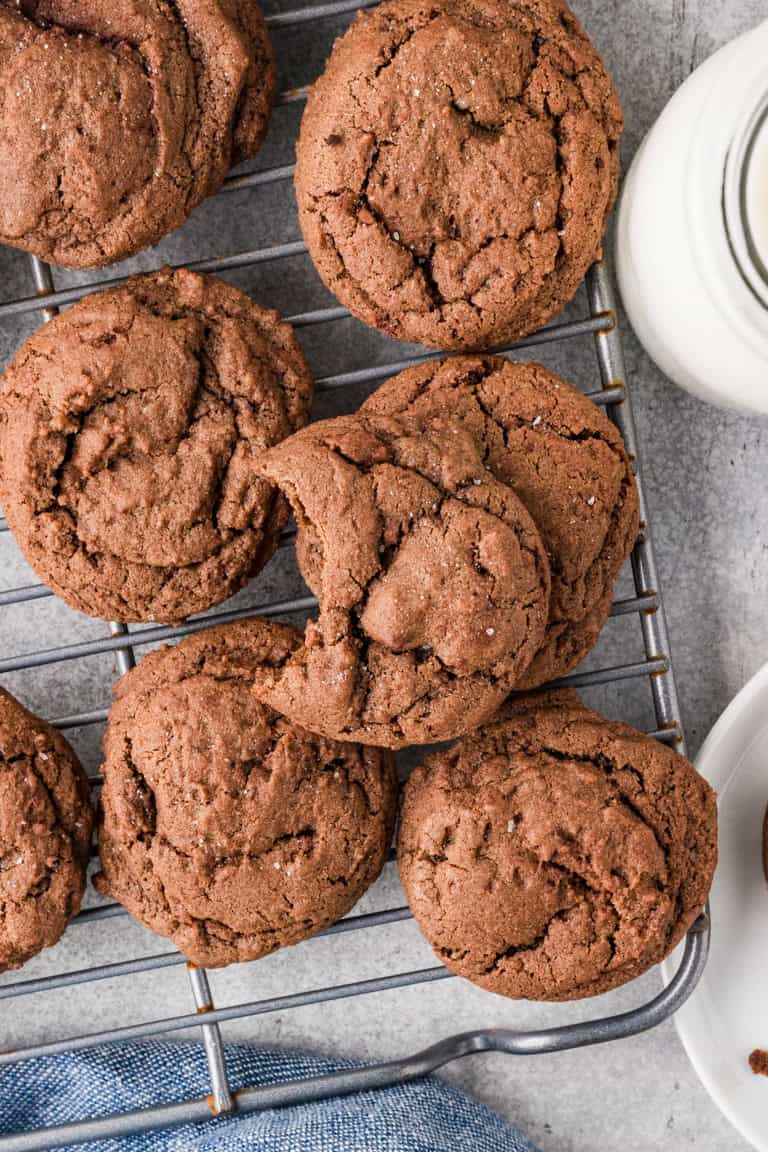
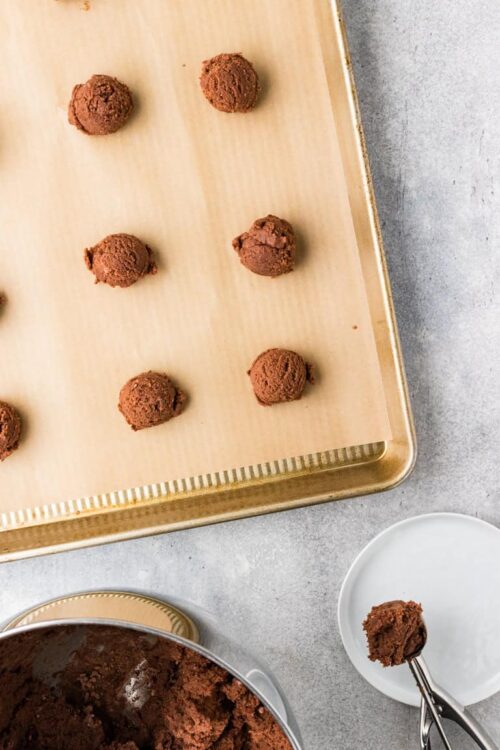
- Drop rounded tablespoons of dough onto the prepared baking sheet and bake until the edges are set, about 9 minutes.
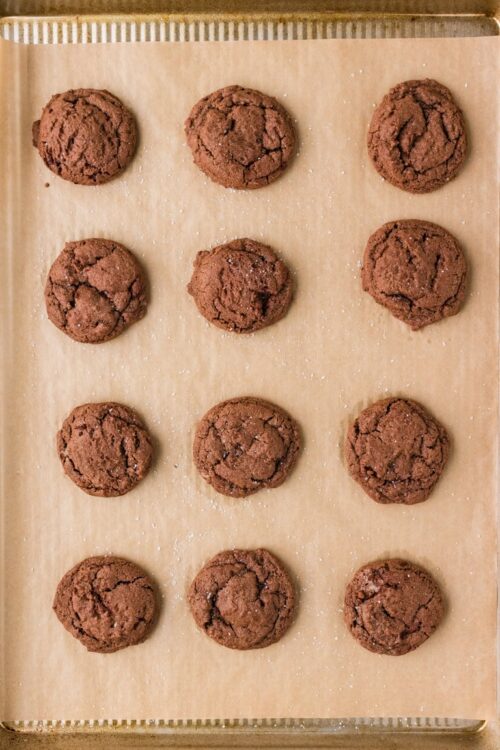
- Sprinkle with coarse sugar or salt immediately after baking for an extra flavor kick.
- Allow the cookies to cool on the baking sheet for a few minutes before transferring to a wire rack.
- Keep your cookies in an airtight container to maintain their chewy goodness.
Leave a Comment