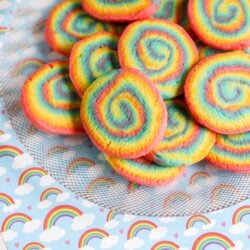
Rainbow Swirl Cookies, also known as pinwheel cookies, are fun to make and even more fun to eat. Take your sugar cookies to a whole new level and, with one bite, meet your new favorite cookie.
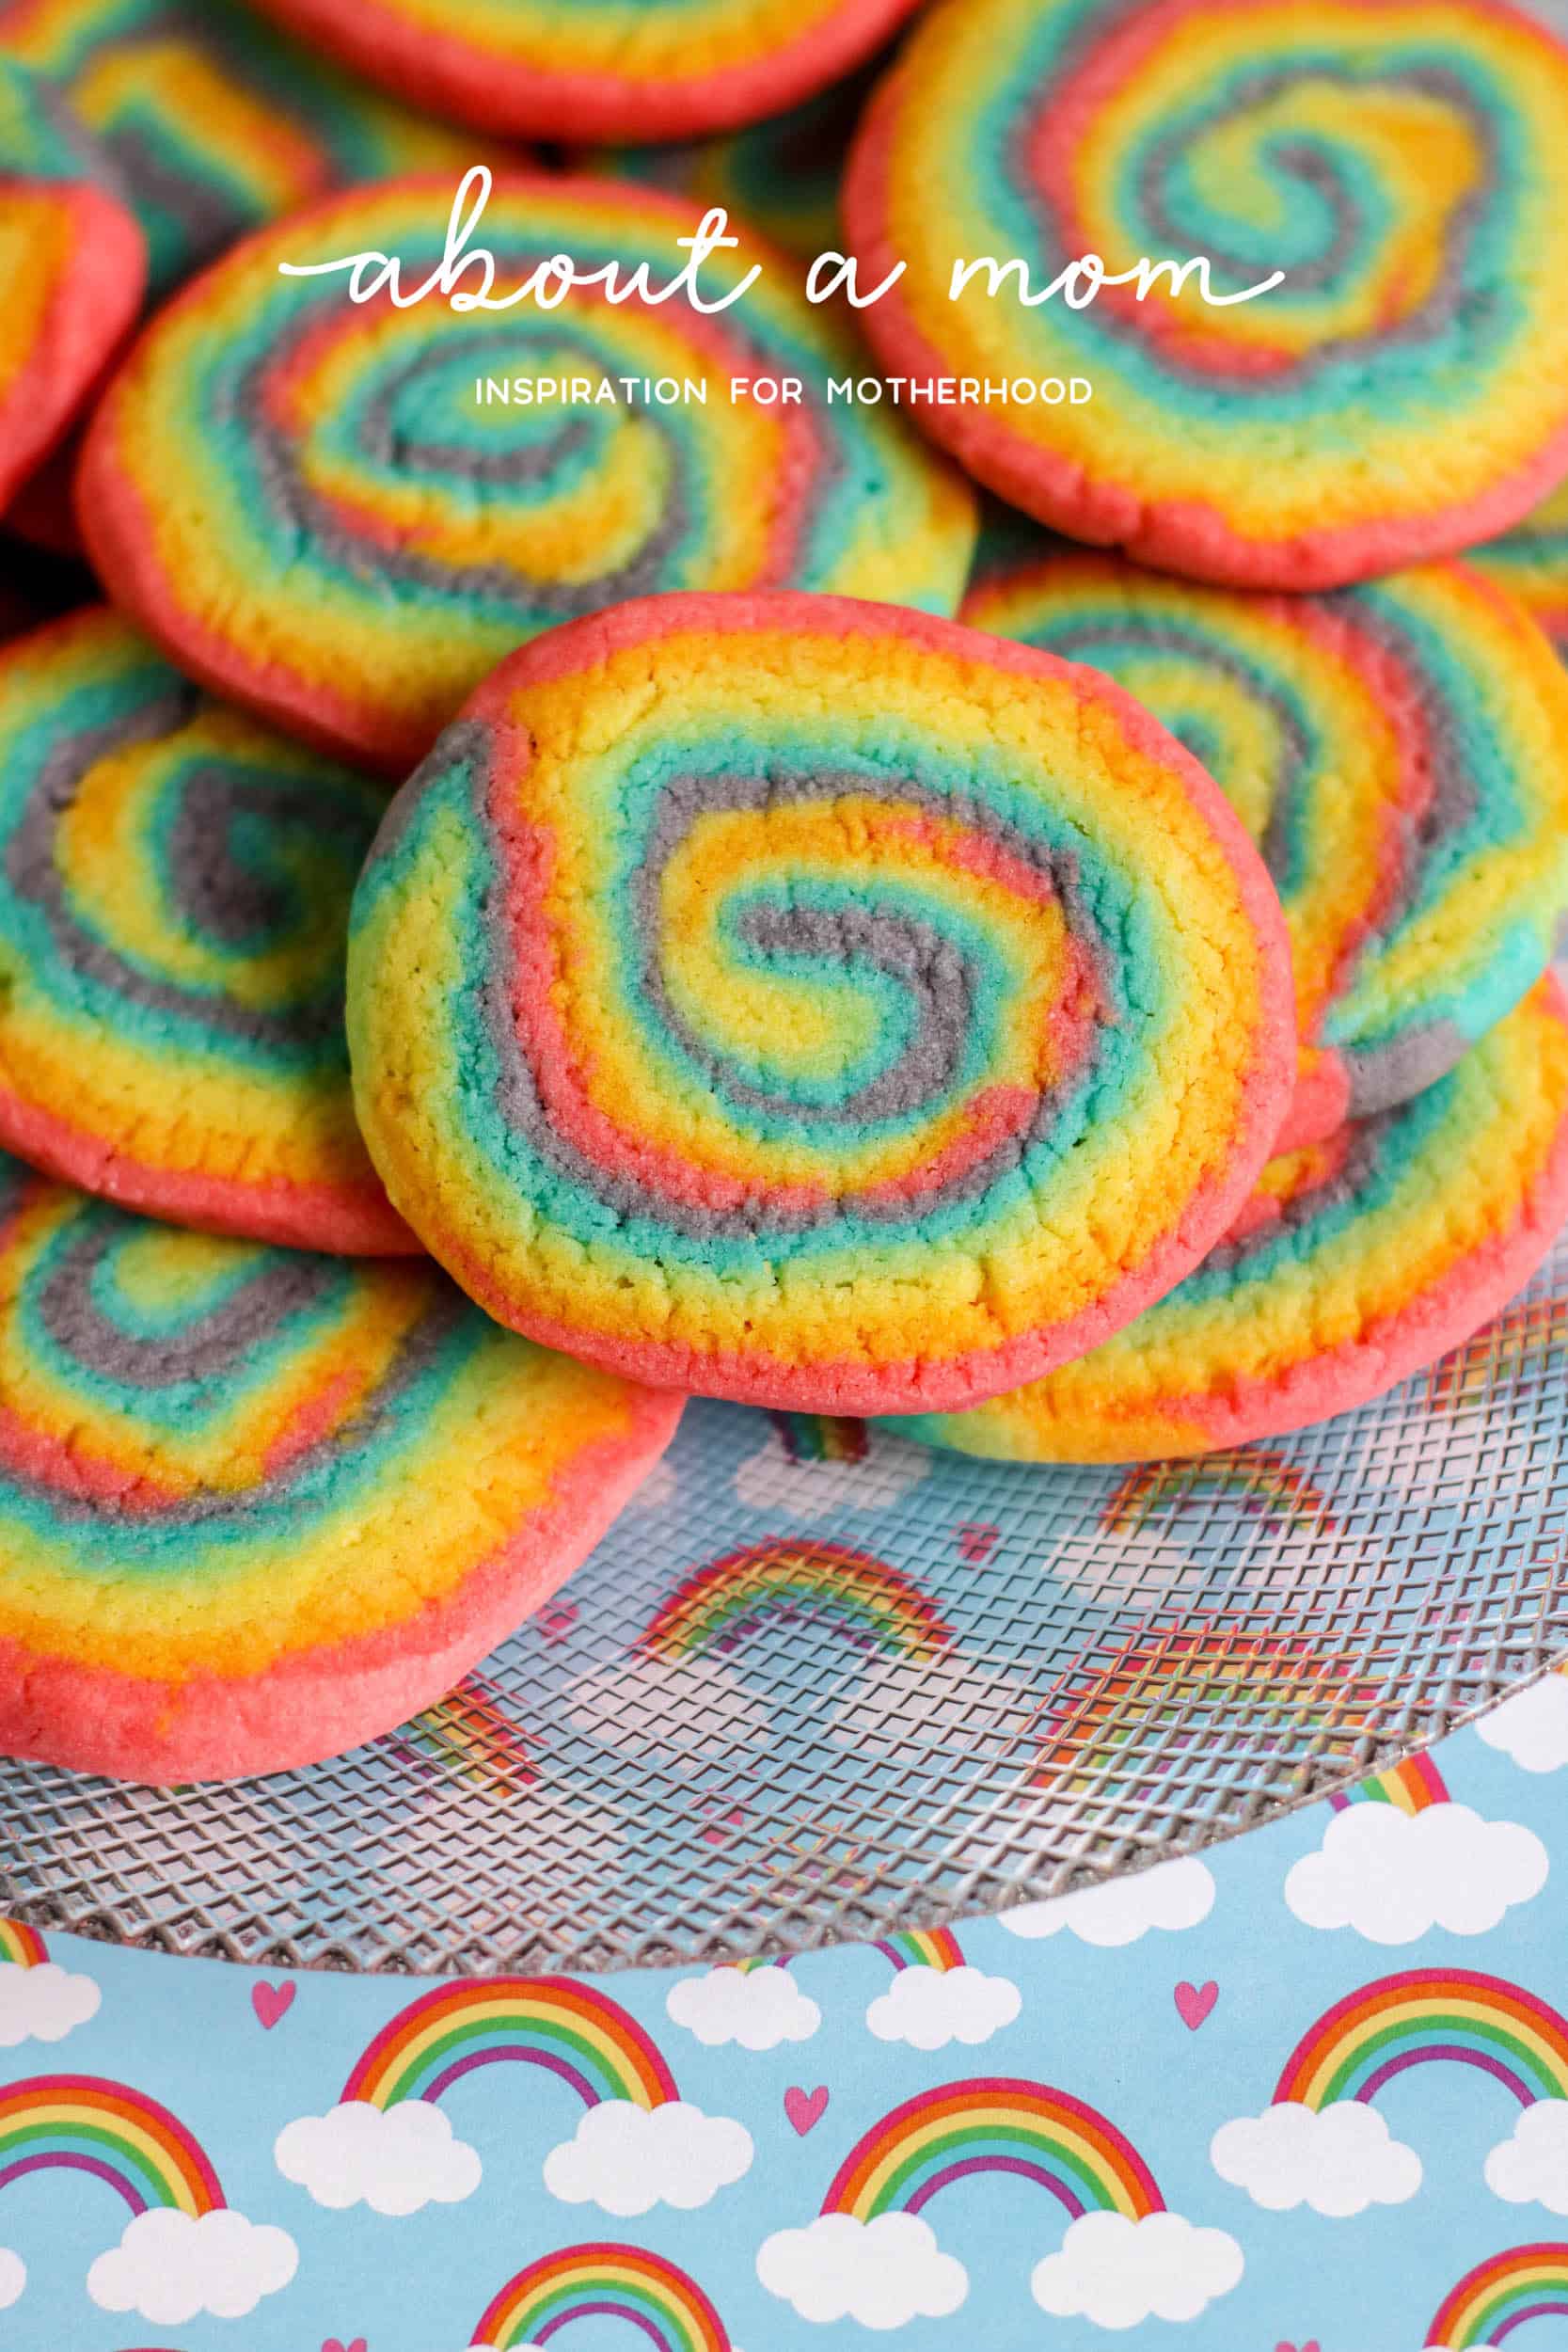
I know these may seem a little intimidating, but the method used makes these rainbow swirl cookies surprisingly simple to make.
When you are looking for a cookie that is a bit different, you have to try these rainbow sugar cookies. These cookies are a beautiful with a crunchy chewy texture.
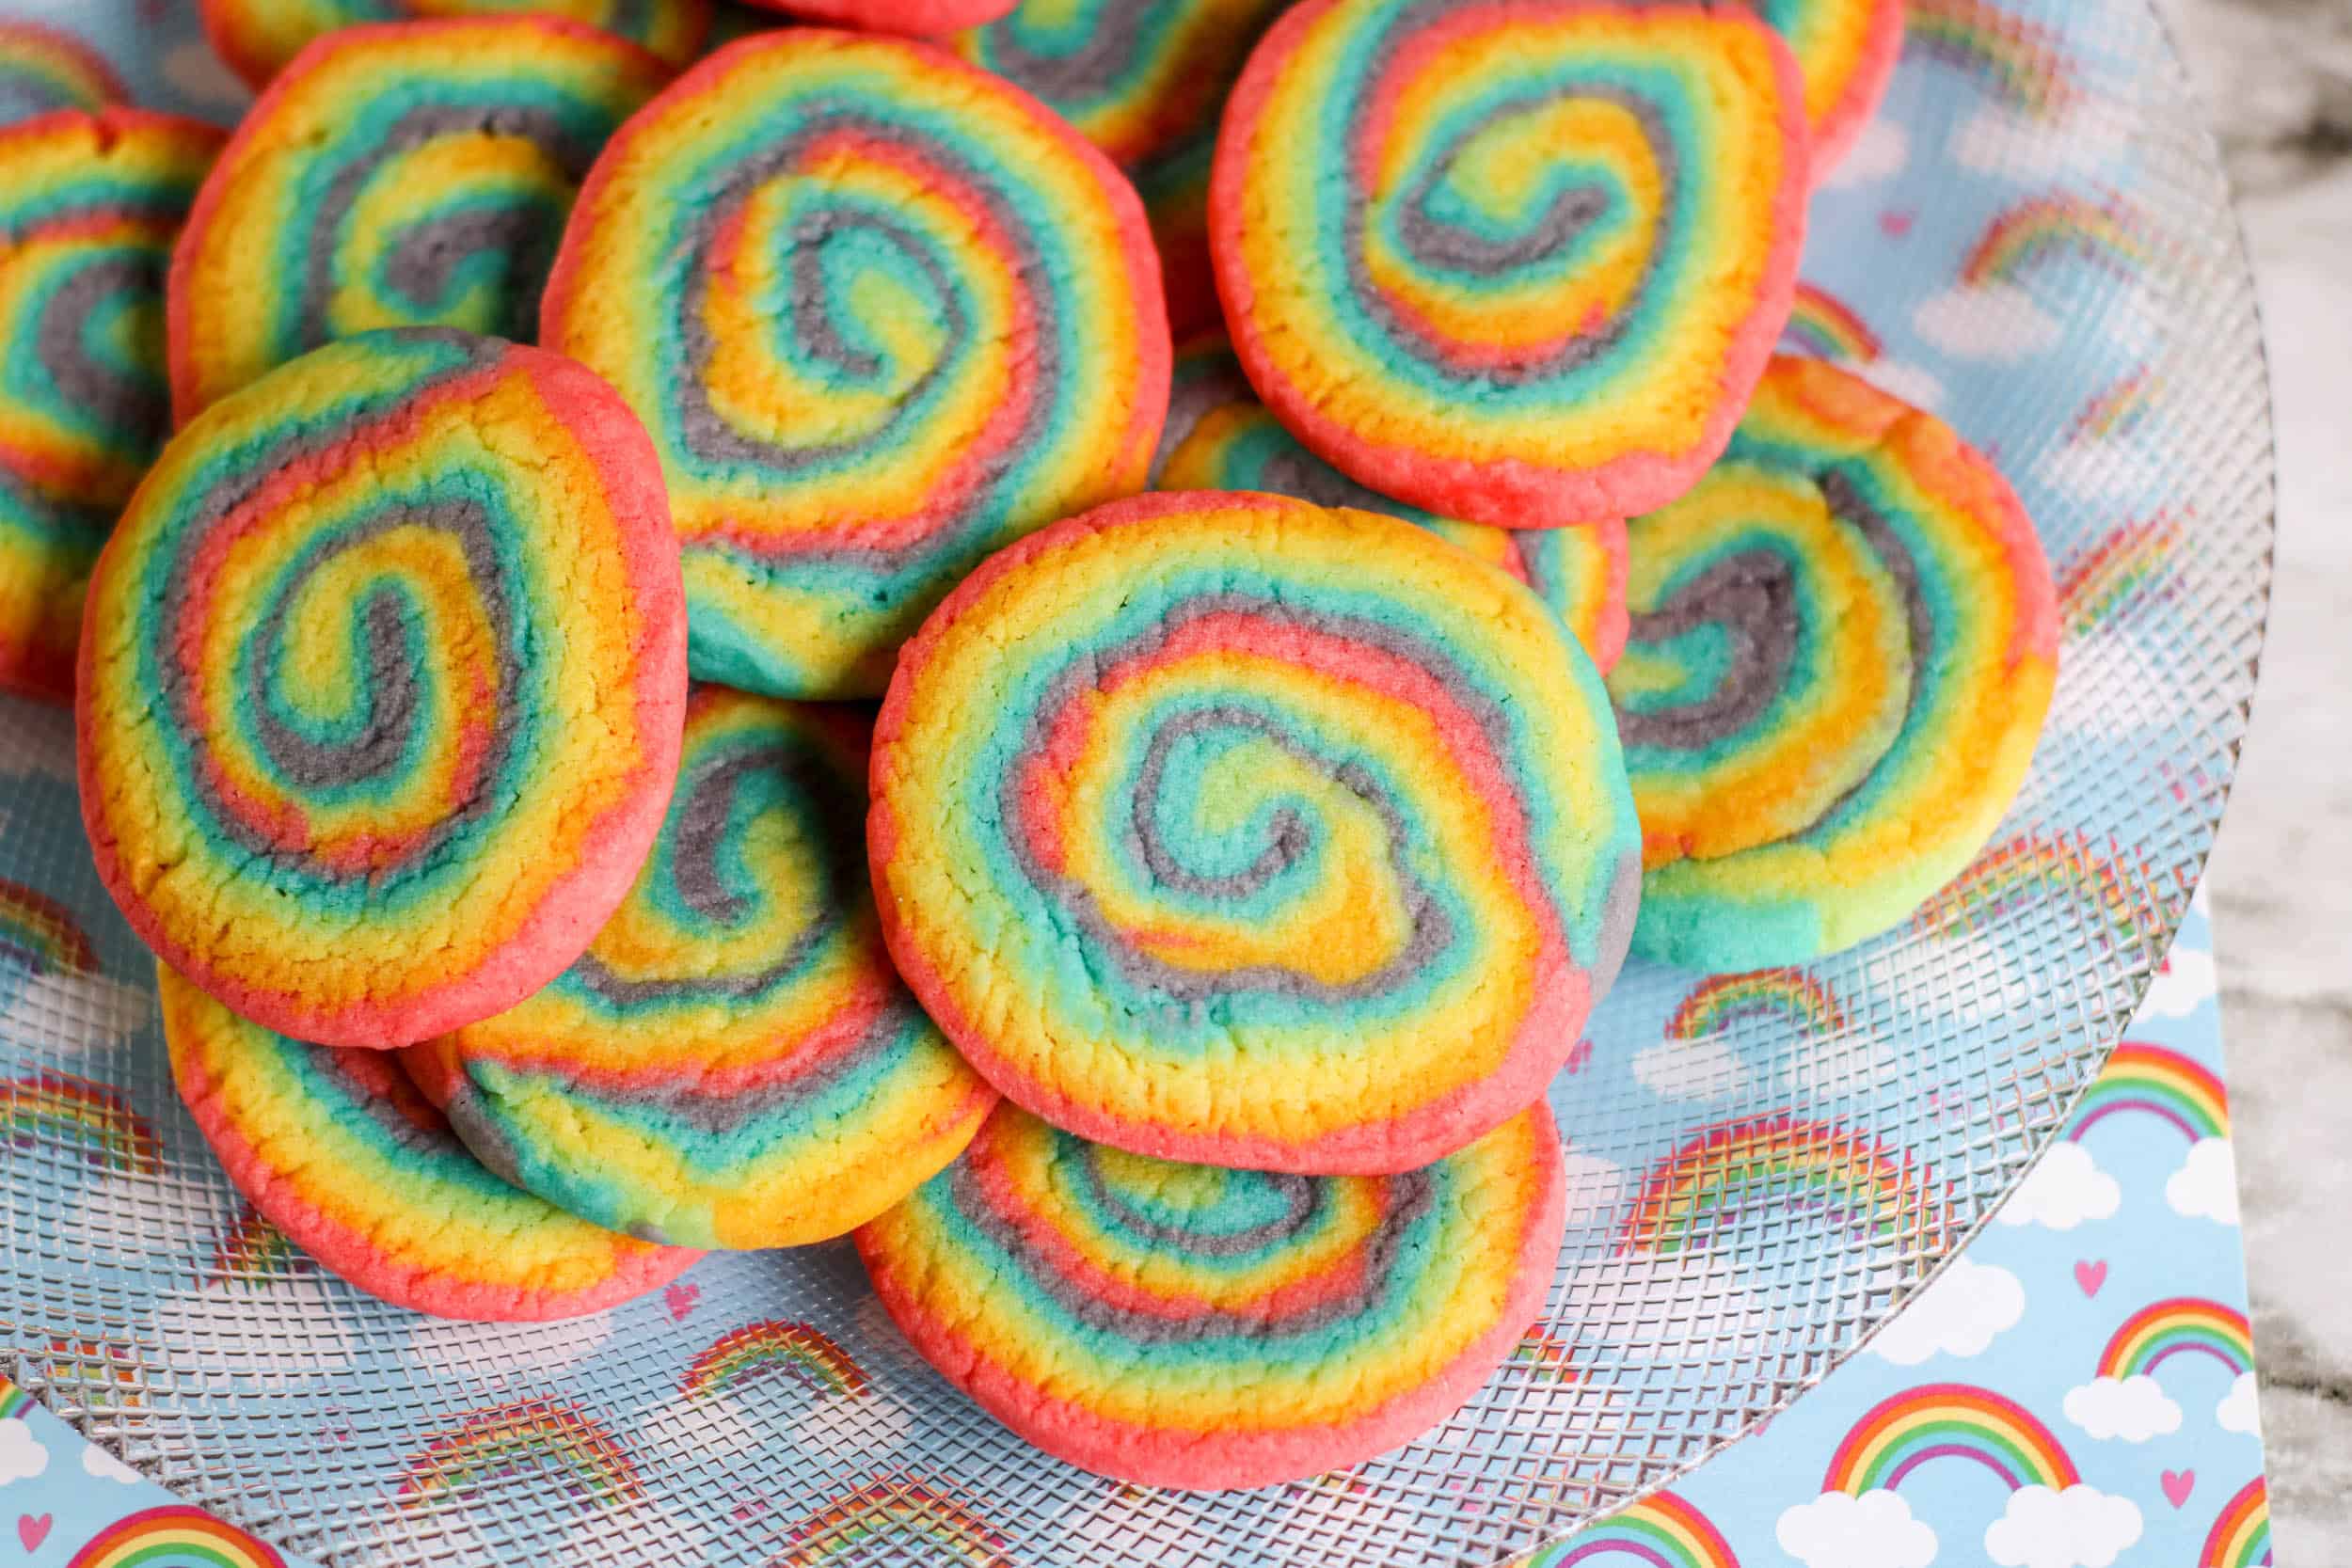
Some days you just need to make your own rainbows. Doing both e-learning and work from home has had me super-stressed out these last few weeks. These rainbow cookies brought a smile to my face!
When you want a cookie that not only looks good but tastes amazing, this is the cookie you want. With a fun rainbow look, these cookies can be used to celebrate spring or just because you want something that looks a bit festive.
Variations
I like to change the color scheme to suit the occasion, then add a spice or flavor that would complement those colors. For instance, I would go with red, white, and pink gels for Valentine’s Day but add a hint of cinnamon to mimic those cinnamon hearts I used to get in school come mid-February. For St. Patrick’s Day, you could go with shades of green and peppermint extract. The peppermint extract could also be used with a red, white, and green palette for Christmas. Other combos include lemon zest and juice, along with yellow gel; instant espresso powder and chocolate dough for a decadent treat; or crushed almonds and almond extract.
How do I prevent my cookies from being too dry?
Overbaking is the usual culprit for dry cookies. The key is to take them out moments before they start to brown. You can add moisture to the dough, if you like, in the form of a tablespoon of milk, cream, or sour cream, though it might affect the taste. If time allows, you might want to chill the dough for at least an hour. This way, it won’t spread out too much in the oven and will avoid becoming thin and brittle. Last, don’t overmix. The more you handle the dough, the tougher and drier it will become.
How To Store Rainbow Swirl Cookies
Once the cookies have cooled you will want to move them to an airtight container. I recommend placing a piece of parchment paper between layers. This keeps the cookies from sticking to each other when they are stacked.
Most cookies that are stored properly will last up to 2 weeks. If the cookies will not be eaten before they go bad, you can move them to a freezer inside a freezer-safe bag. The cookies should last up to 3 months in the freezer. I like to store them in smaller amounts so that I can take a few cookies out at a time.
Rainbow Swirl Cookies
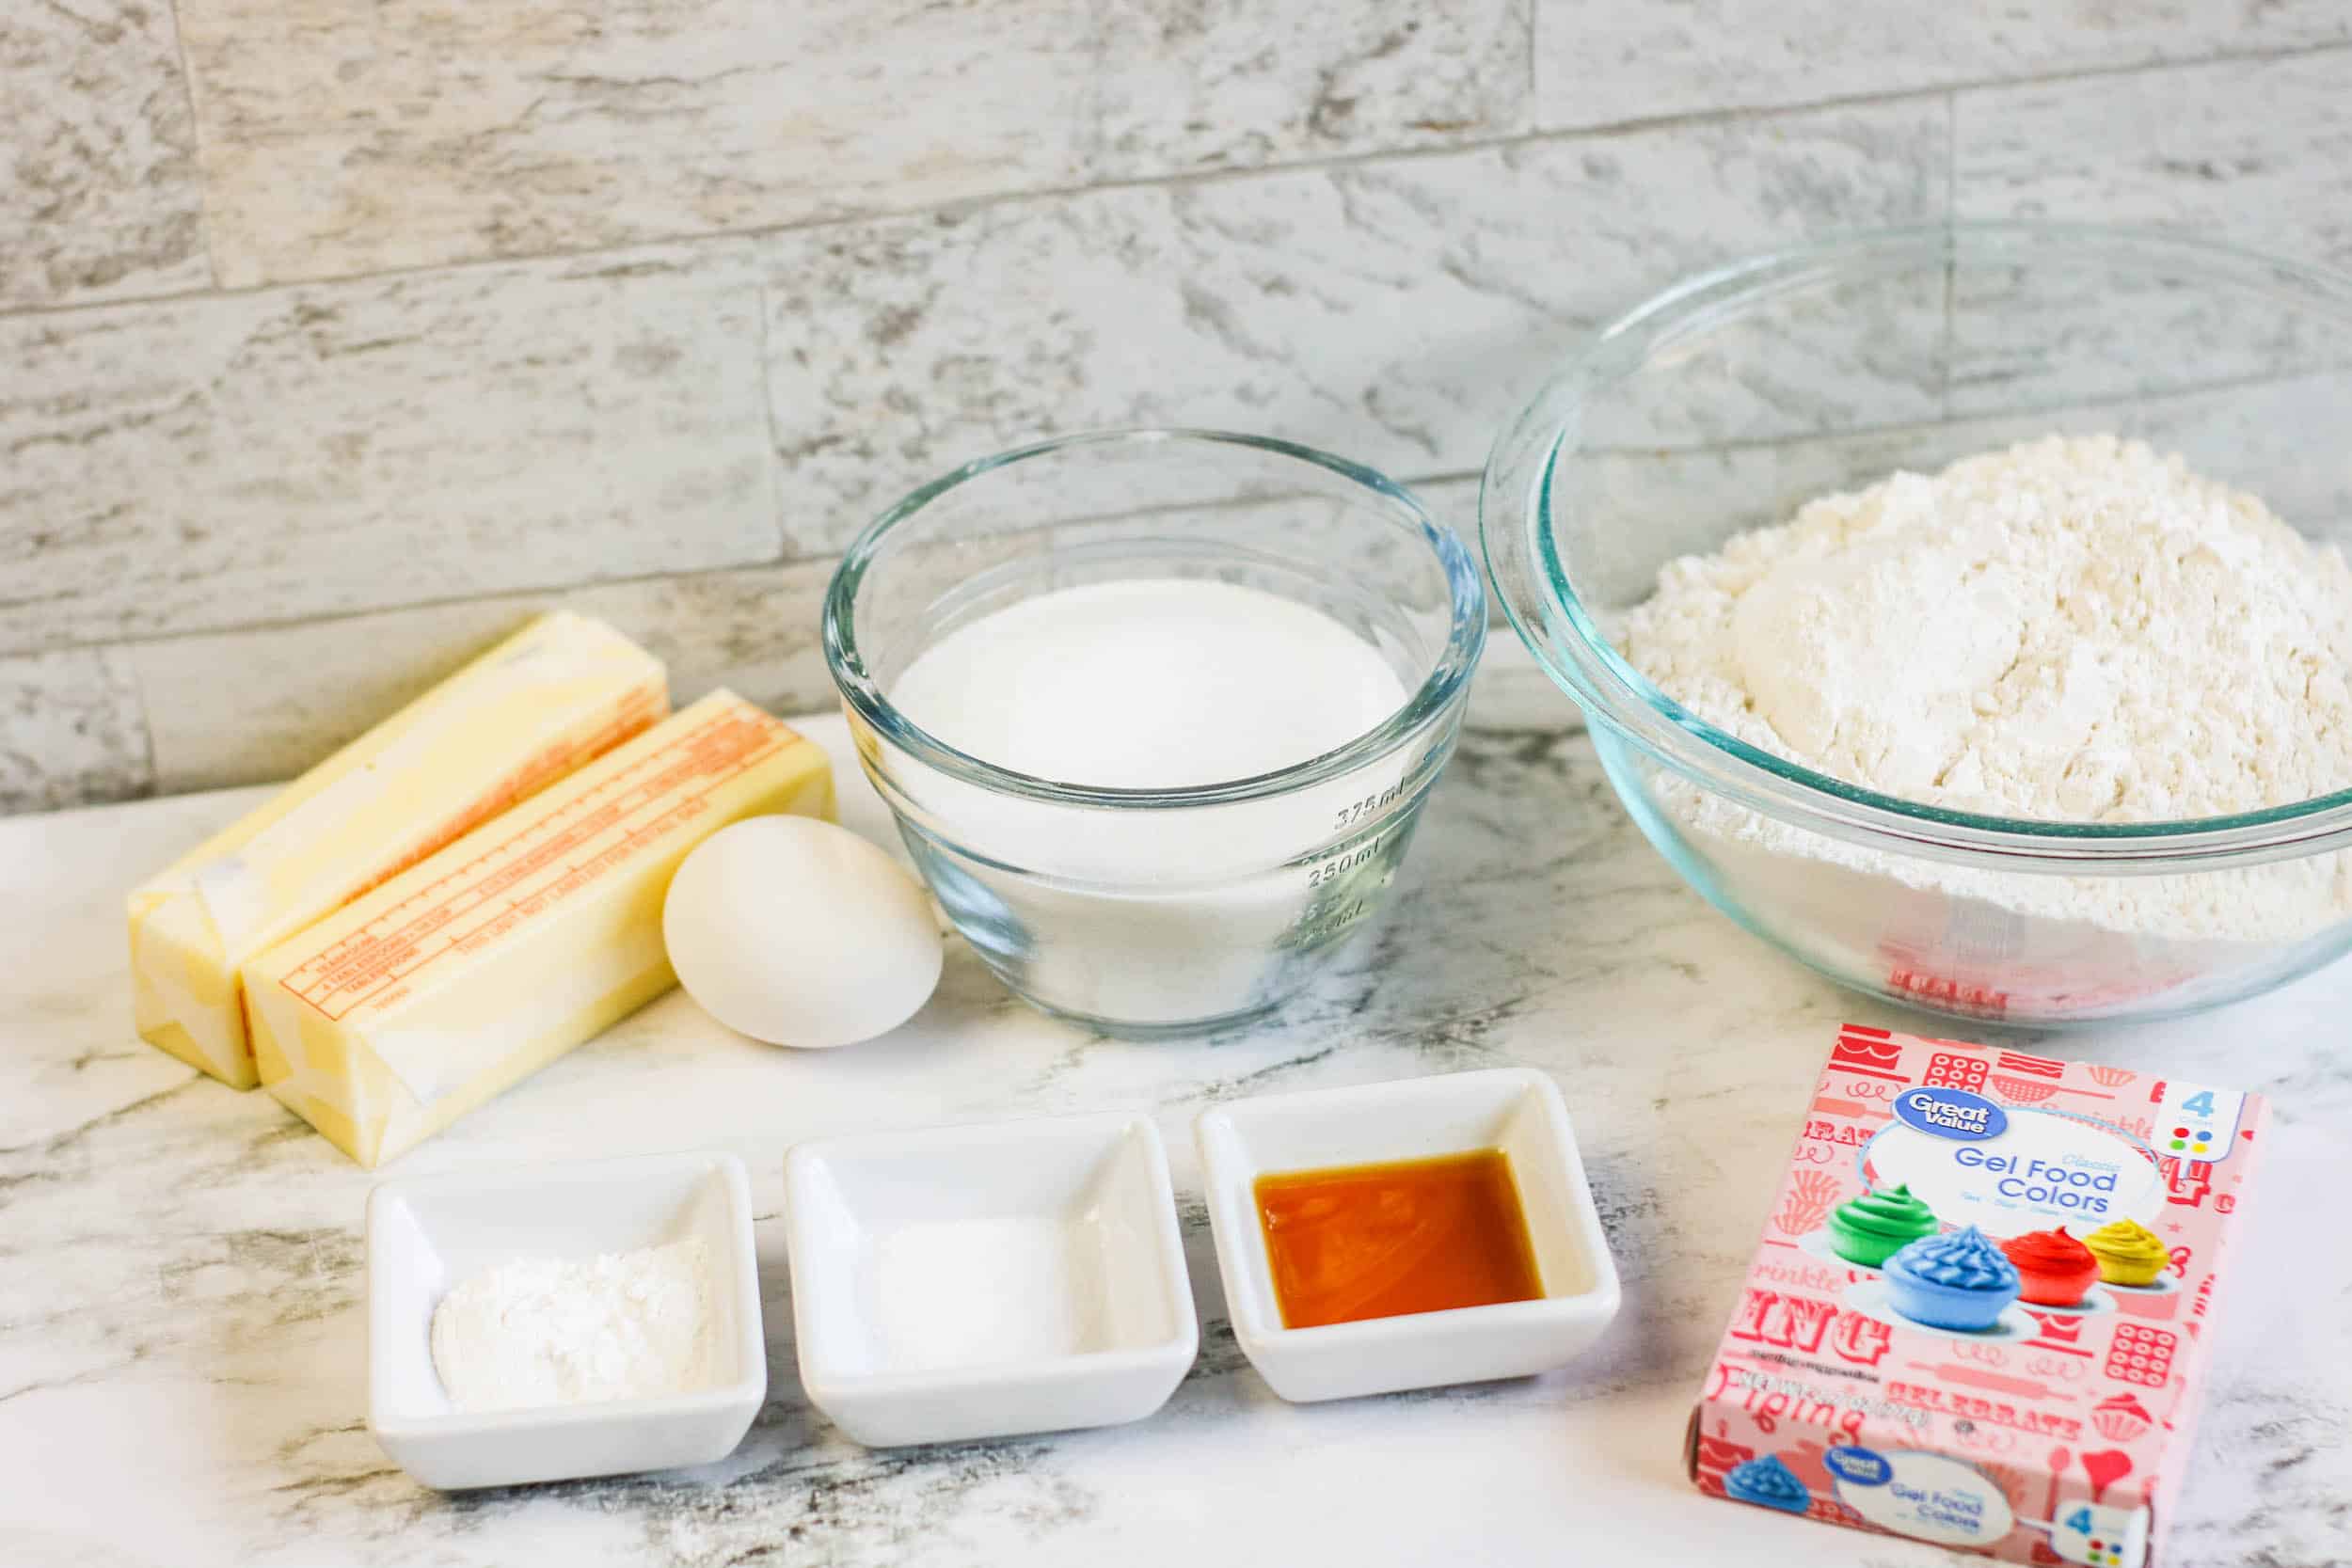
Ingredients
- 3 cups all purpose flour
- 2 teaspoons baking powder
- 1/2 teaspoon salt
- 1 2 sticks cup butter, softened
- 1 cup sugar
- 1 egg
- 1 teaspoon vanilla extract
- Powdered sugar or flour for rolling
- Gel food coloring
Instructions
- Preheat oven to 350 degrees. Prepare a baking sheet with parchment paper.
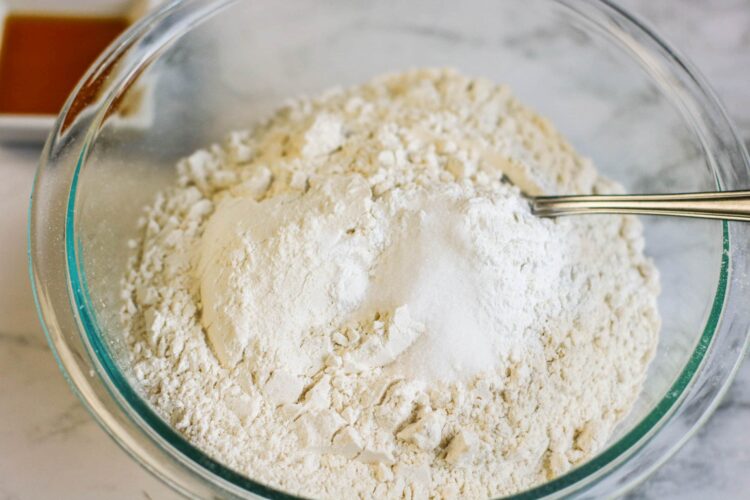
- Whisk together dry ingredients: flour, baking powder, and salt. Set aside.
- In a mixing bowl, blend the butter and sugar until creamy and light. Add egg and vanilla extract. Mix well. Slowly add dry ingredients and mix until combined. Dough may be a little crumbly.
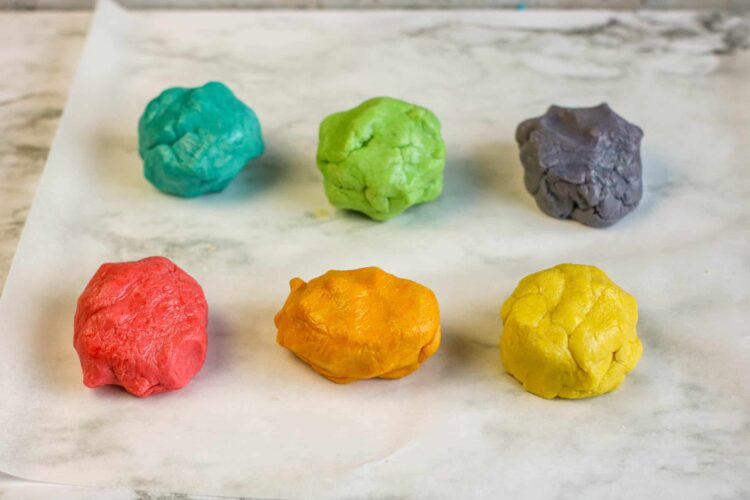
- Turn out the dough onto a surface sprinkled with powdered sugar or flour. Divide into 6 equal parts.
- Add food coloring to each portion of dough and return to the mixer until completely blended. Repeat with each color.
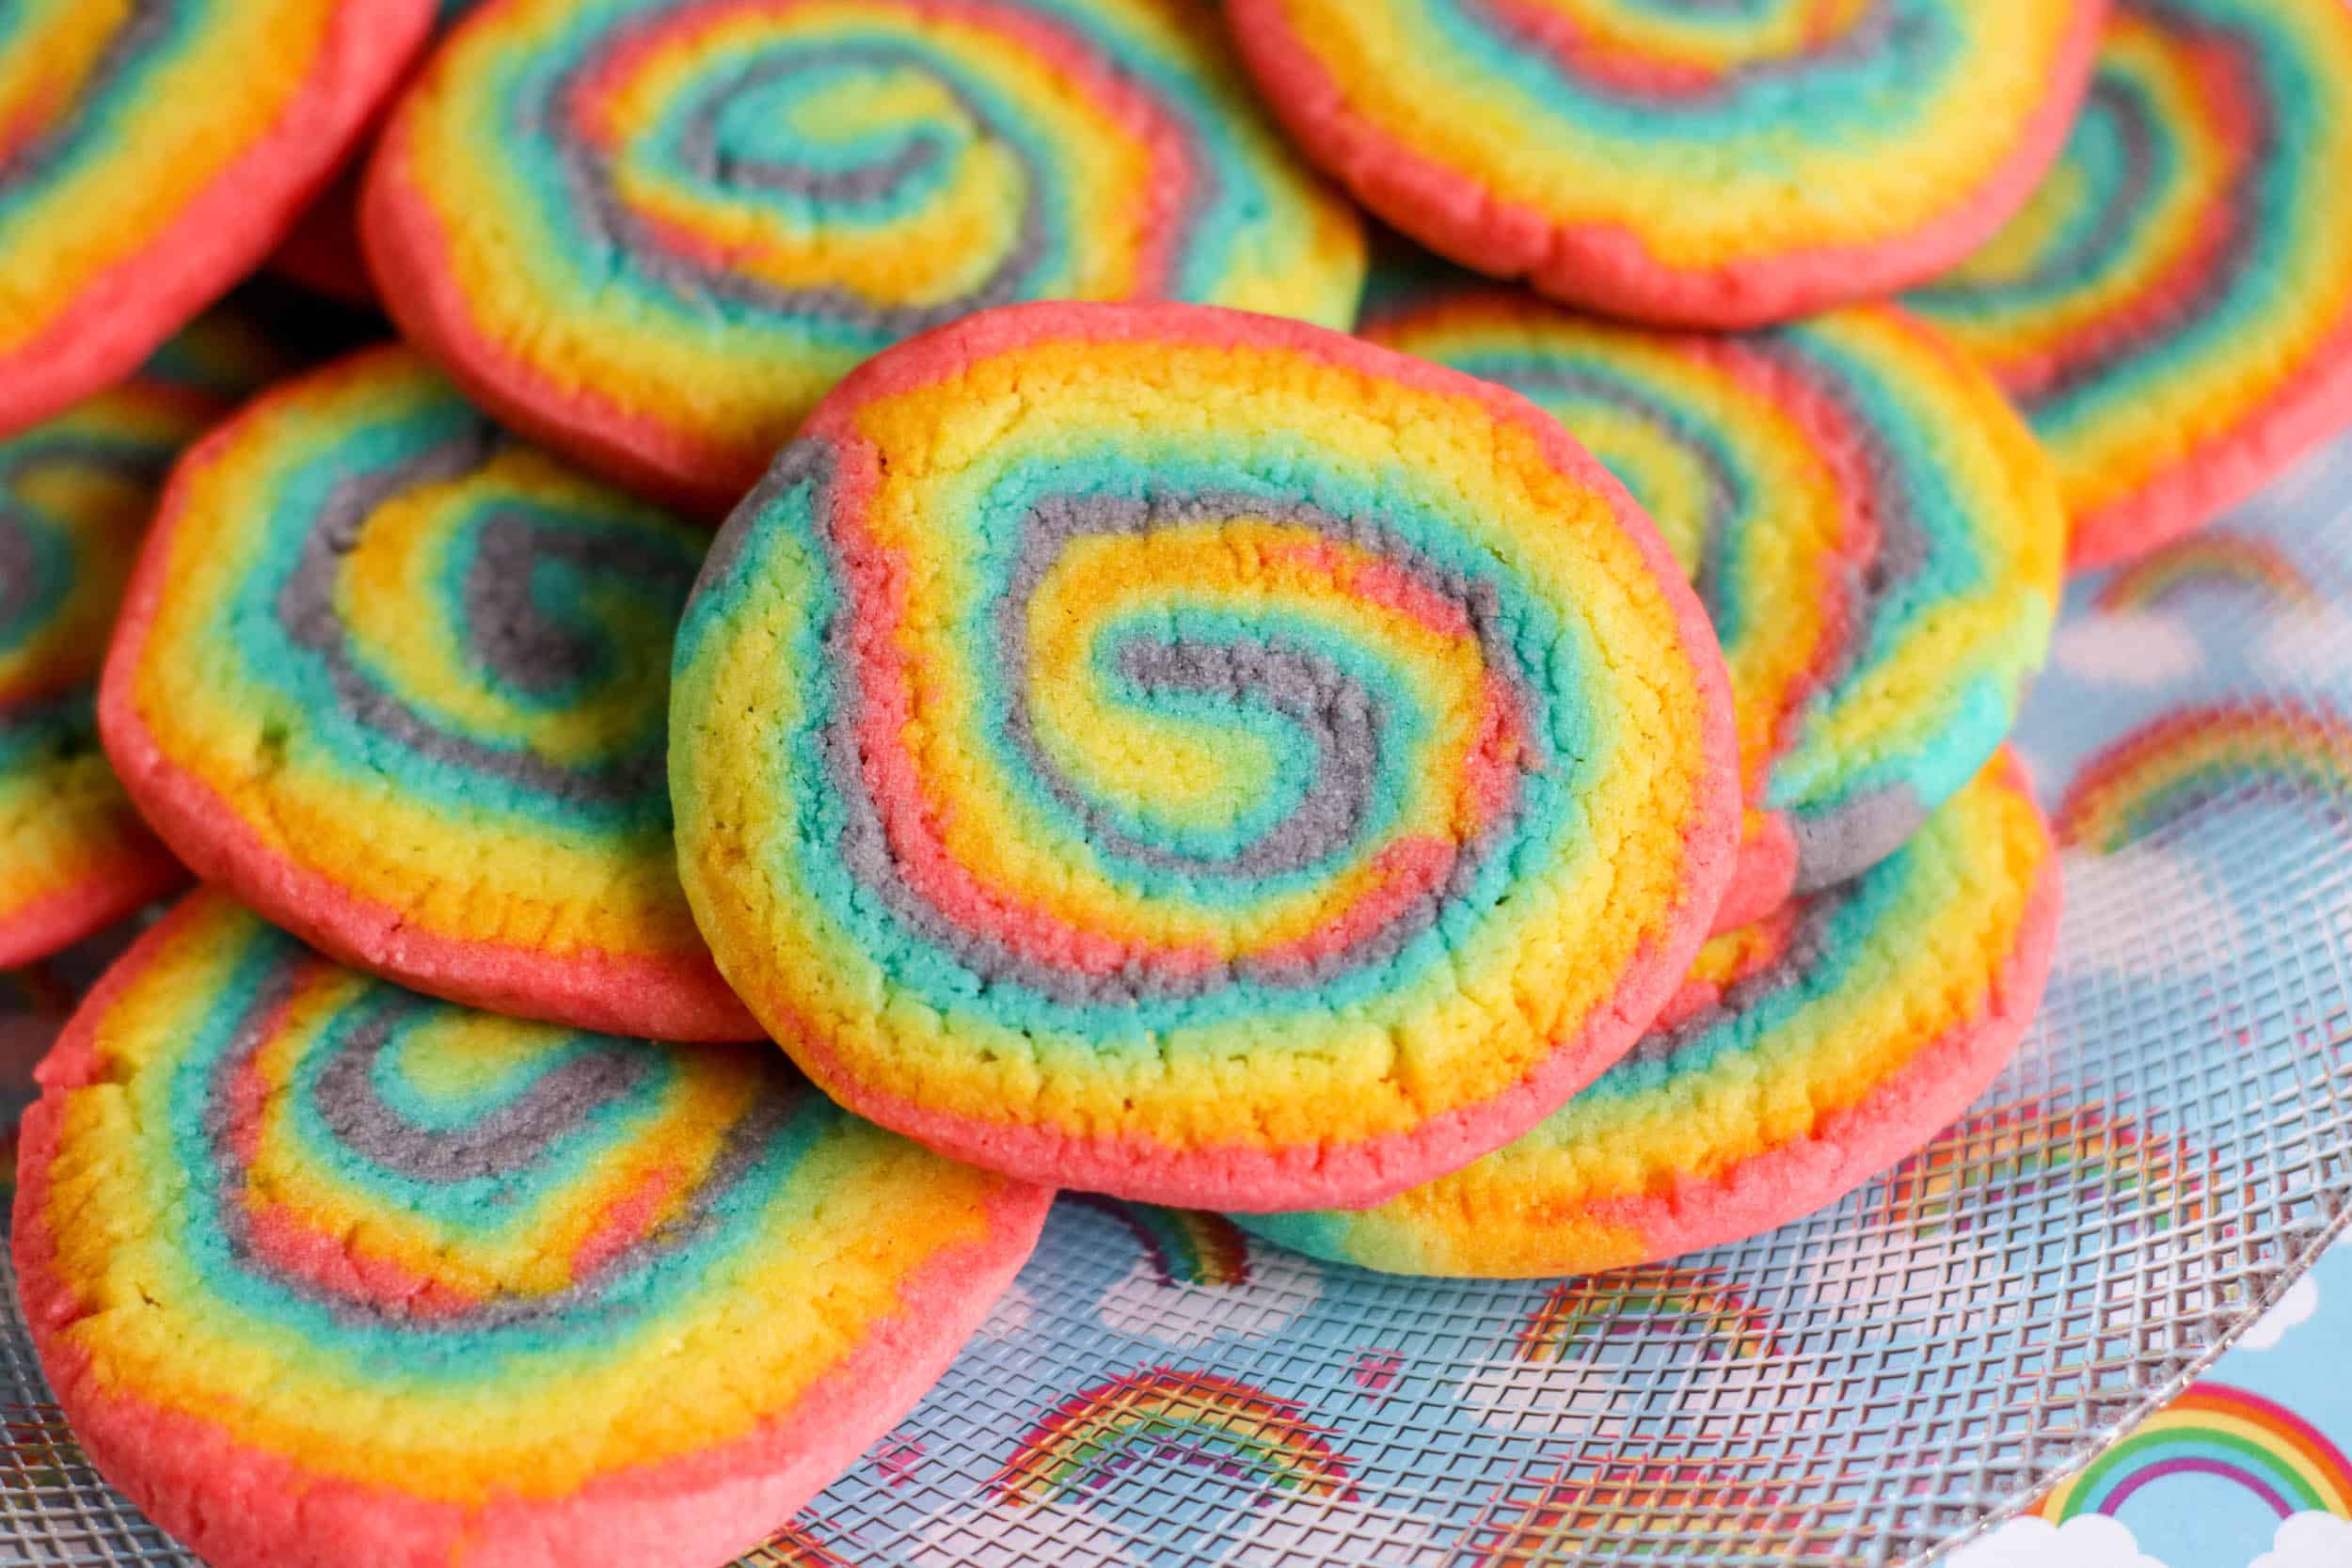
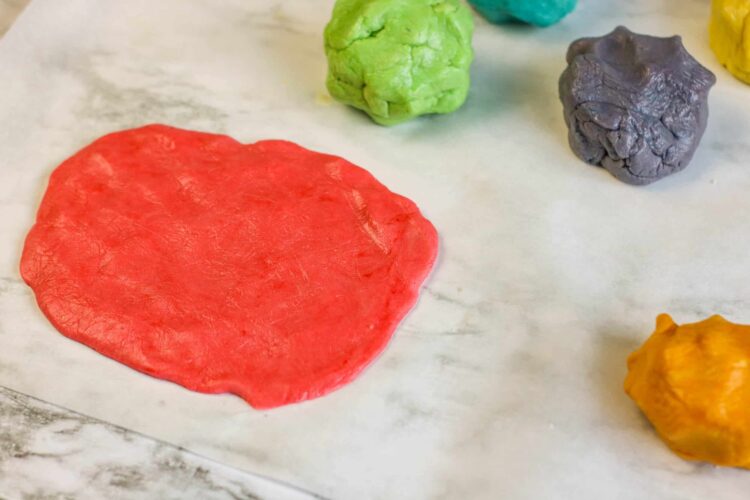
- Flatten each color of cookie dough into a rectangle shape and layer onto one another, creating a stack of cookie dough. Press together with a rolling pin and flatten to about ¼ to ½ inch thickness.
- Starting on the largest side, roll the cookie dough into a tube (like a jelly roll) pressing any cracks to keep the roll tight.
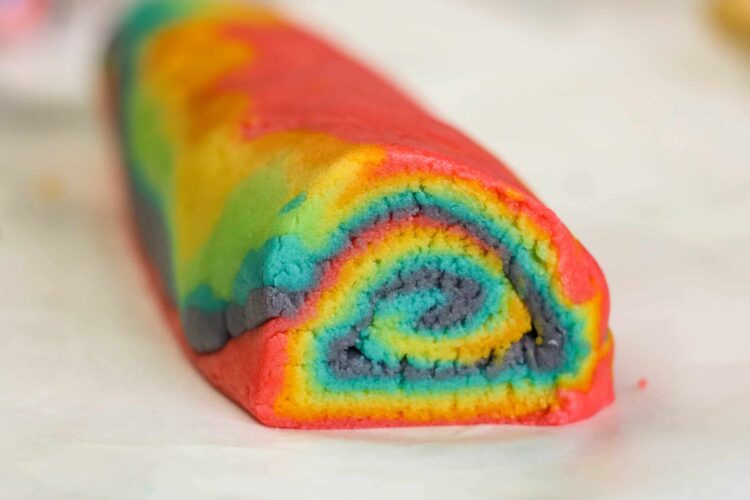
- Slice into ¼ to ½ inch slices. Place on a parchment-lined baking sheet.
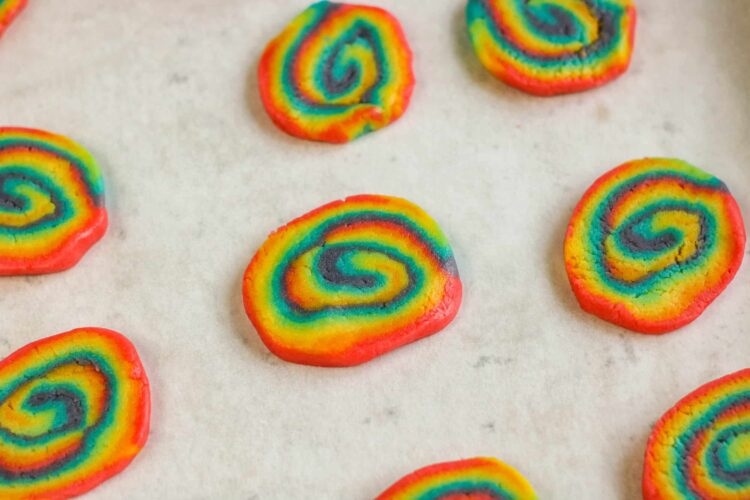
- Bake cookies for 7 to 9 minutes. Do not brown the cookies. Allow cookies to cool for at least 20 minutes on the baking sheet before carefully removing to a cooling rack.

A crowd pleasing cookie that we make every year for the holidays
Awesome! Glad you all enjoy this recipe.