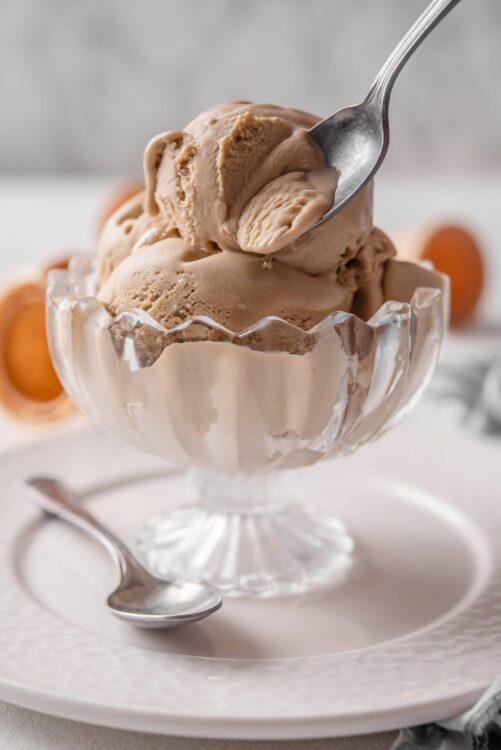
Say goodbye to preservatives and hello to incredible richness and flavor with this Coffee Ice Cream Recipe!
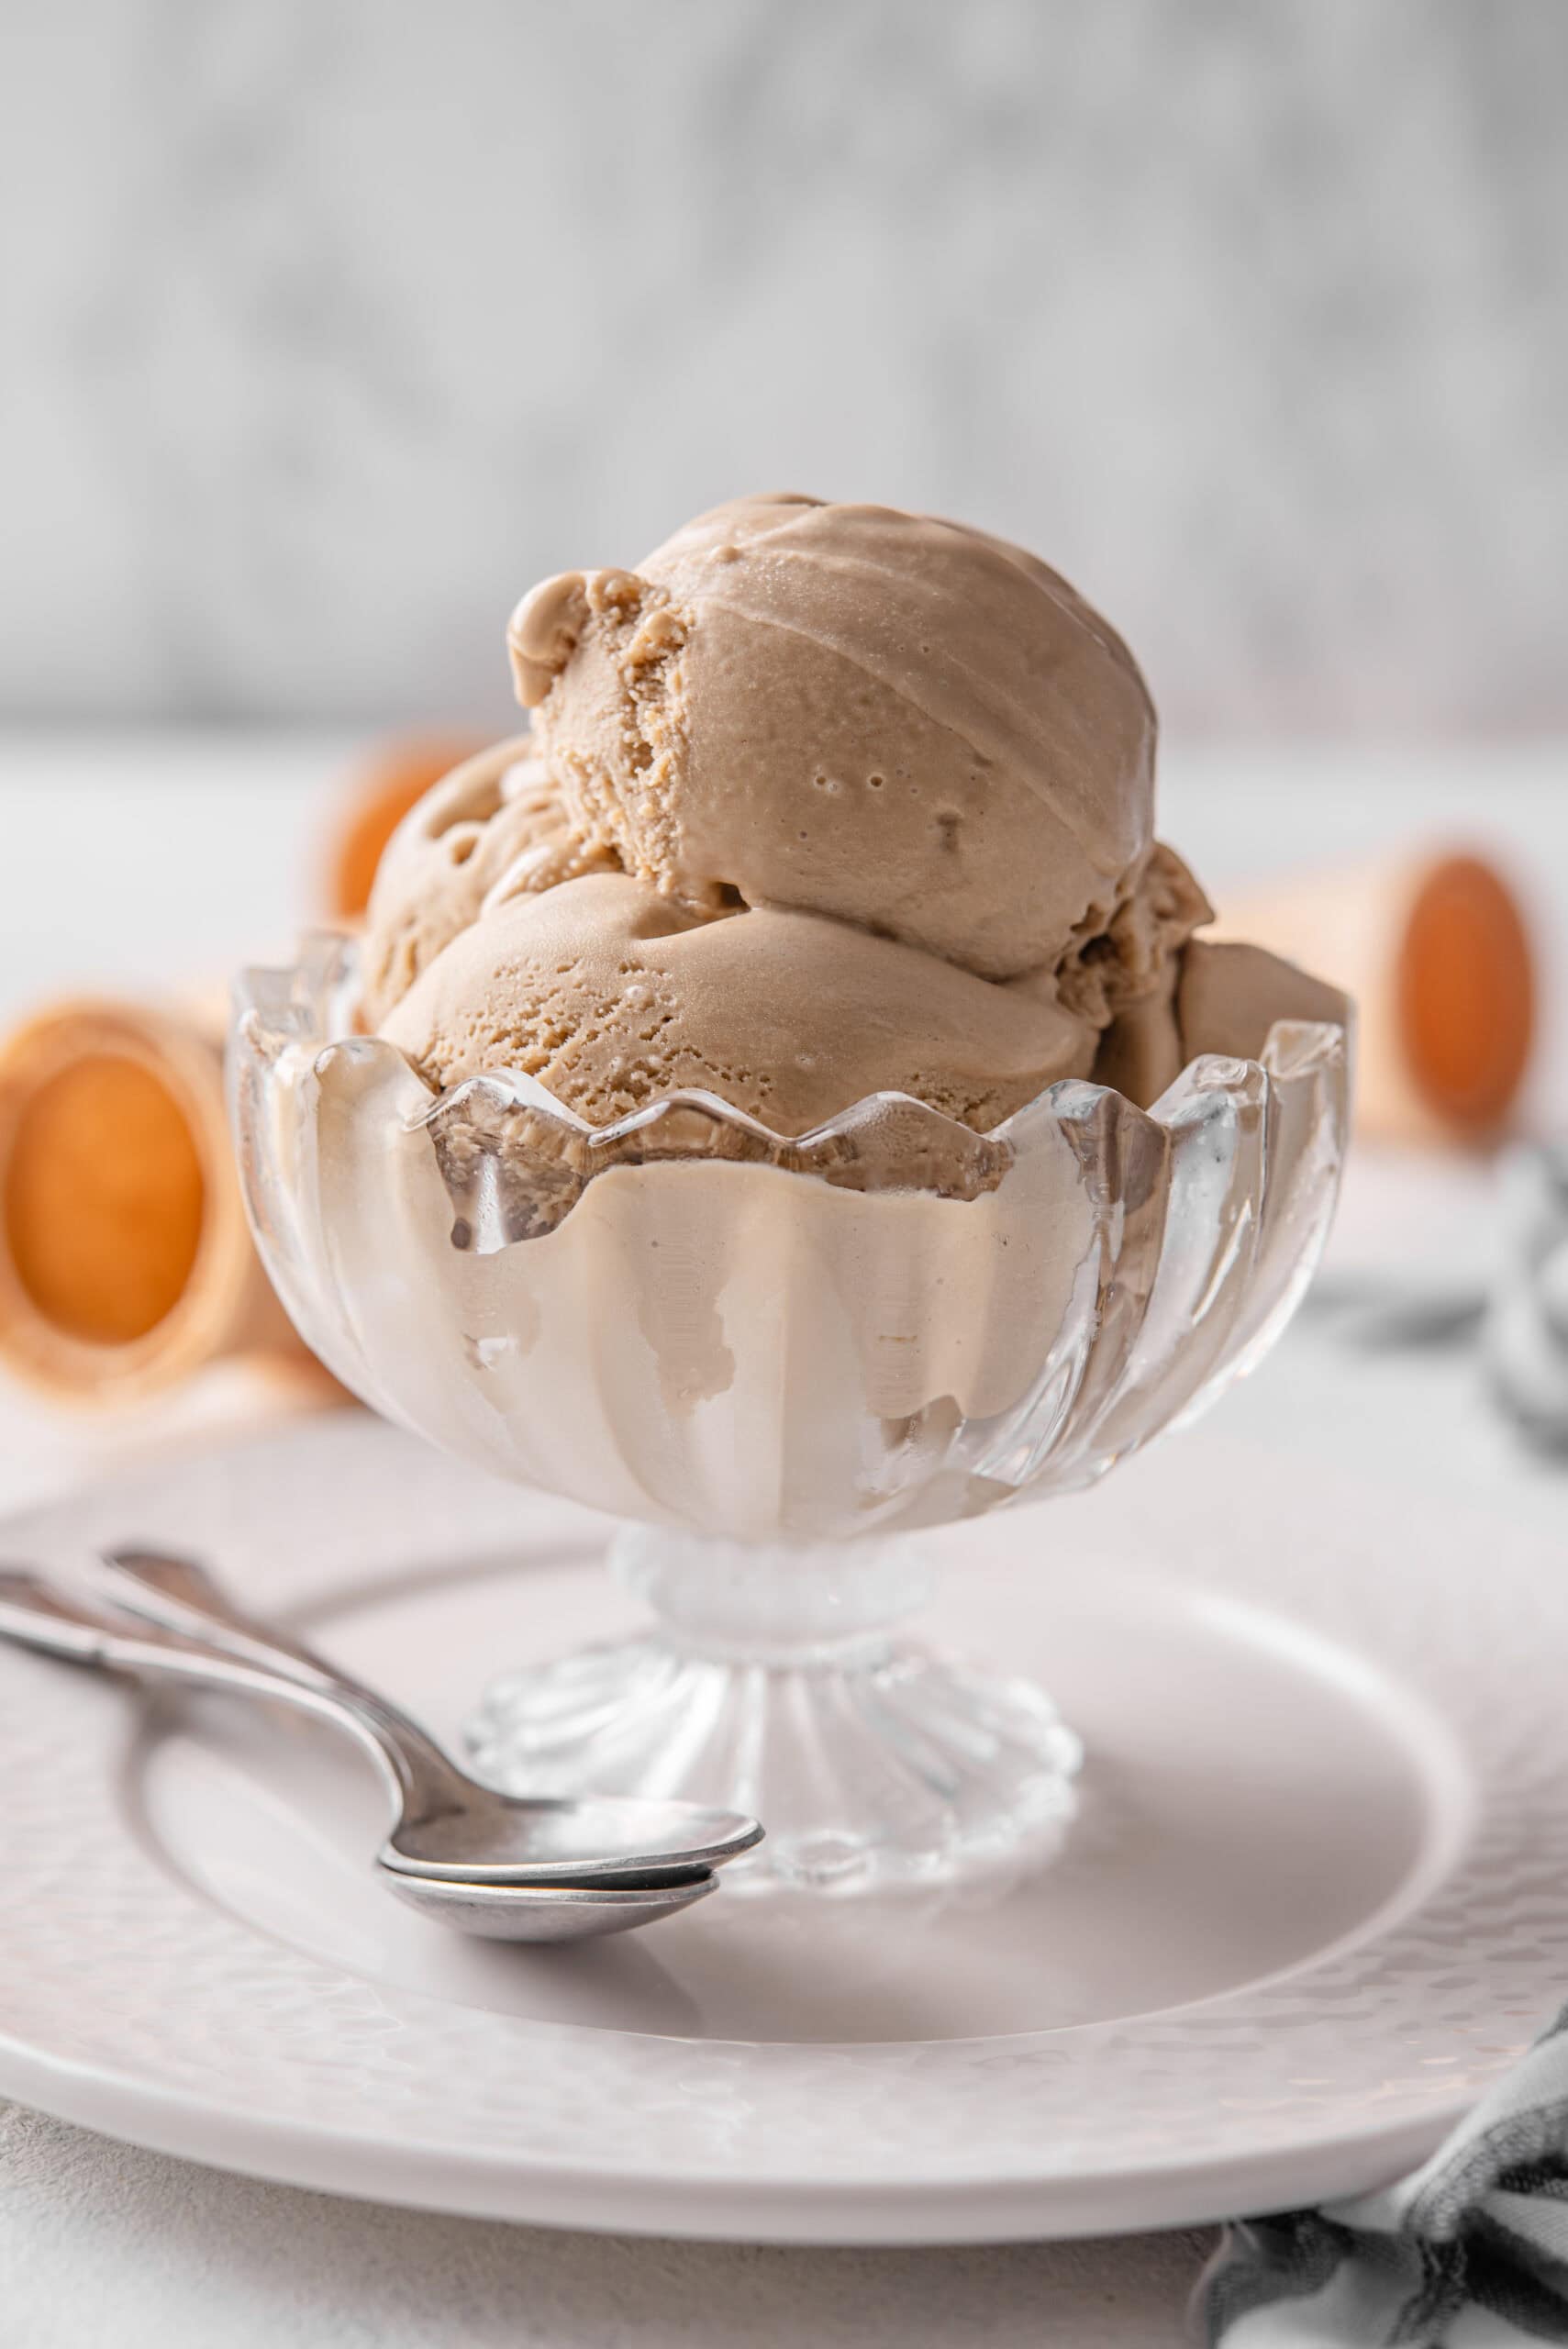
I love a good cup of coffee and a bowl of rich, creamy ice cream, so it is no wonder that combining them yields such a tasty treat. This coffee ice cream recipe is easy to make yet big on flavor. After you try it, you may never buy store-bought coffee ice cream again.
Another benefit of making homemade coffee ice cream is the ability to go caffeine-free. Instant decaf works just as well in this recipe as caffeinated coffee. That means your kids can enjoy it without you worrying about them getting wound up on caffeine. Of course, there will still be the regular sugar rush that comes from having a bowl of ice cream, but you can at least eliminate the added caffeine.
One thing to remember about this recipe is that you must make it in advance. Unlike some ice cream recipes that are quick to prepare and freeze, you need to give yourself at least 4 hours before consuming.
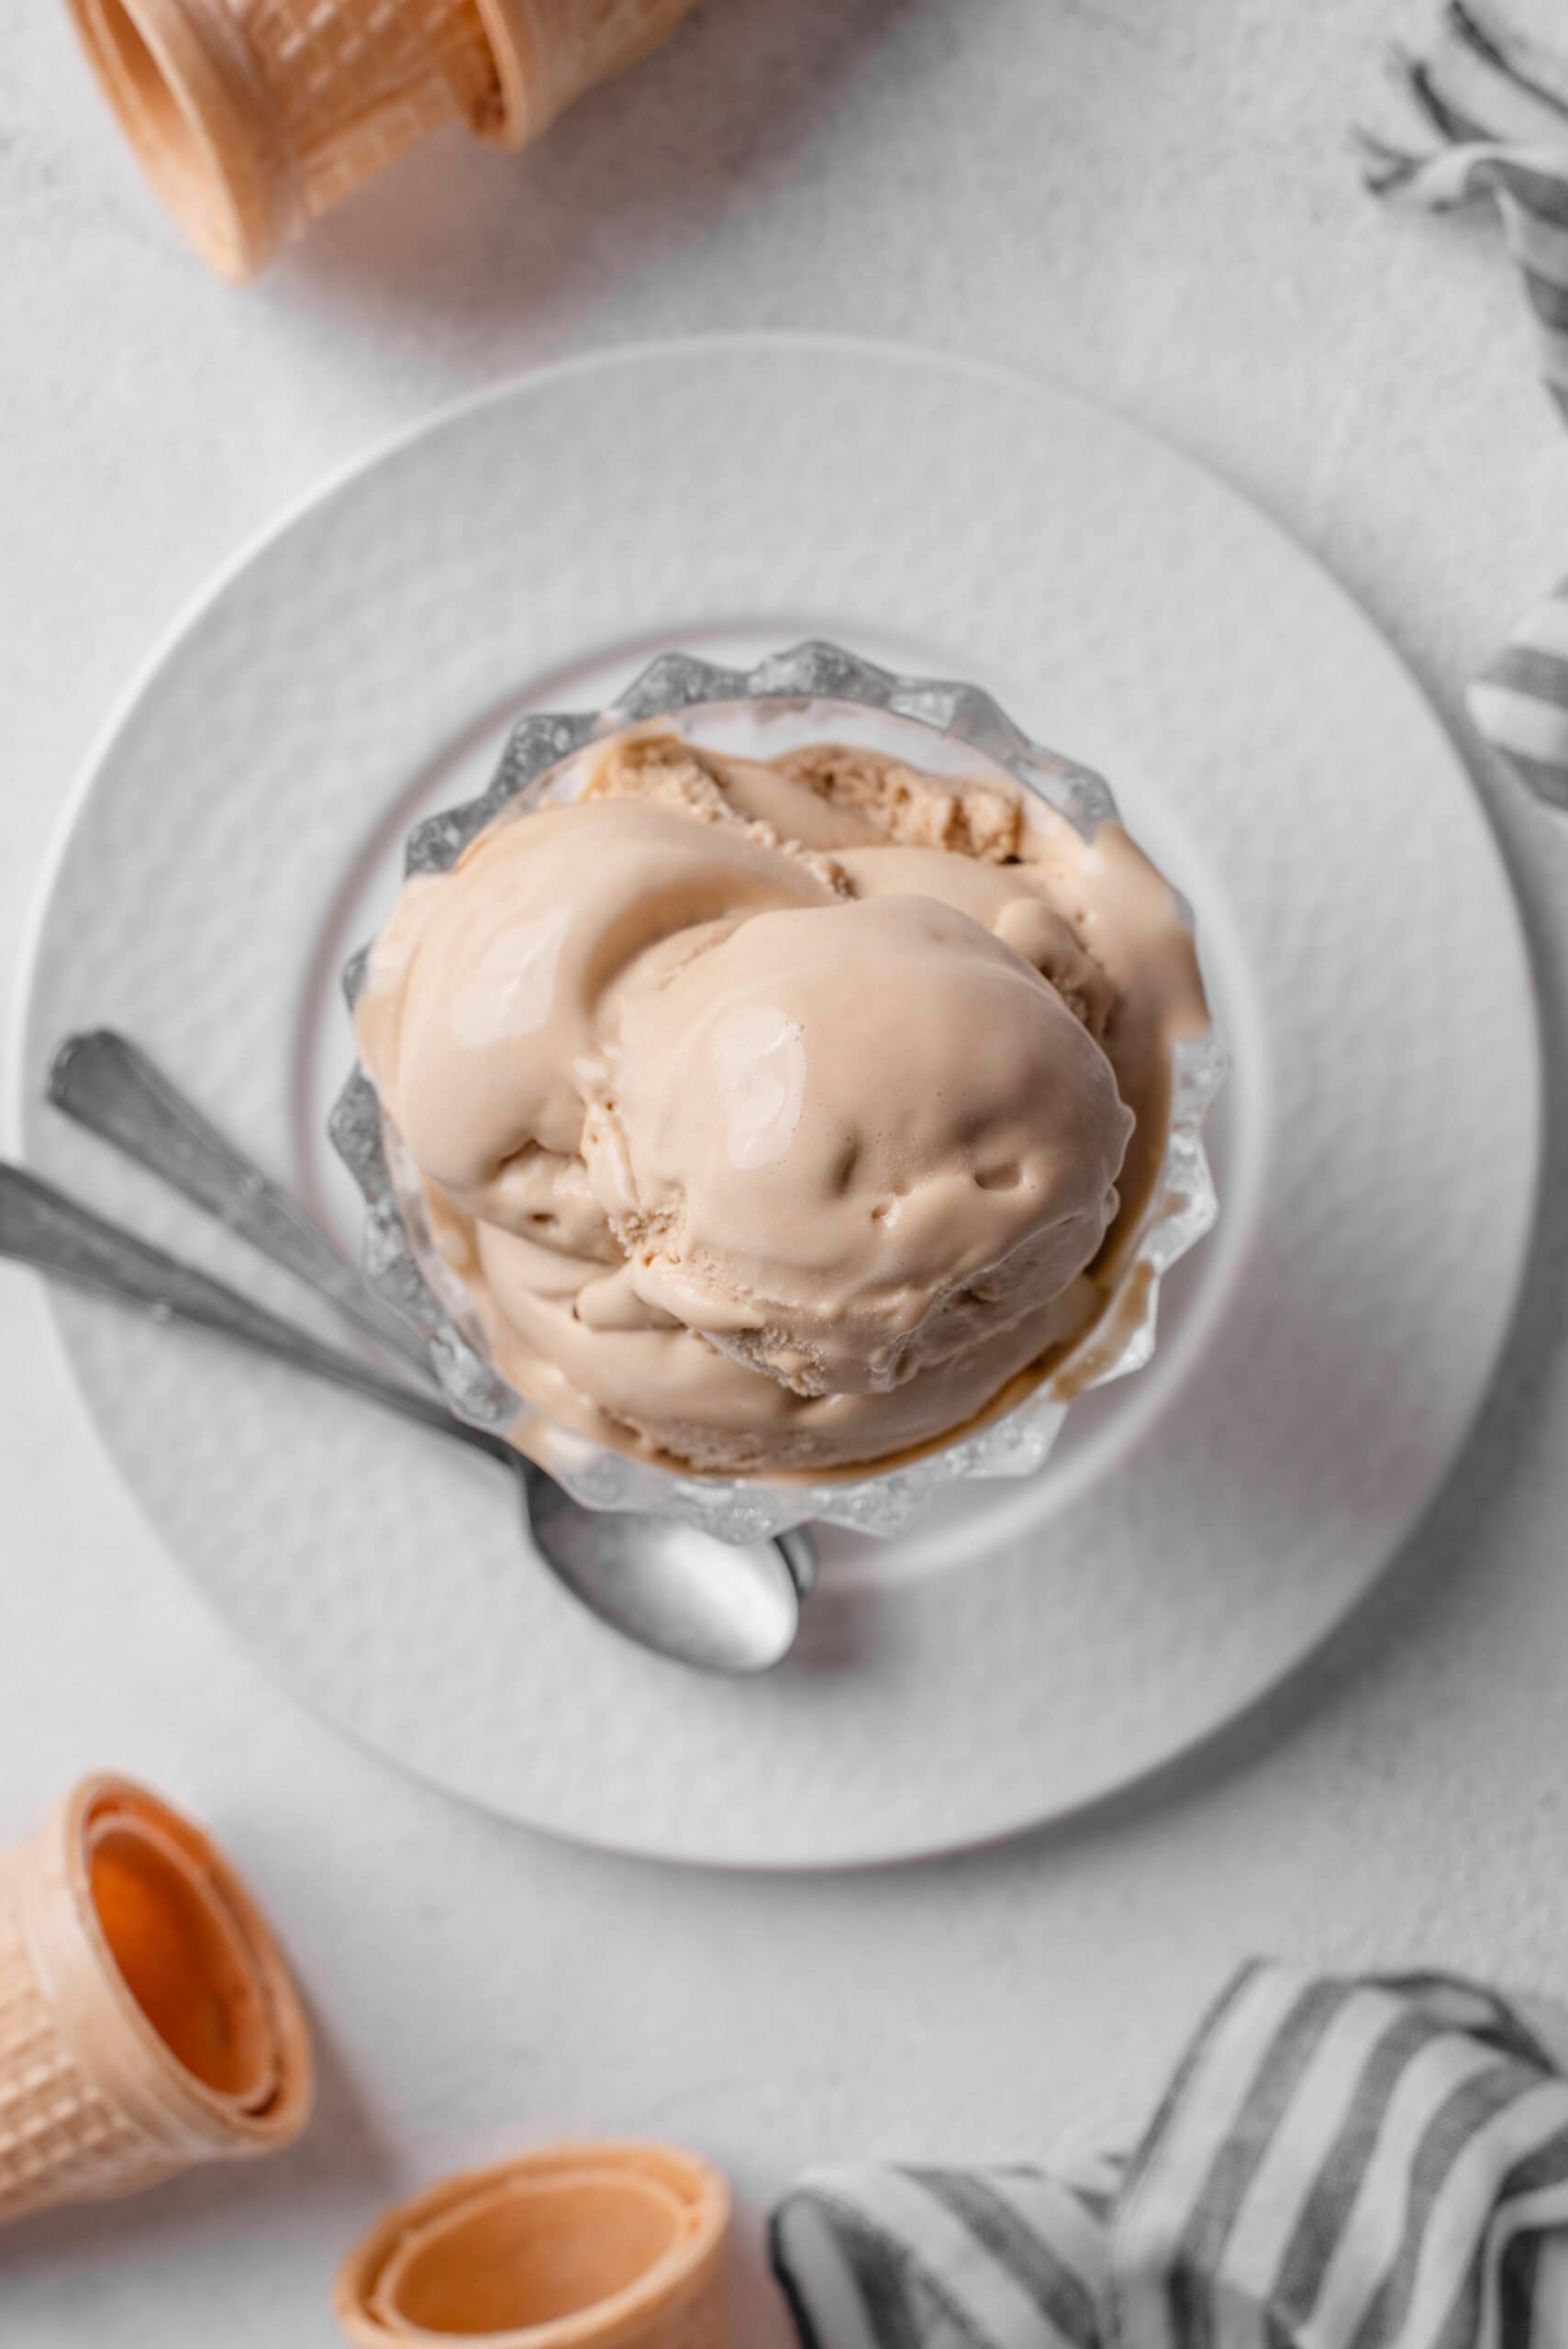
If a creamy bowl of ice cream with deep coffee flavor is up your alley, this is the recipe for you. Even the pickiest coffee enthusiast in your home will happily accept bowl after bowl of this delicious taste treat. You can feel good knowing that you are serving your family a preservative and additive-free dessert.
The Importance Of Straining The Custard When Making Ice Cream
Straining the custard after cooking is crucial as you could wind up with tiny bits of scrambled egg in the pot. You do not want that going into your finished product. Pouring your custard through a sieve removes unwanted bits, so you end up with a smooth, creamy ice cream after freezing.
The other important step to remember is to add the vanilla after you remove the pot from the heat and strain the custard. Adding vanilla during the cooking process can cause a breakdown of the essential properties in the vanilla. You will get the best flavor by adding it after cooking has ceased. I recommend having all ingredients ready to go before you start, as following the steps as directed is crucial.
How To Make Ahead And Store
As mentioned earlier, homemade coffee ice cream is a recipe you must start well before when you want to serve it. You need at least 4 hours of chilling time before it is ready to serve. Once you’ve prepared your ice cream, freeze it in an airtight container for up to 2 months. Enjoy as desired. If the ice cream is hard when removed from the freezer, let it sit out on the counter for a few minutes to soften up before scooping.
Serving Suggestions
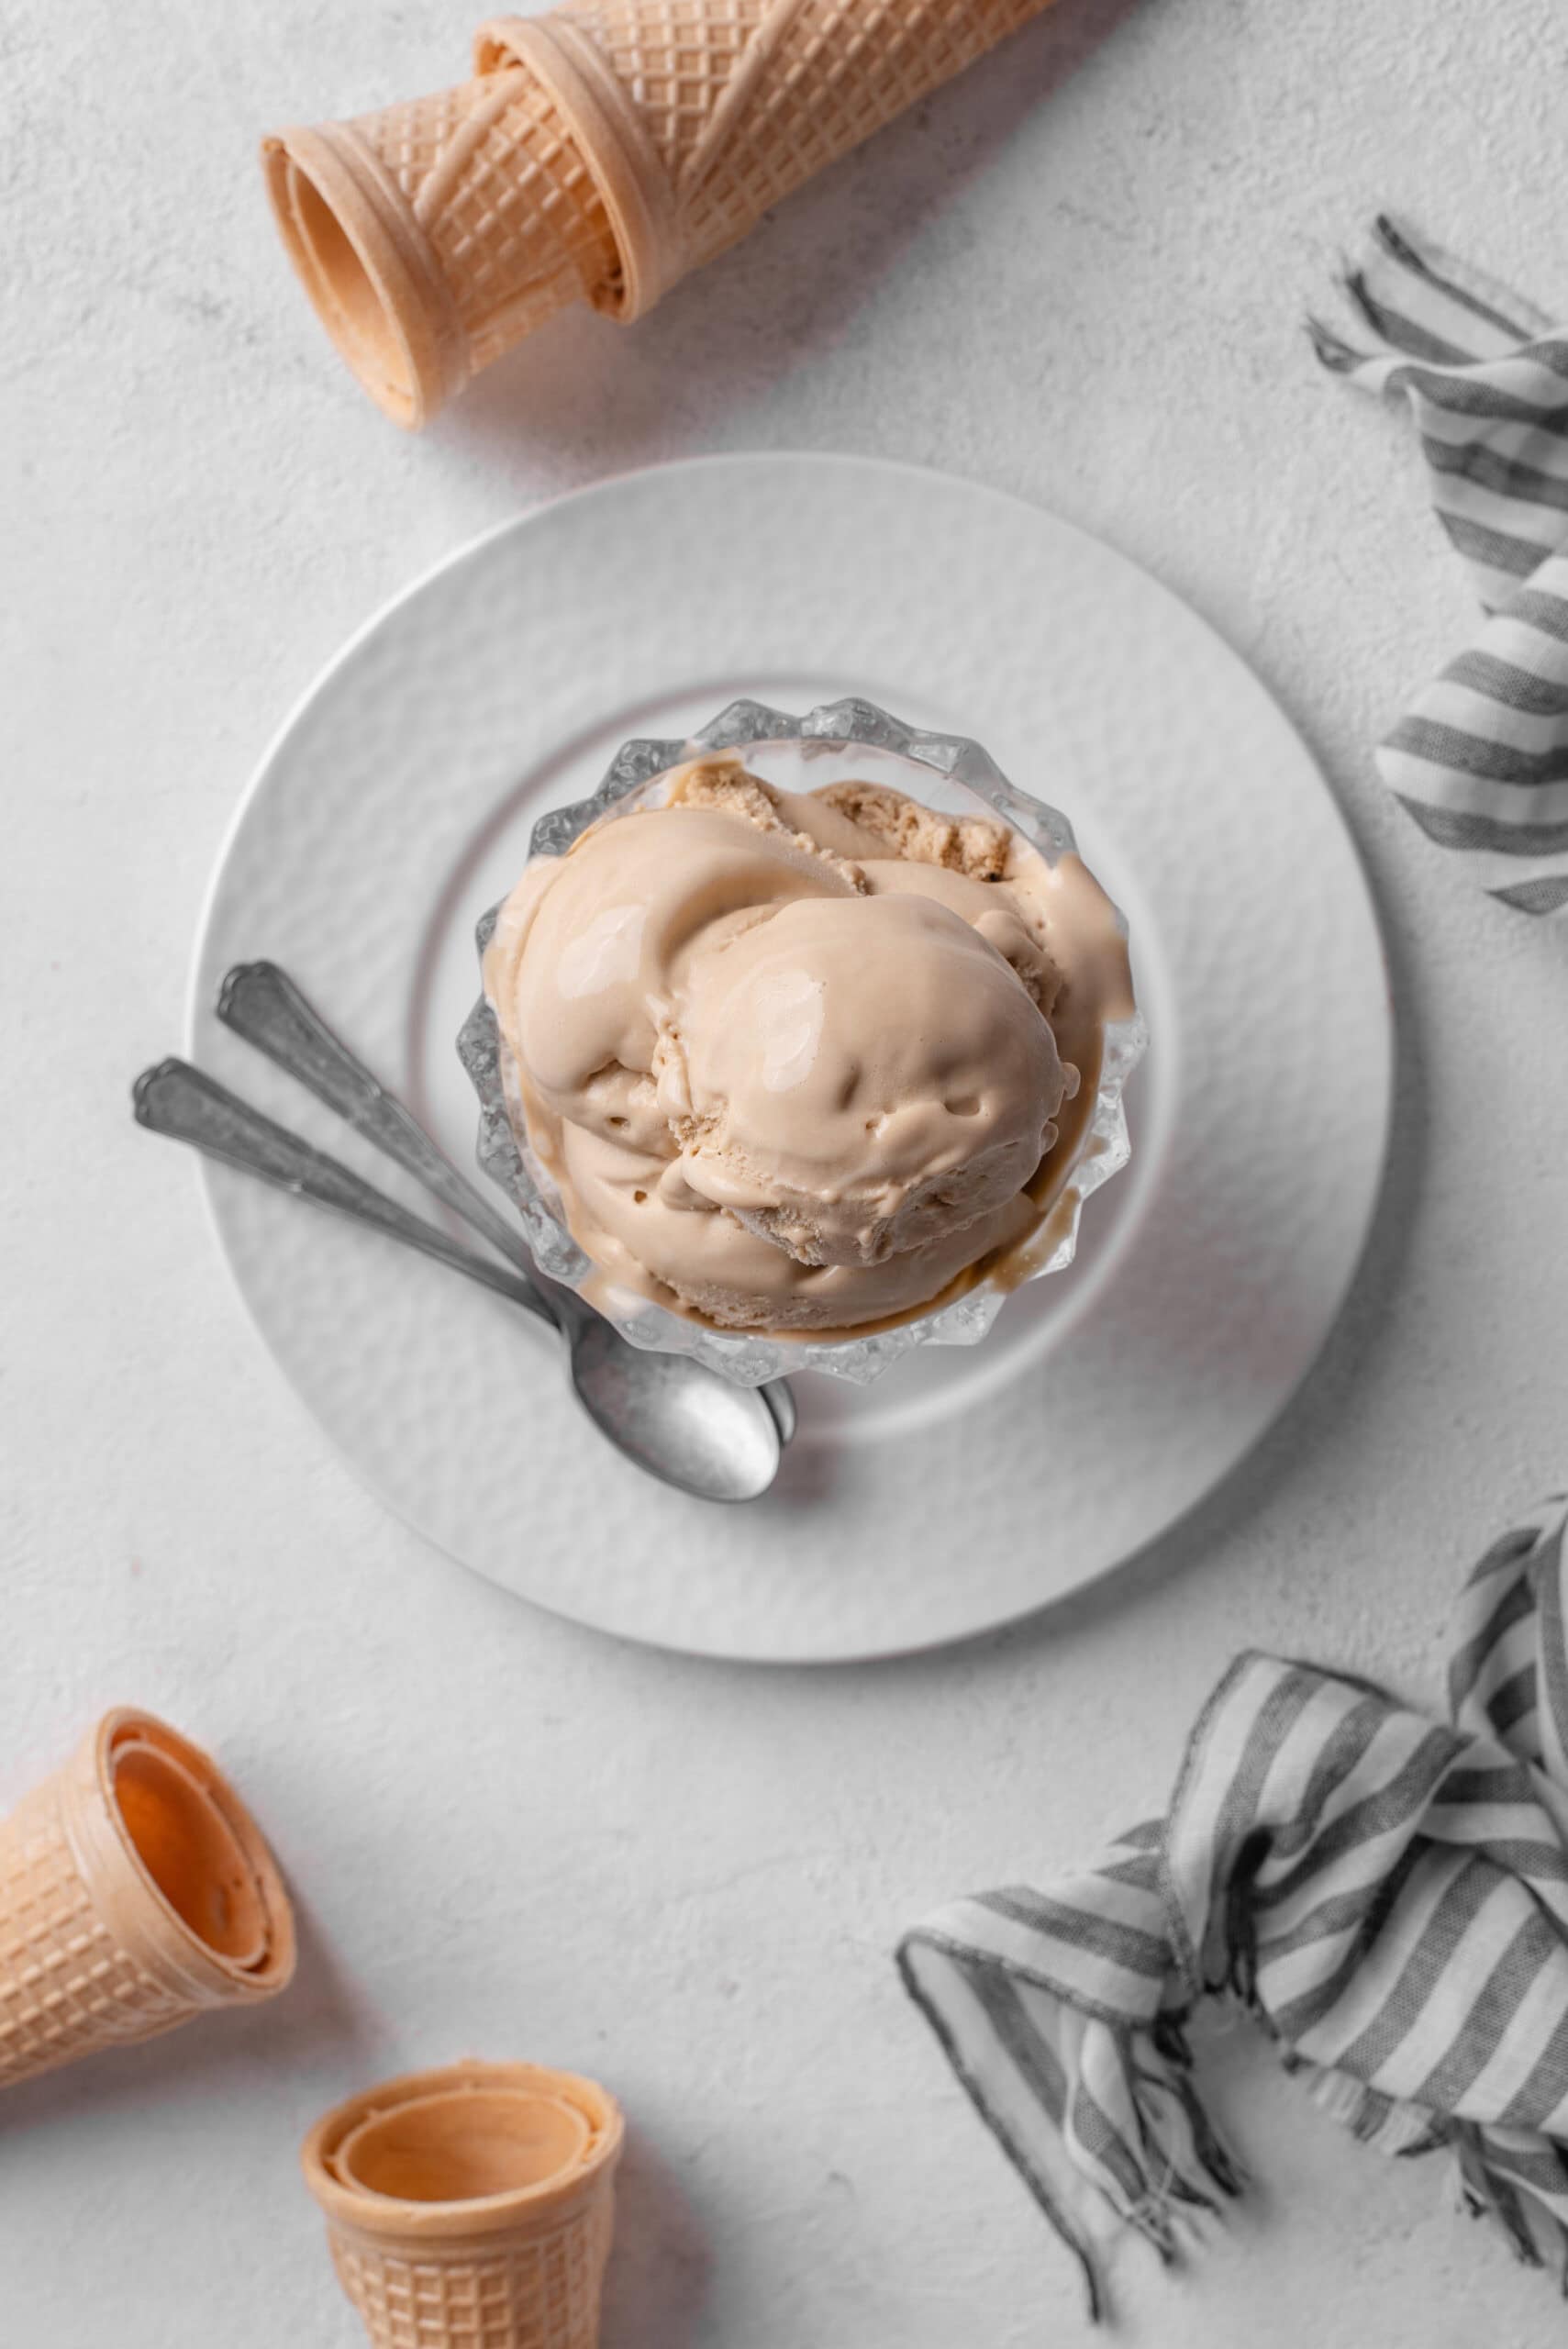
A scoop of coffee ice cream is an excellent accompaniment to a scone, especially if you want the coffee taste without having a cup to drink. Some delicious options include Gluten-Free Scones, Vanilla Bean Scones, and Pumpkin Scones, which are so tasty. If you like coffee, make sure to try this Coffee Milkshake recipe. It’s a winner!

Homemade Coffee Ice Cream
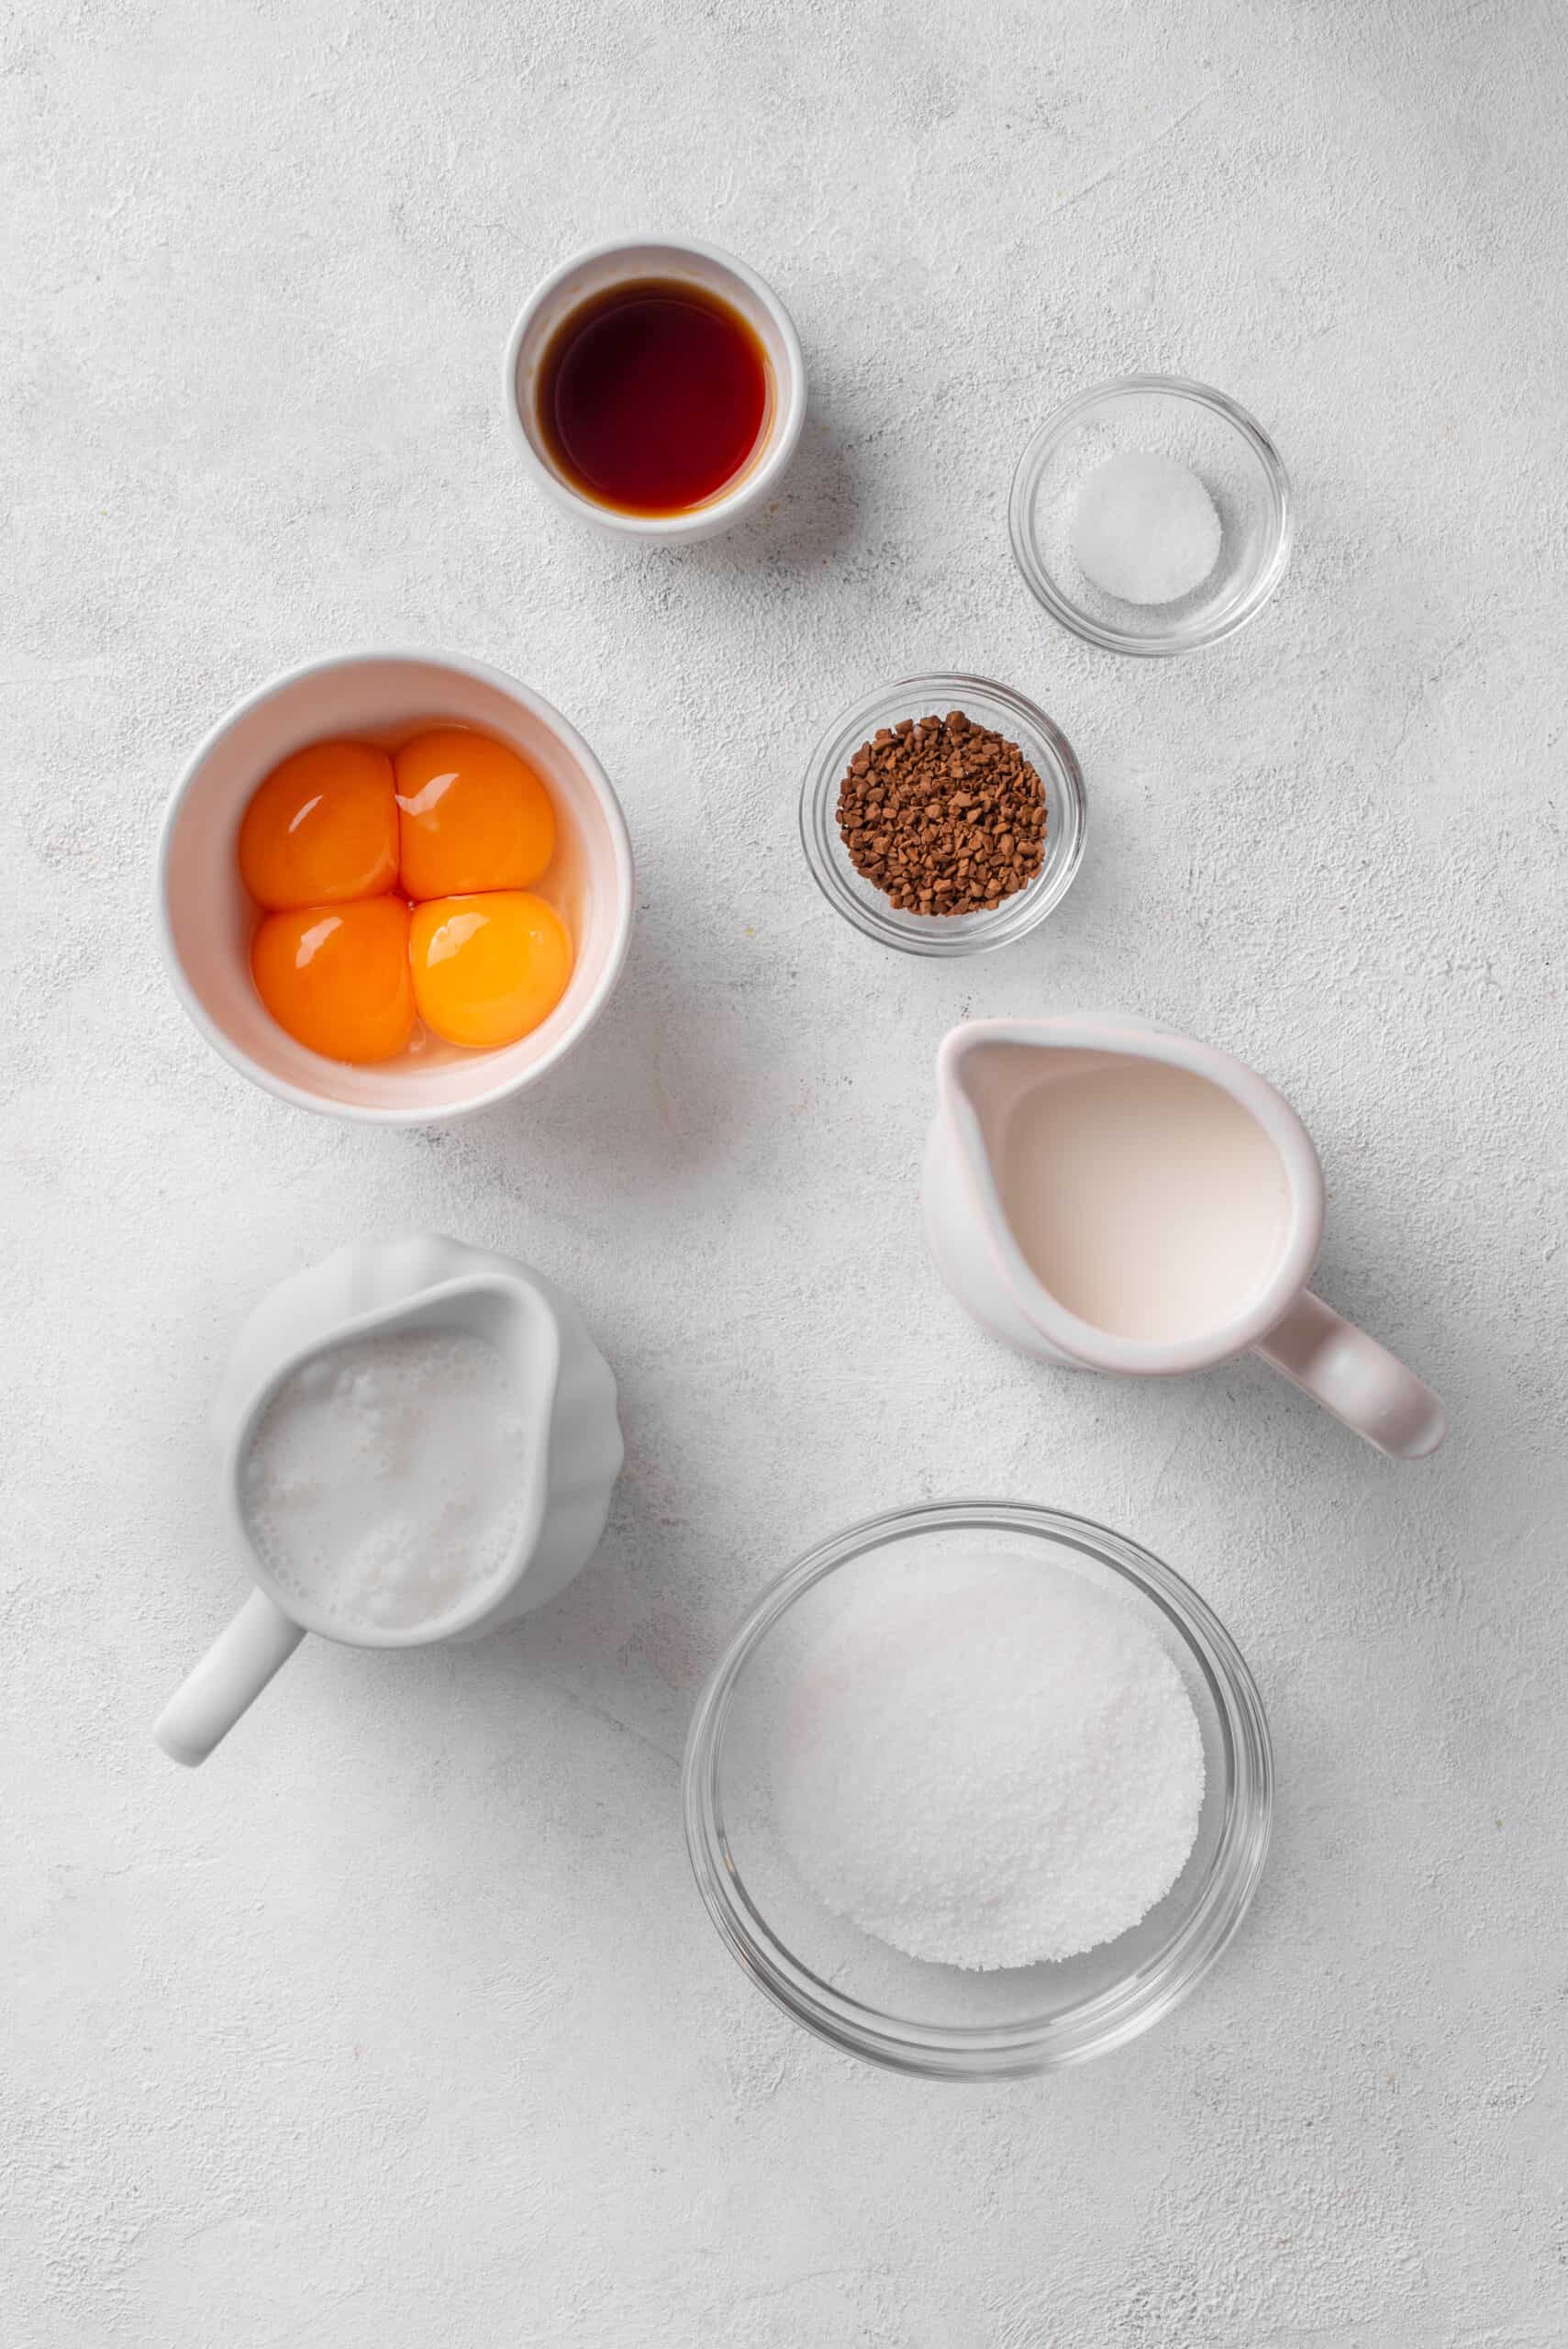
Ingredients
- 1 3/4 cups heavy cream
- 1 1/4 cups whole milk
- 3/4 cup granulated sugar
- 1/4 teaspoon salt
- 4 large egg yolks
- 1 tablespoon instant coffee
- 3 1/2 teaspoons vanilla extract
Instructions
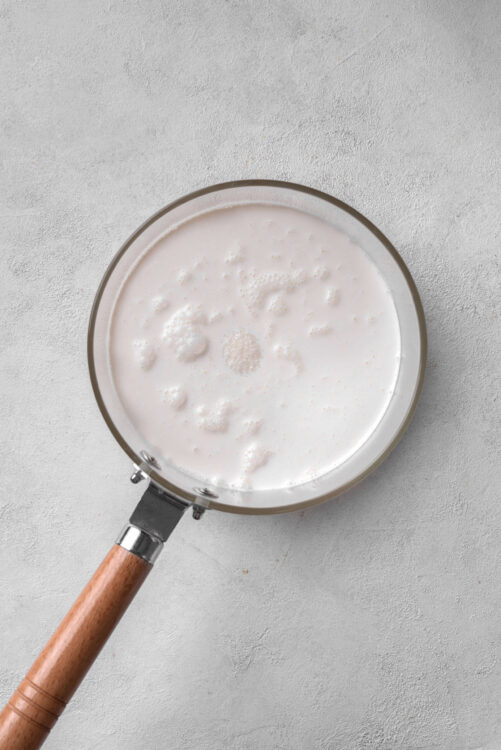
- Warm heavy cream, whole milk, sugar, and salt in a medium saucepan over medium heat, whisking to dissolve sugar.
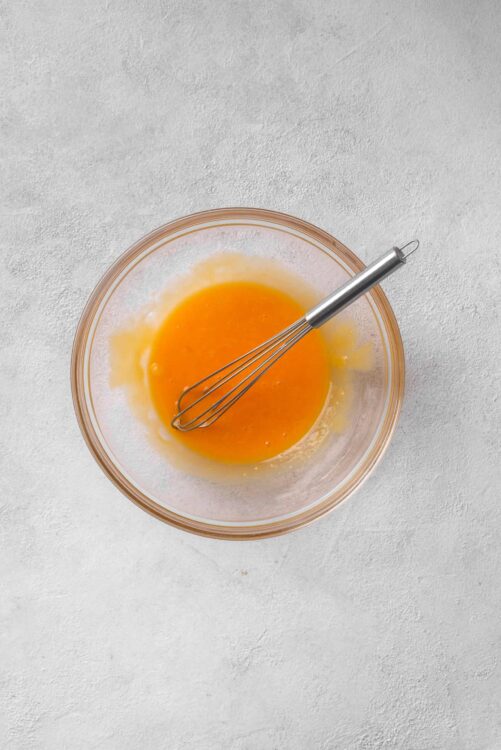
- Beat egg yolks in a small mixing bowl. Gradually add 1/2 cup of the warm milk mixture to the egg yolks, whisking constantly.
- Return the egg yolk mixture to the saucepan. Stir in instant coffee until dissolved. Cook over medium-low heat, stirring constantly, until the mixture thickens slightly and coats the back of a spoon.

- Strain the custard through a fine mesh strainer into a bowl. Stir in vanilla extract. Chill the mixture thoroughly, preferably overnight.

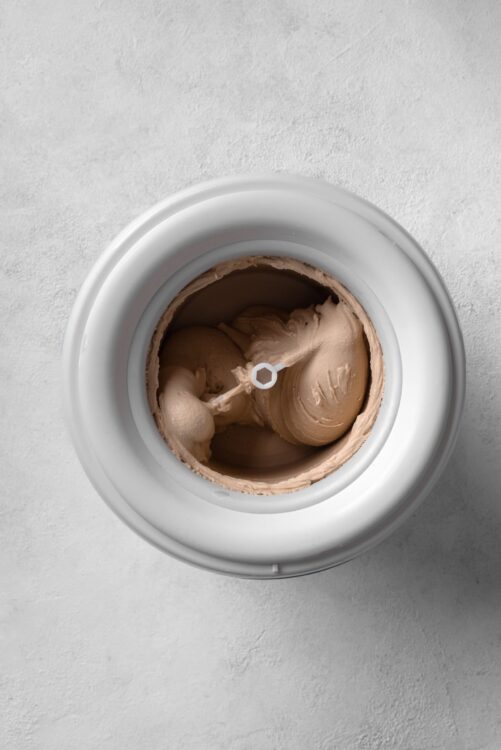
- Churn in an ice cream maker according to the manufacturer’s instructions until it reaches the consistency of soft serve.
- Transfer the churned ice cream to an airtight container and freeze until firm, about 4 hours.


Leave a Comment