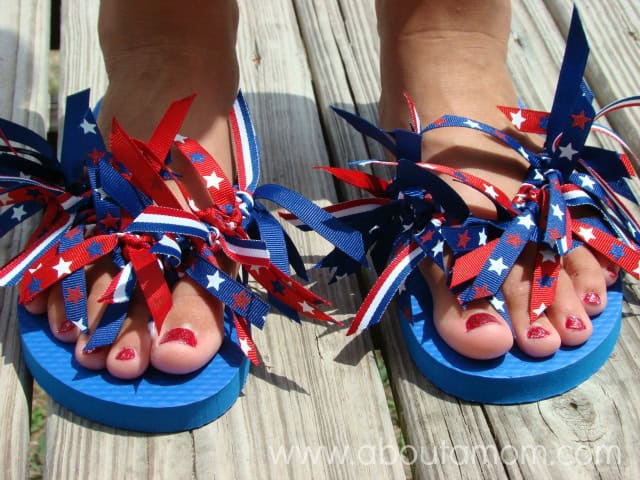
Ribbon Flip Flops
My granddaughters and I spent the week working on a few craft projects for the 4th of July. One of the projects we came up with were these fun DIY Ribbon Flip Flops. I don’t think we spent more than $5 on this project and it really didn’t take us all that much time to make. I had seen some really cute flip flops on Etsy that were made with strips of fabric, but when I saw that Michael’s had patriotic ribbon 40% off I simply couldn’t resist. The flip flops themselves only cost me $1.49 at the same store.
The measurements below are approximate and were used on a size adult small flip flop. You’ll be able to get by with less ribbon for smaller size flip flops. I recommend cutting the first strip of ribbon and see how you like the length. We decided to cut ours a bit long, for a real statement.

Here’s What You’ll Need:
1 pair of flip flops
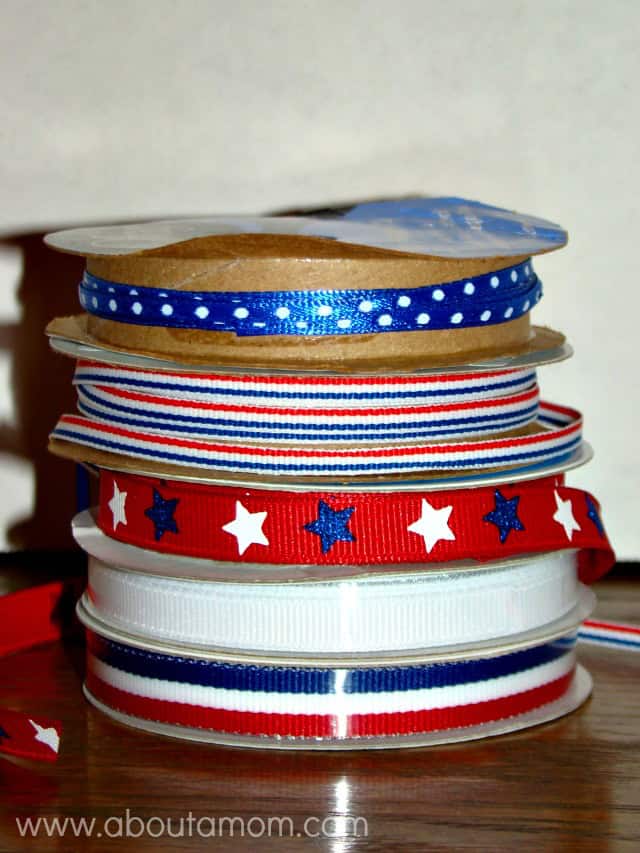
3/8″ wide ribbon cut into 7″ strips
You’ll need approximately 9 yards of ribbon per pair of shoes. I used (3) 3/8 inch x 3 yard spools that I picked up for $1.19 each on sale. It’s important that each strip of ribbon is cut to the same length, so use your ruler.
Starting at one end of the flip flop strap, tie on a piece of ribbon. You will need to tie a double knot. The double knots should be on the top side of the strap, so that the smooth part of the ribbon will be against the foot. Tie on the next piece of ribbon, pushing it next to the first ribbon. Repeat this process until you have covered the entire strap. That’s it! You might want to fluff and adjust a few of the ribbons, but seriously that’s it – you’re done!
Go through your ribbon stash, and save yourself some money or take advantage of seasonal sales going on right now! I hope you enjoy this simple project as much as us.

So cute! Can’t wait for grand-daughters to do crafts with. I always enjoyed doing crafts with my daughters when they were younger.
These are super cute! 🙂
What a super fun craft!!!
Easy Peasy just the way I like it. Those came out soooo cute. Great Job~!
I wanted to let you know I am featuring your Ribbon Flip Flops in my 4th of July Wearables Tutorials post on 6/17/14. I thank you for sharing your tutorial and am exited to include it alongside other great 4th of July wearable ideas!
These are so cute! Do the ribbons tickle your feet?
I have seen kits like this at HObby Lobby for all different kinds/styles of decorating flip flops. I thought they would be so neat for kids to create and reasonably priced…not such a great deal for adults as I need a little more support/thickness in my flip flops.
To make the flips have more support. I was going to do this with the fabric ones that you posted.
I think it was Dollar General that had flip flops 2 for $1.00 this week. These are adorable and look so easy and my children would love them! Another great way it to glue velco to it and then you can change them
this is super festive! love it!