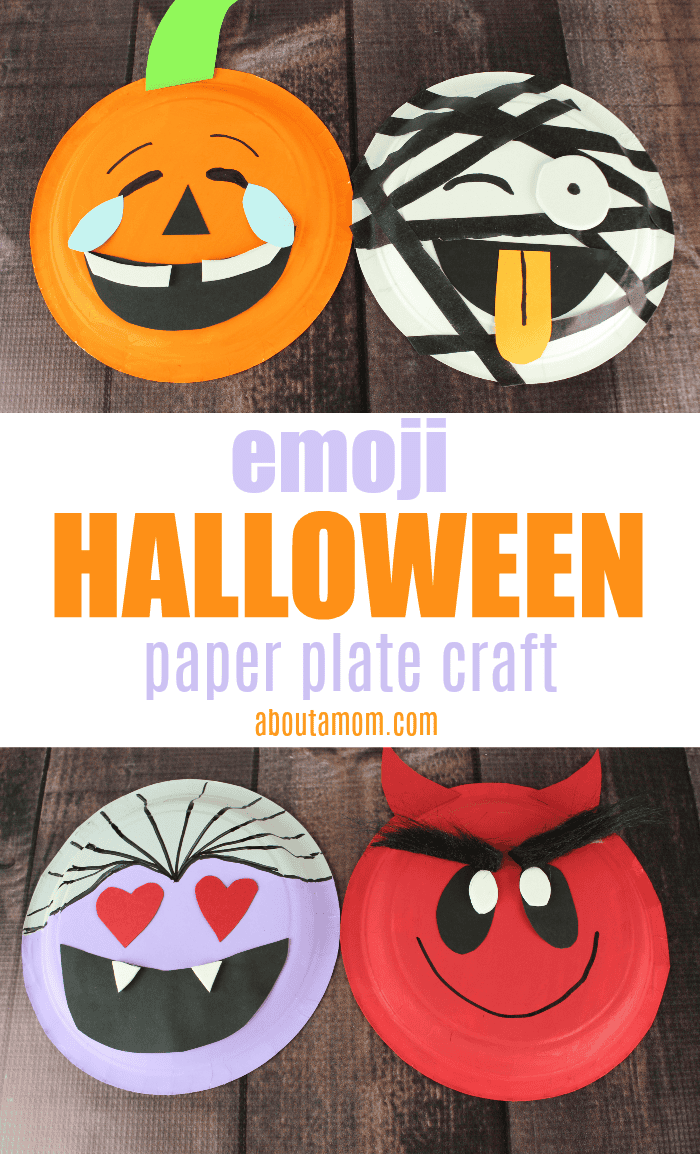
Emoji are all the rage these days. I’ve got some super fun emoji Halloween paper plate crafts to share with you. These are made using basic craft supplies and are a fun activity for the weekend, with Halloween just a few days away.
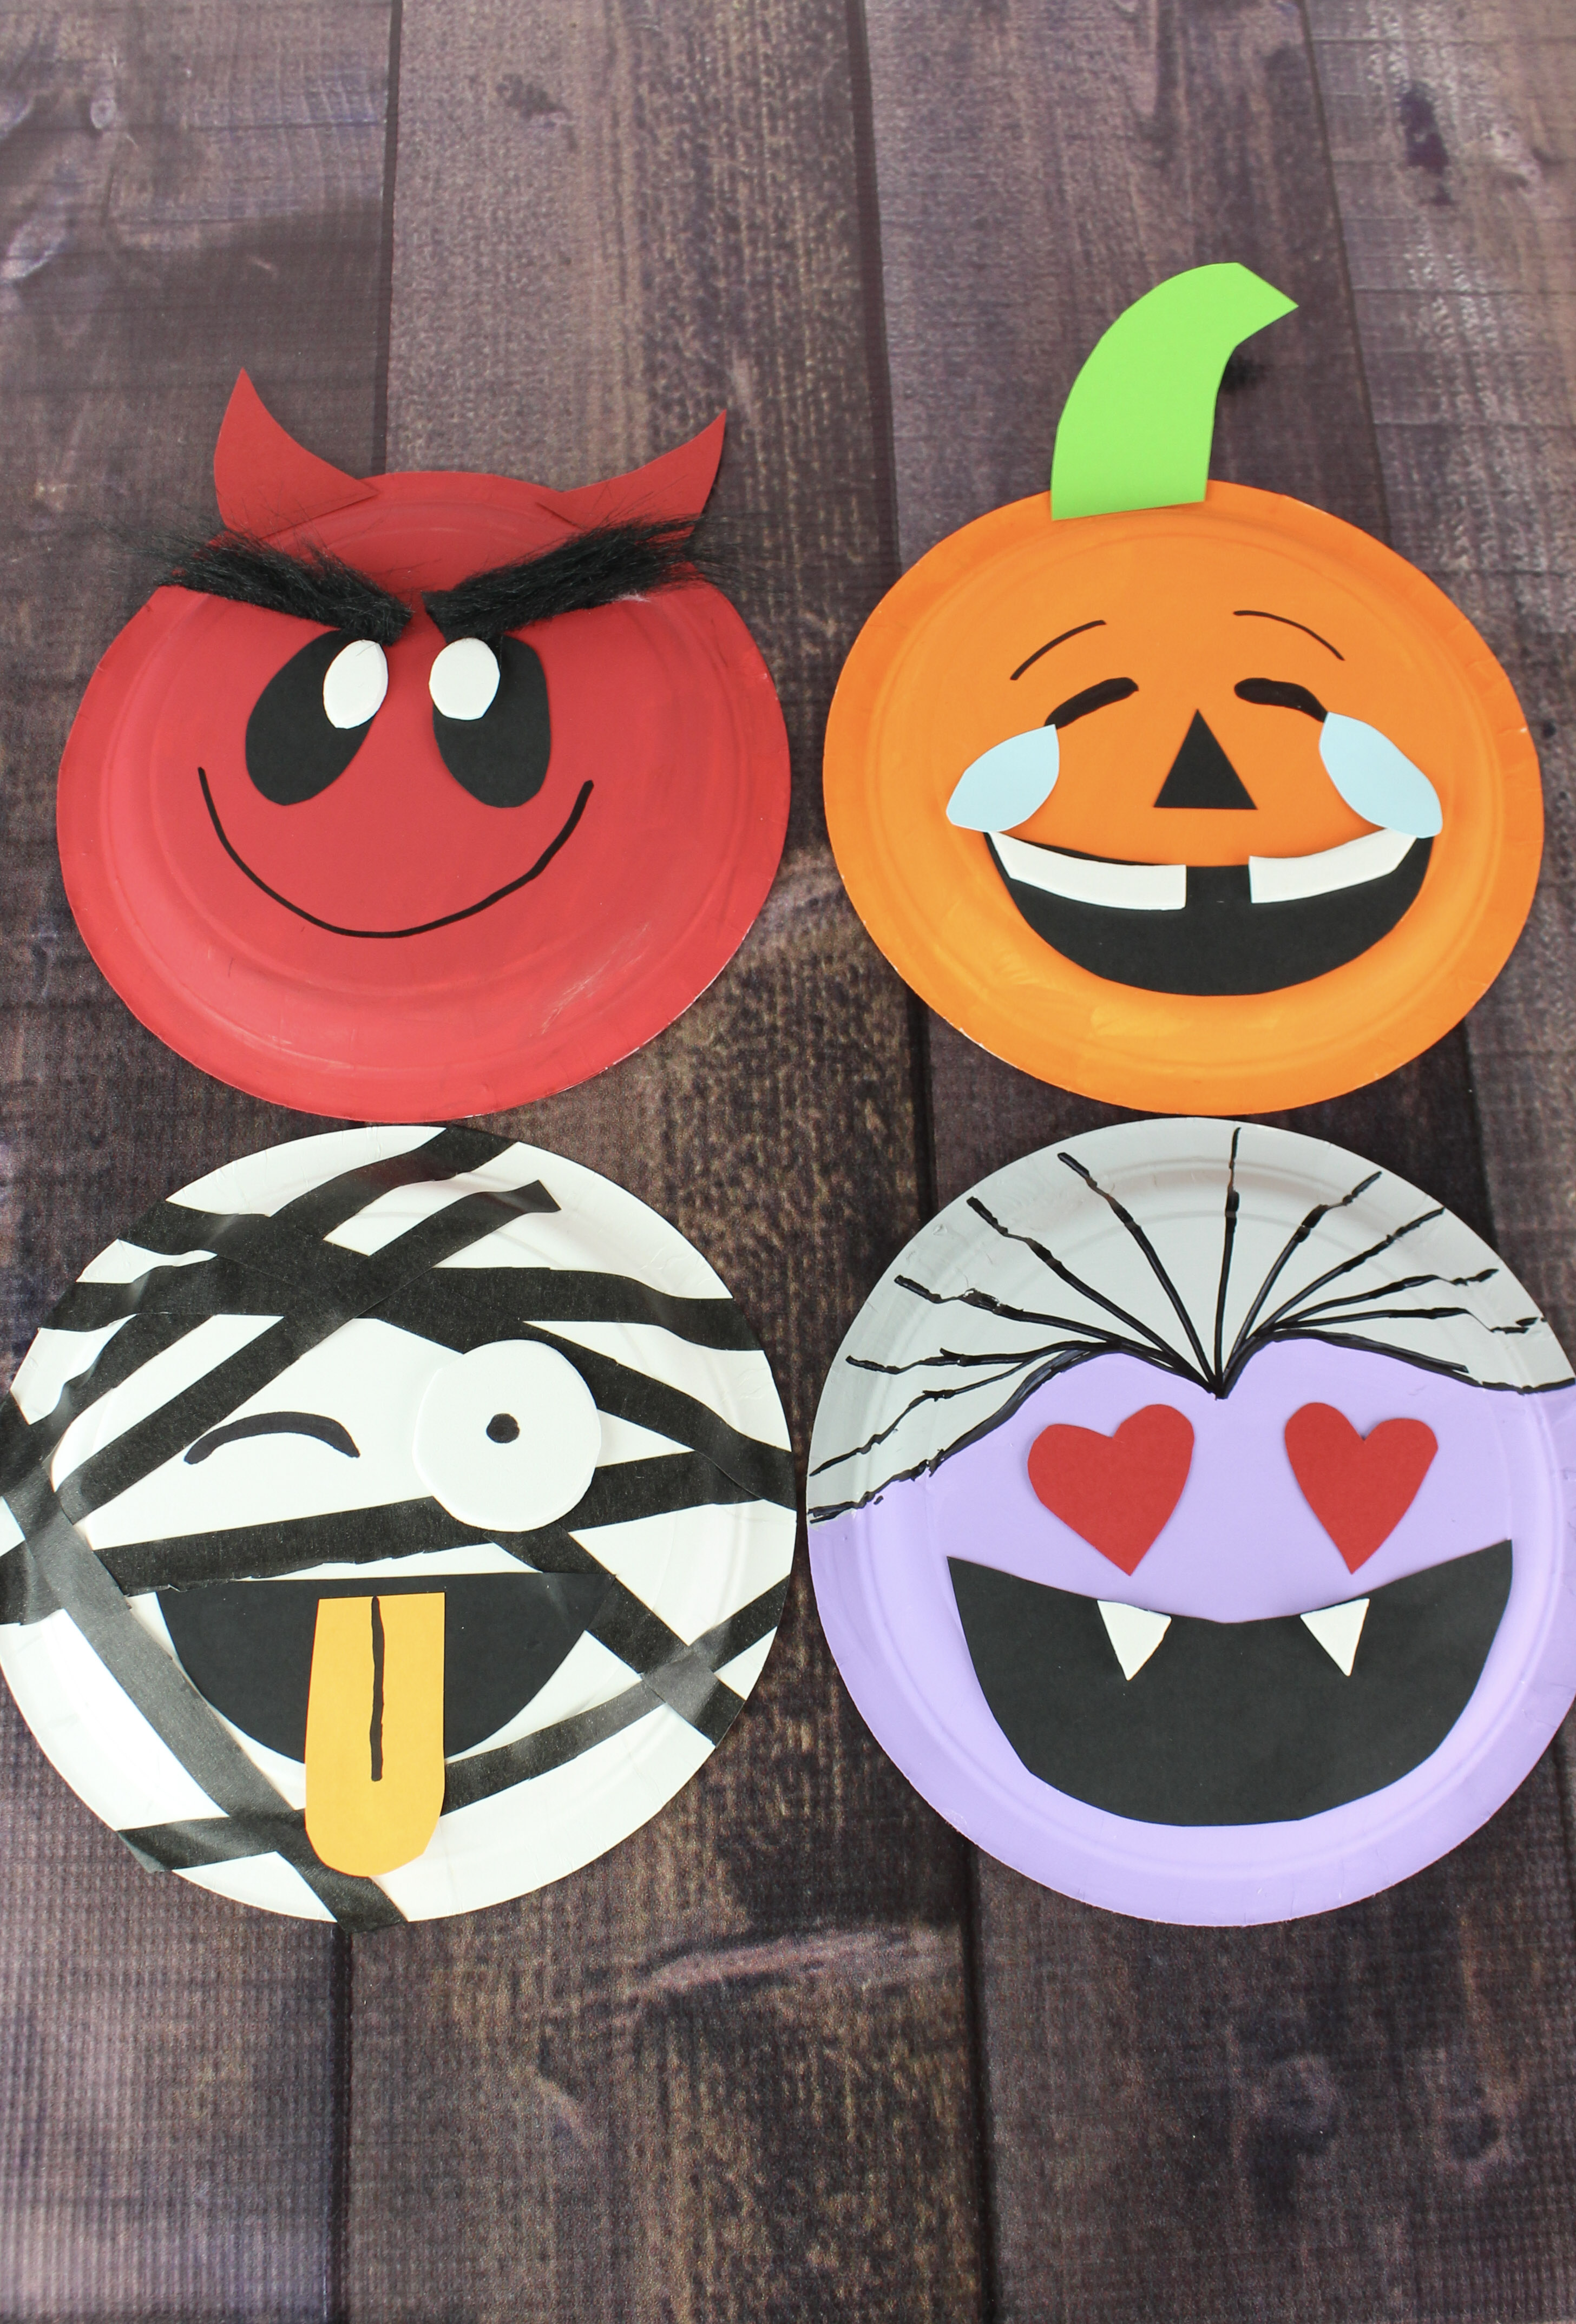
Included are instructions for a pumpkin emoji, vampire emoji, mummy emoji and devil emoji.
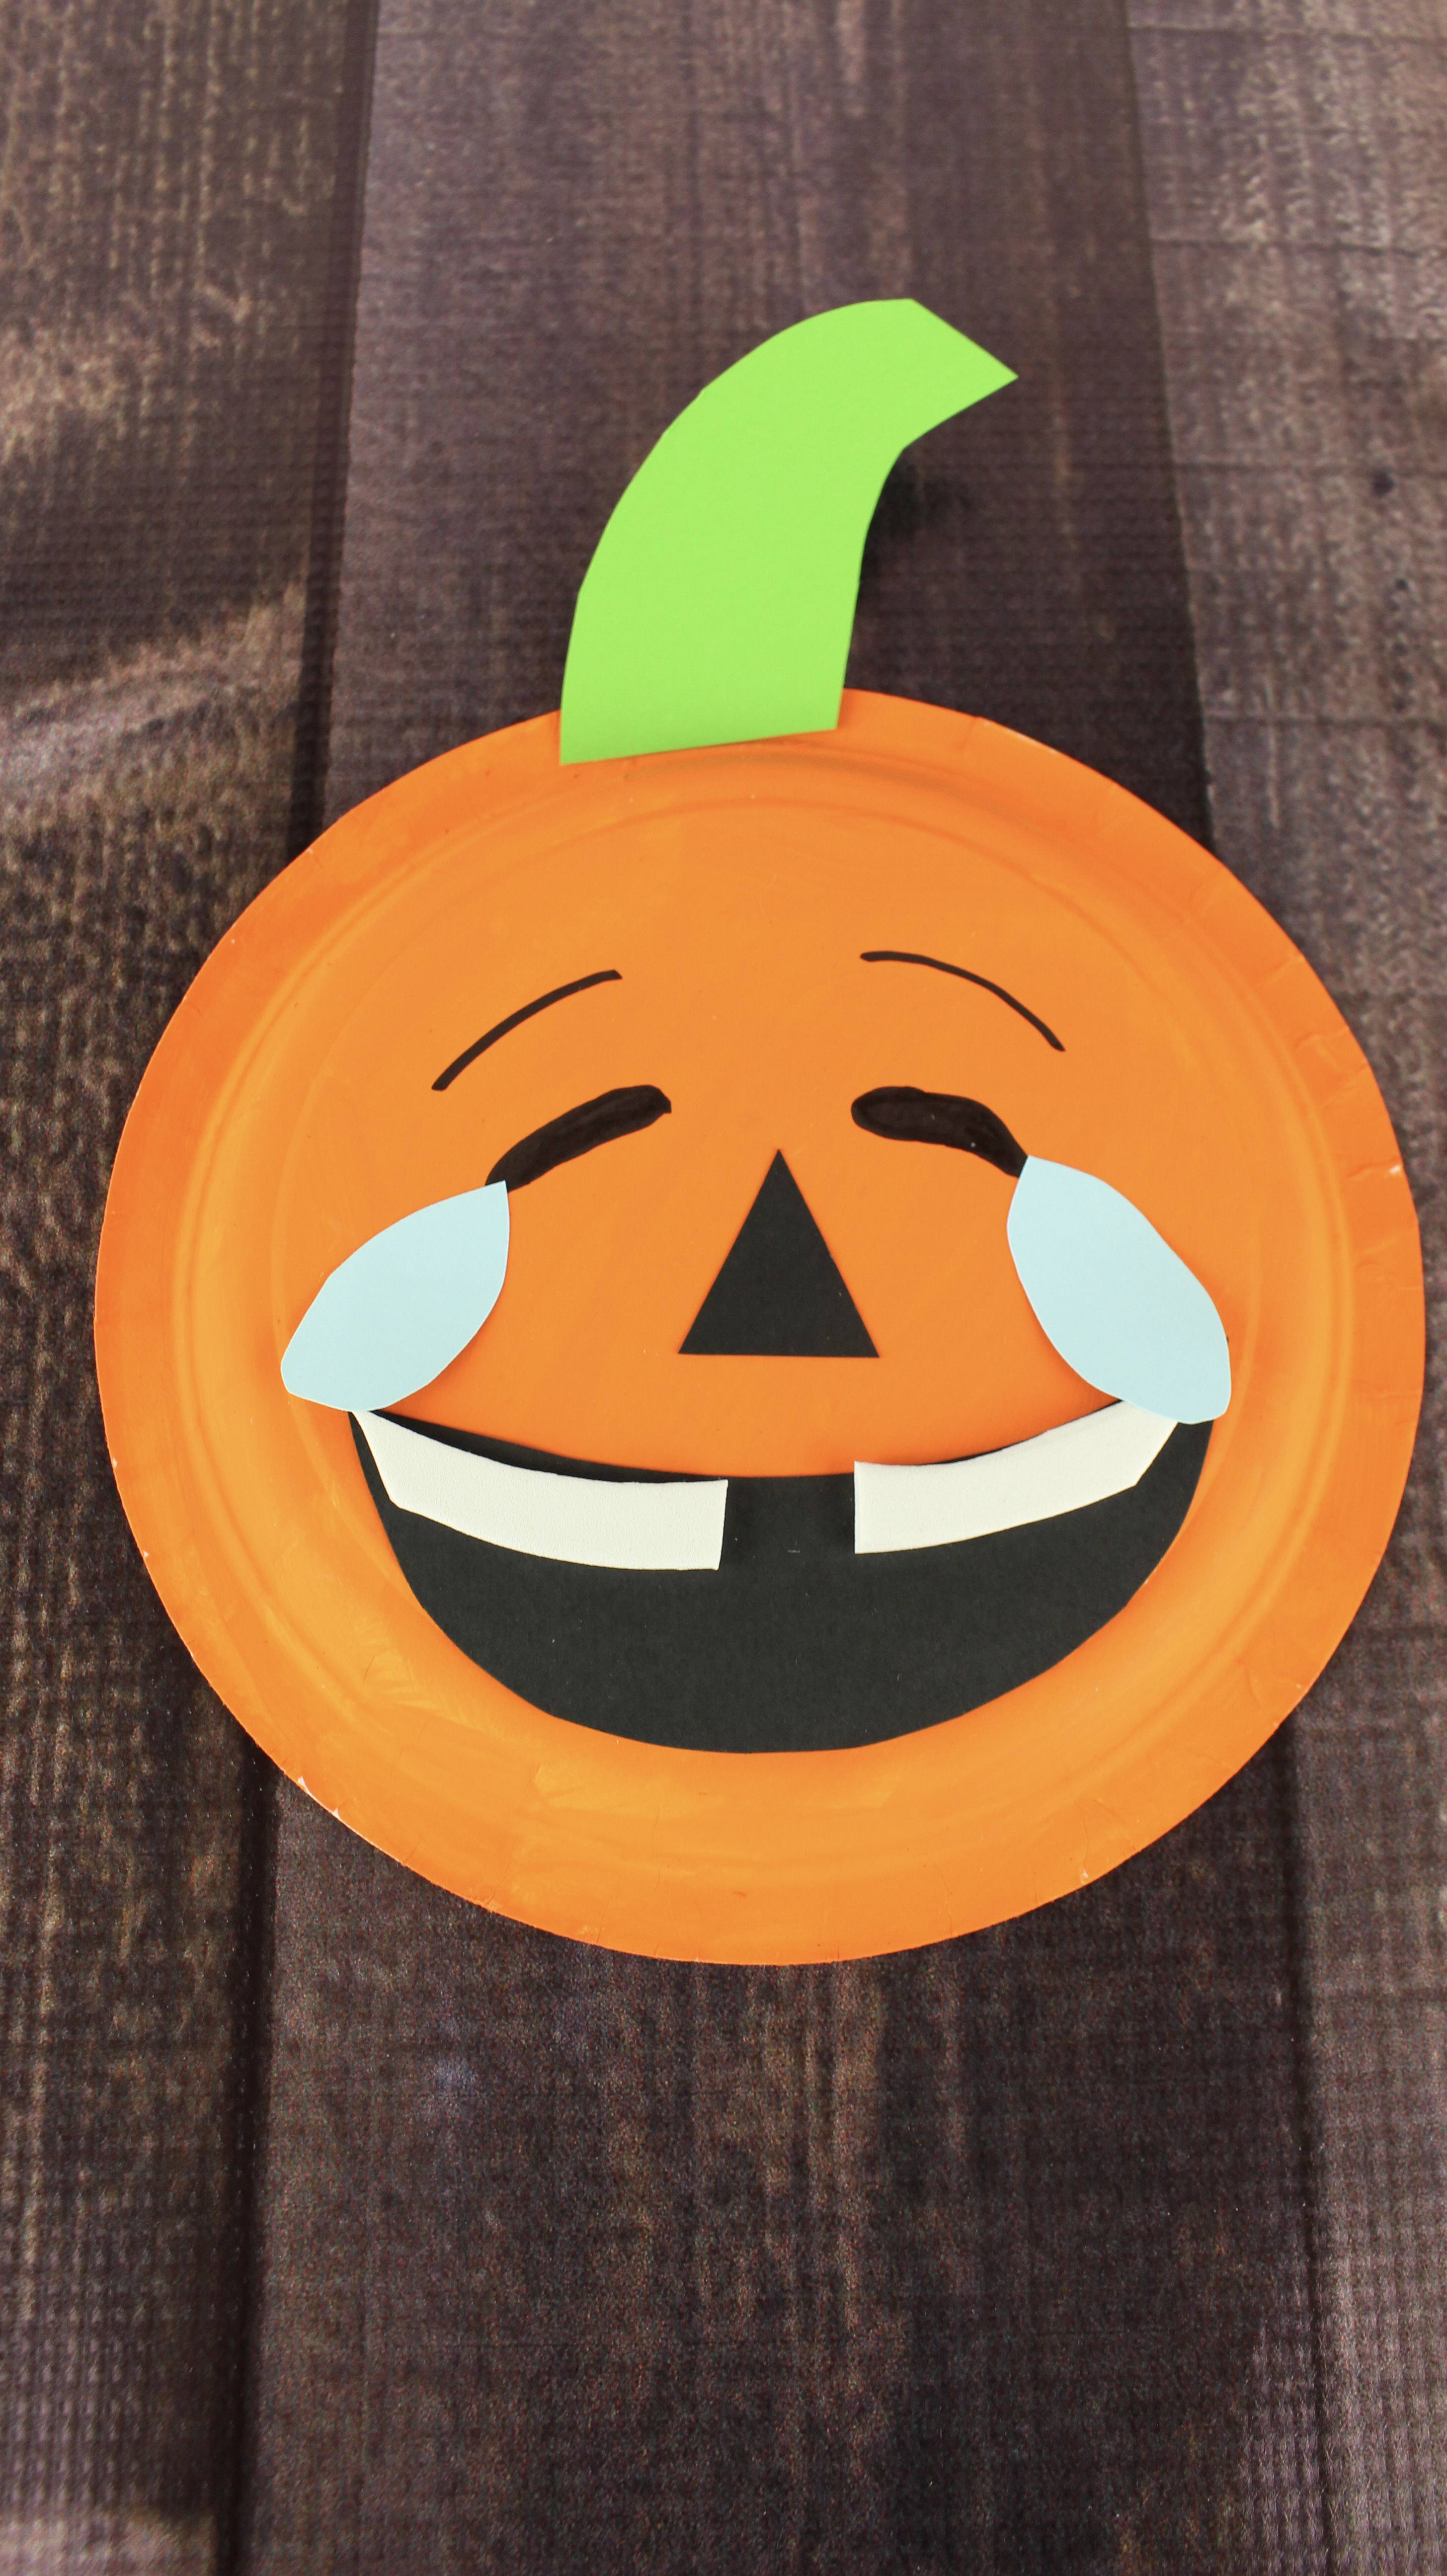
Pumpkin Emoji
SUPPLIES FOR PUMPKIN EMOJI
1 dessert-sized white paper plate
Orange paint
Paint brush
Pencil or crayon
Construction paper: green, black, light blue, white
Scissors
Glue stick
Black marker
PREP WORK FOR THE PUMPKIN EMOJI
1. Paint the back side of the paper plate orange and set aside to dry.
2. Draw a stem on the green paper. With a scissors, cut the stem shape out and set aside.
3. On the light blue paper, draw and cut out 2 football shapes for the teardrops.
4. From the black paper, draw a large smile and a small triangle for the nose. Cut both shapes out with the scissors.
5. From the white paper, cut out 2 teeth that are slightly curved at the top so they fit the curve of the mouth.
HOW TO ASSEMBLE THE PUMPKIN EMOJI
1. Glue the green stem to the top of the pumpkin by applying glue to the back of the stem (towards the bottom) and placing it on the top of the orange plate. Hold in place for 10 seconds to allow the glue to adhere.
2. With a black magic marker, draw 2 eyebrows towards the top of the pumpkin. Underneath the eyebrows draw two eyes that are closed. They are the same shape as the eyebrows, only twice as thick.
3. Glue the triangle on for the nose, directly in the middle of the plate.
4. Glue on the large black mouth towards the bottom of the plate. Glue the two teeth on to the top of the mouth, one on each side.
5. Glue on the 2 tear drops. Each top of the tear drops should be coming from the bottom corner of each eye and slanted towards the outer edges of the plate.
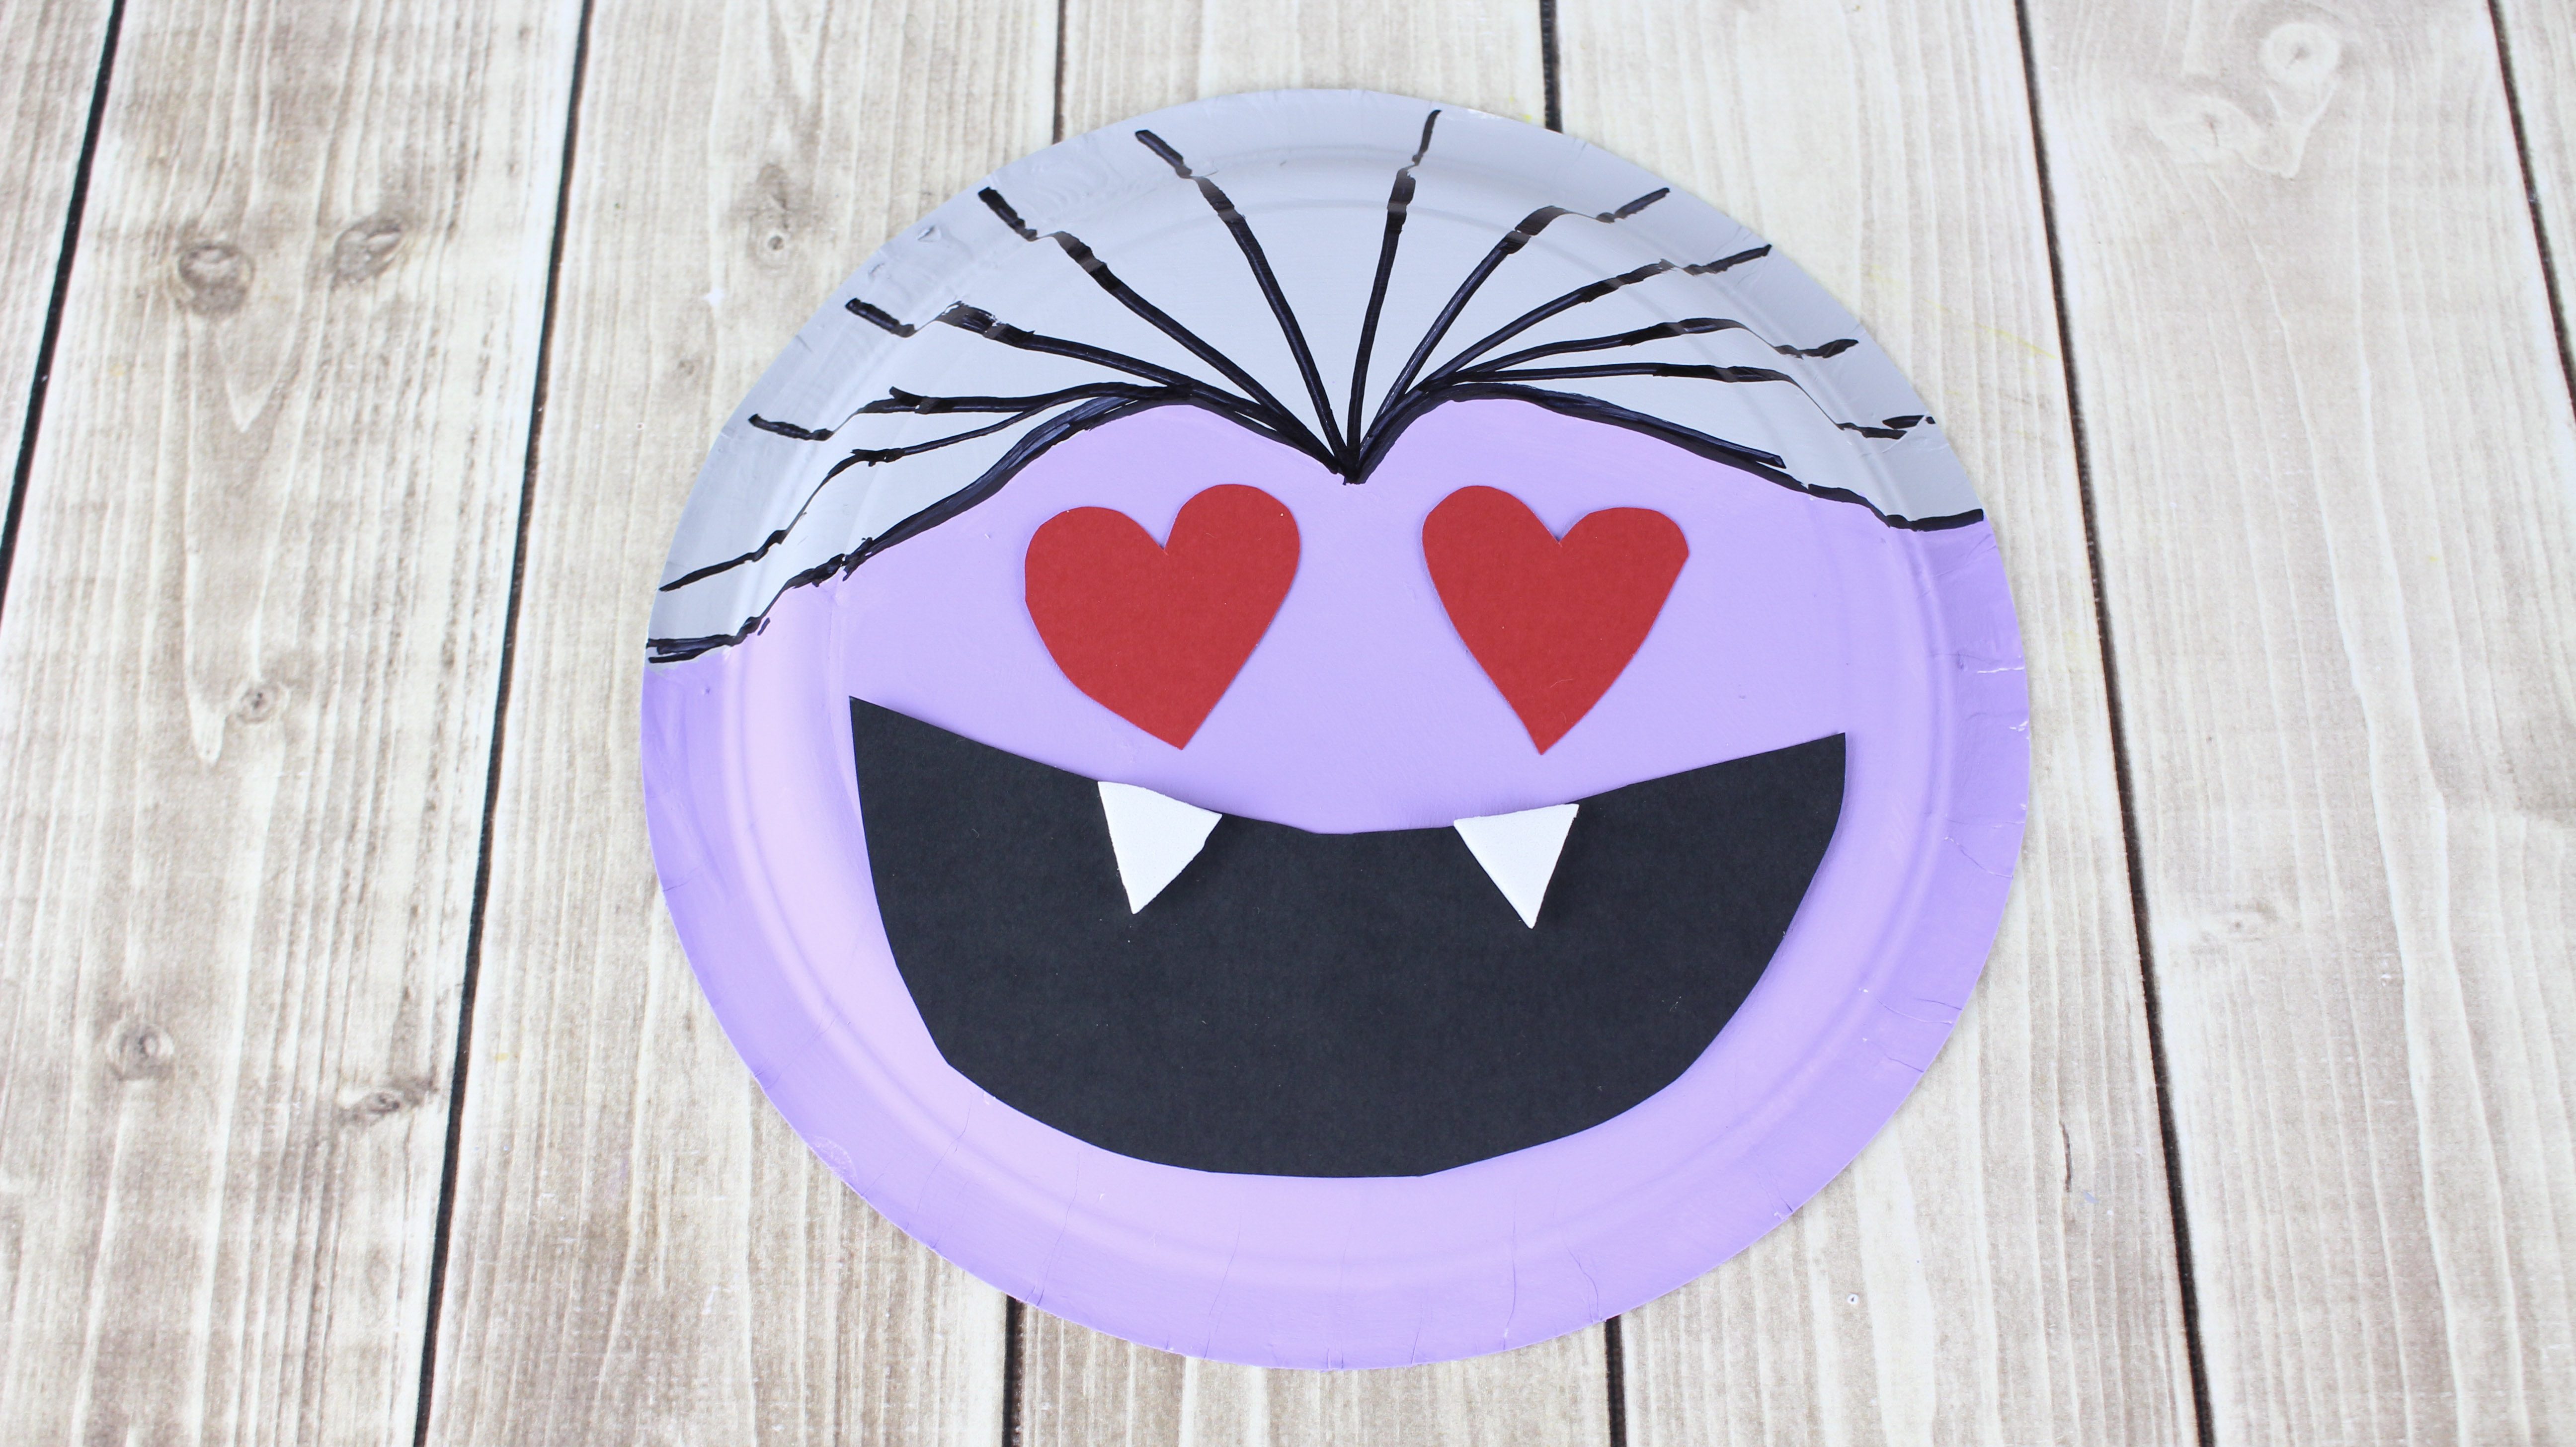
Vampire Emoji
SUPPLIES FOR VAMPIRE EMOJI
1 dessert-sized white paper plate
Pencil or crayon
Purple paint
Grey paint
Paint brush
Construction paper:
Scissors
Glue stick
Black marker
PREP WORK FOR THE VAMPIRE EMOJI
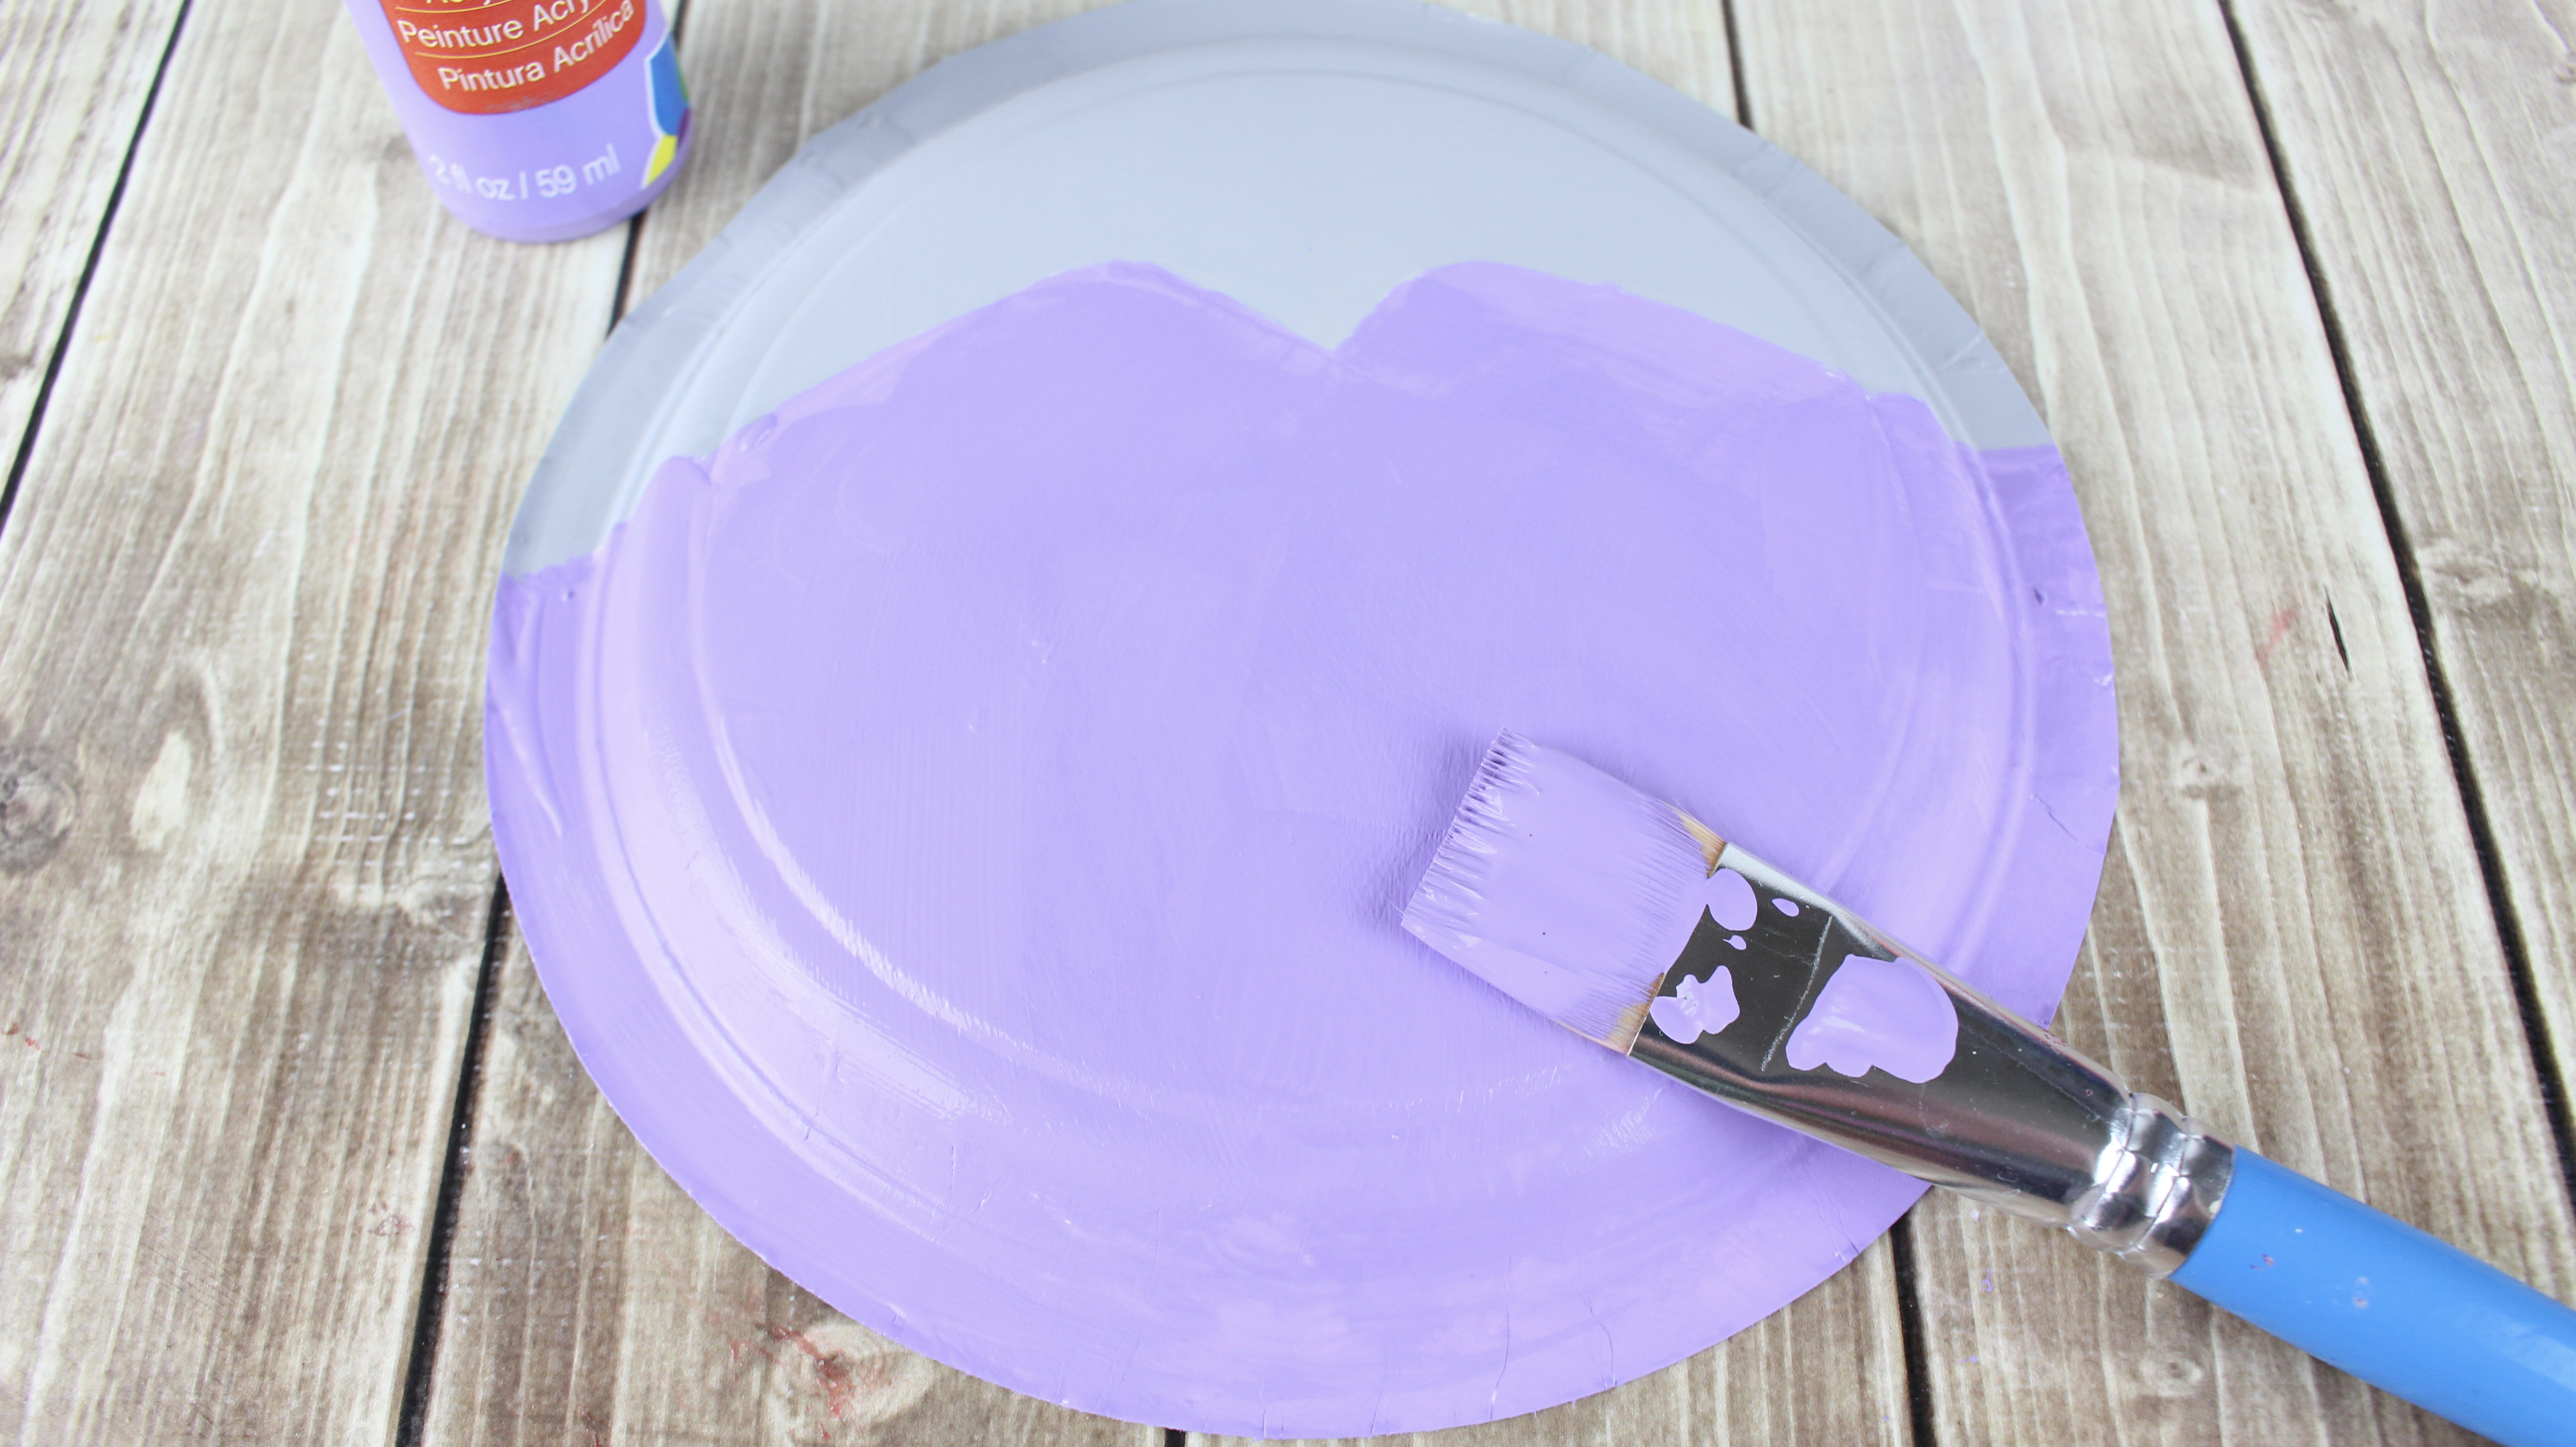
1. Turn the plate over to the back side and with a pencil or crayon, draw a line up at the top for the vampire’s hair. Be sure to have a “dip” downwards in the middle.
2. Paint the hair grey and the face purple. Set aside to dry.
3. To make the eyes, cut out 2 heart shapes from the red construction paper.
4. To make the mouth, cut out a large smile from the black construction paper.
5. For the fangs, cut out 2 small triangles from the white paper.
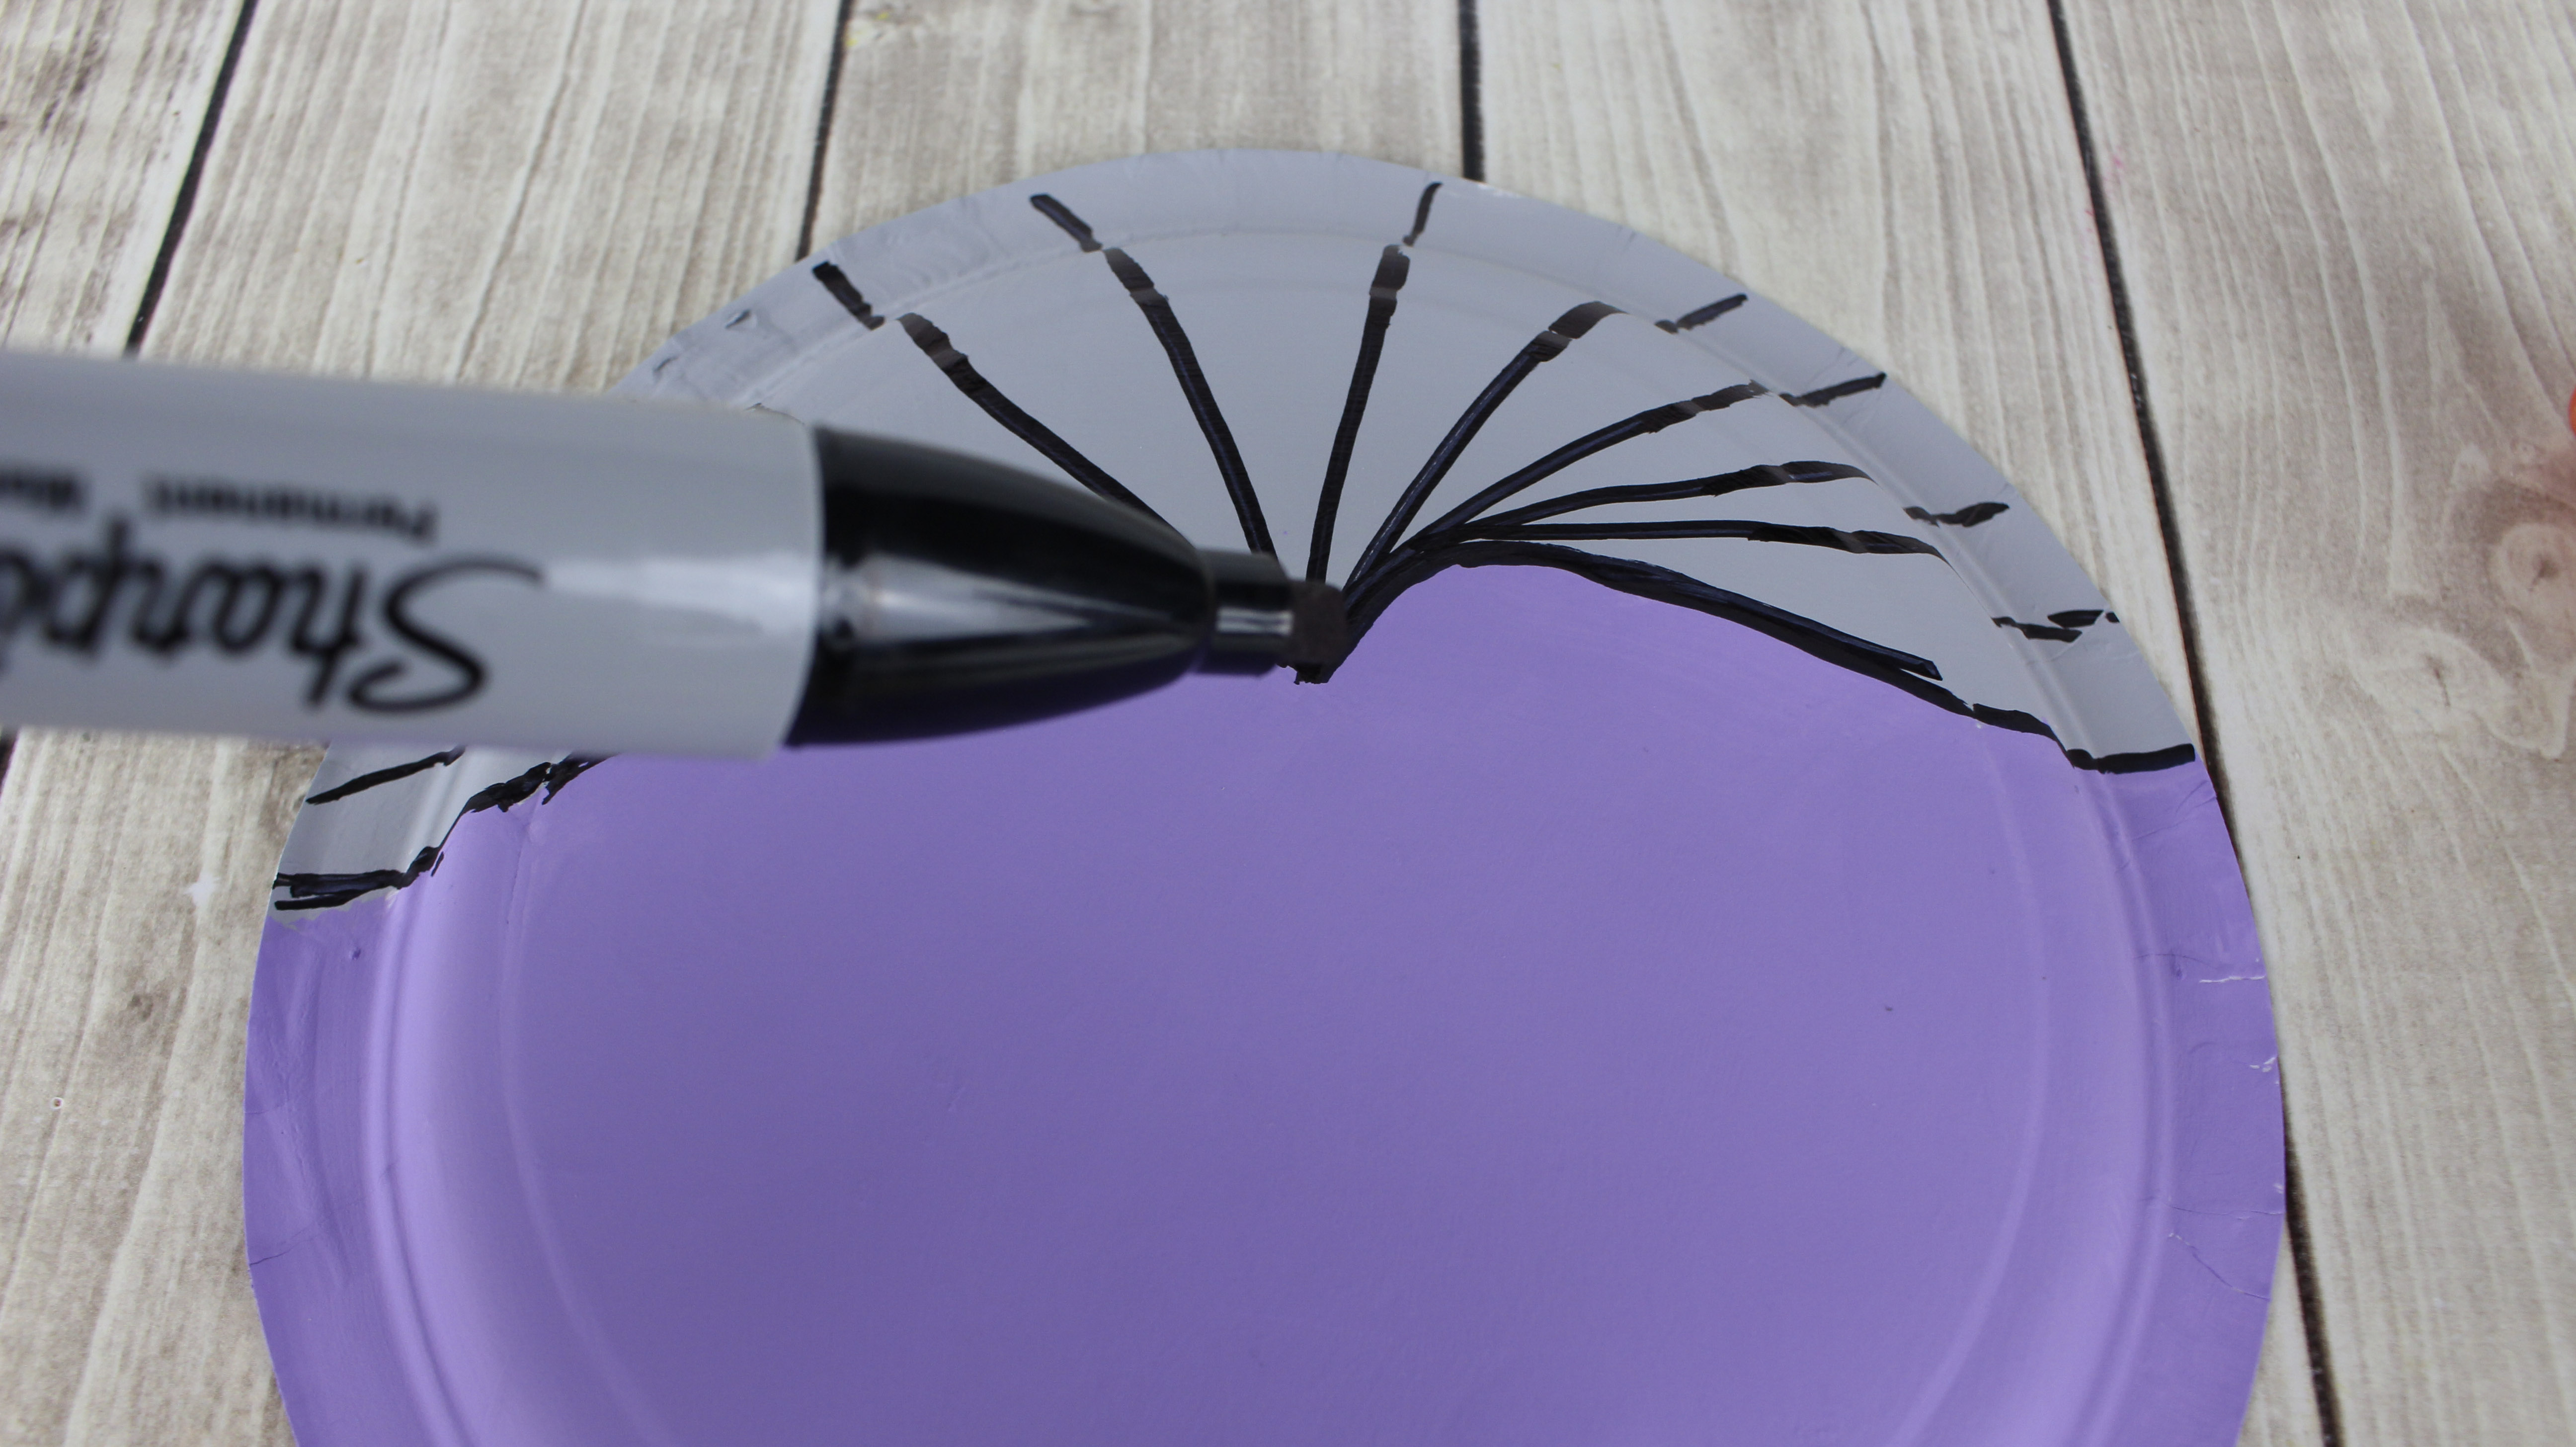
6. Once the paint on the plate is dry, use a black magic marker to draw strands on the hair. Start at the hairline and continue to the edge of the plate and draw 8-10 strands.
HOW TO ASSEMBLE THE VAMPIRE EMOJI
1. Apply glue to the back of both heart shaped eyes and place on the plate.
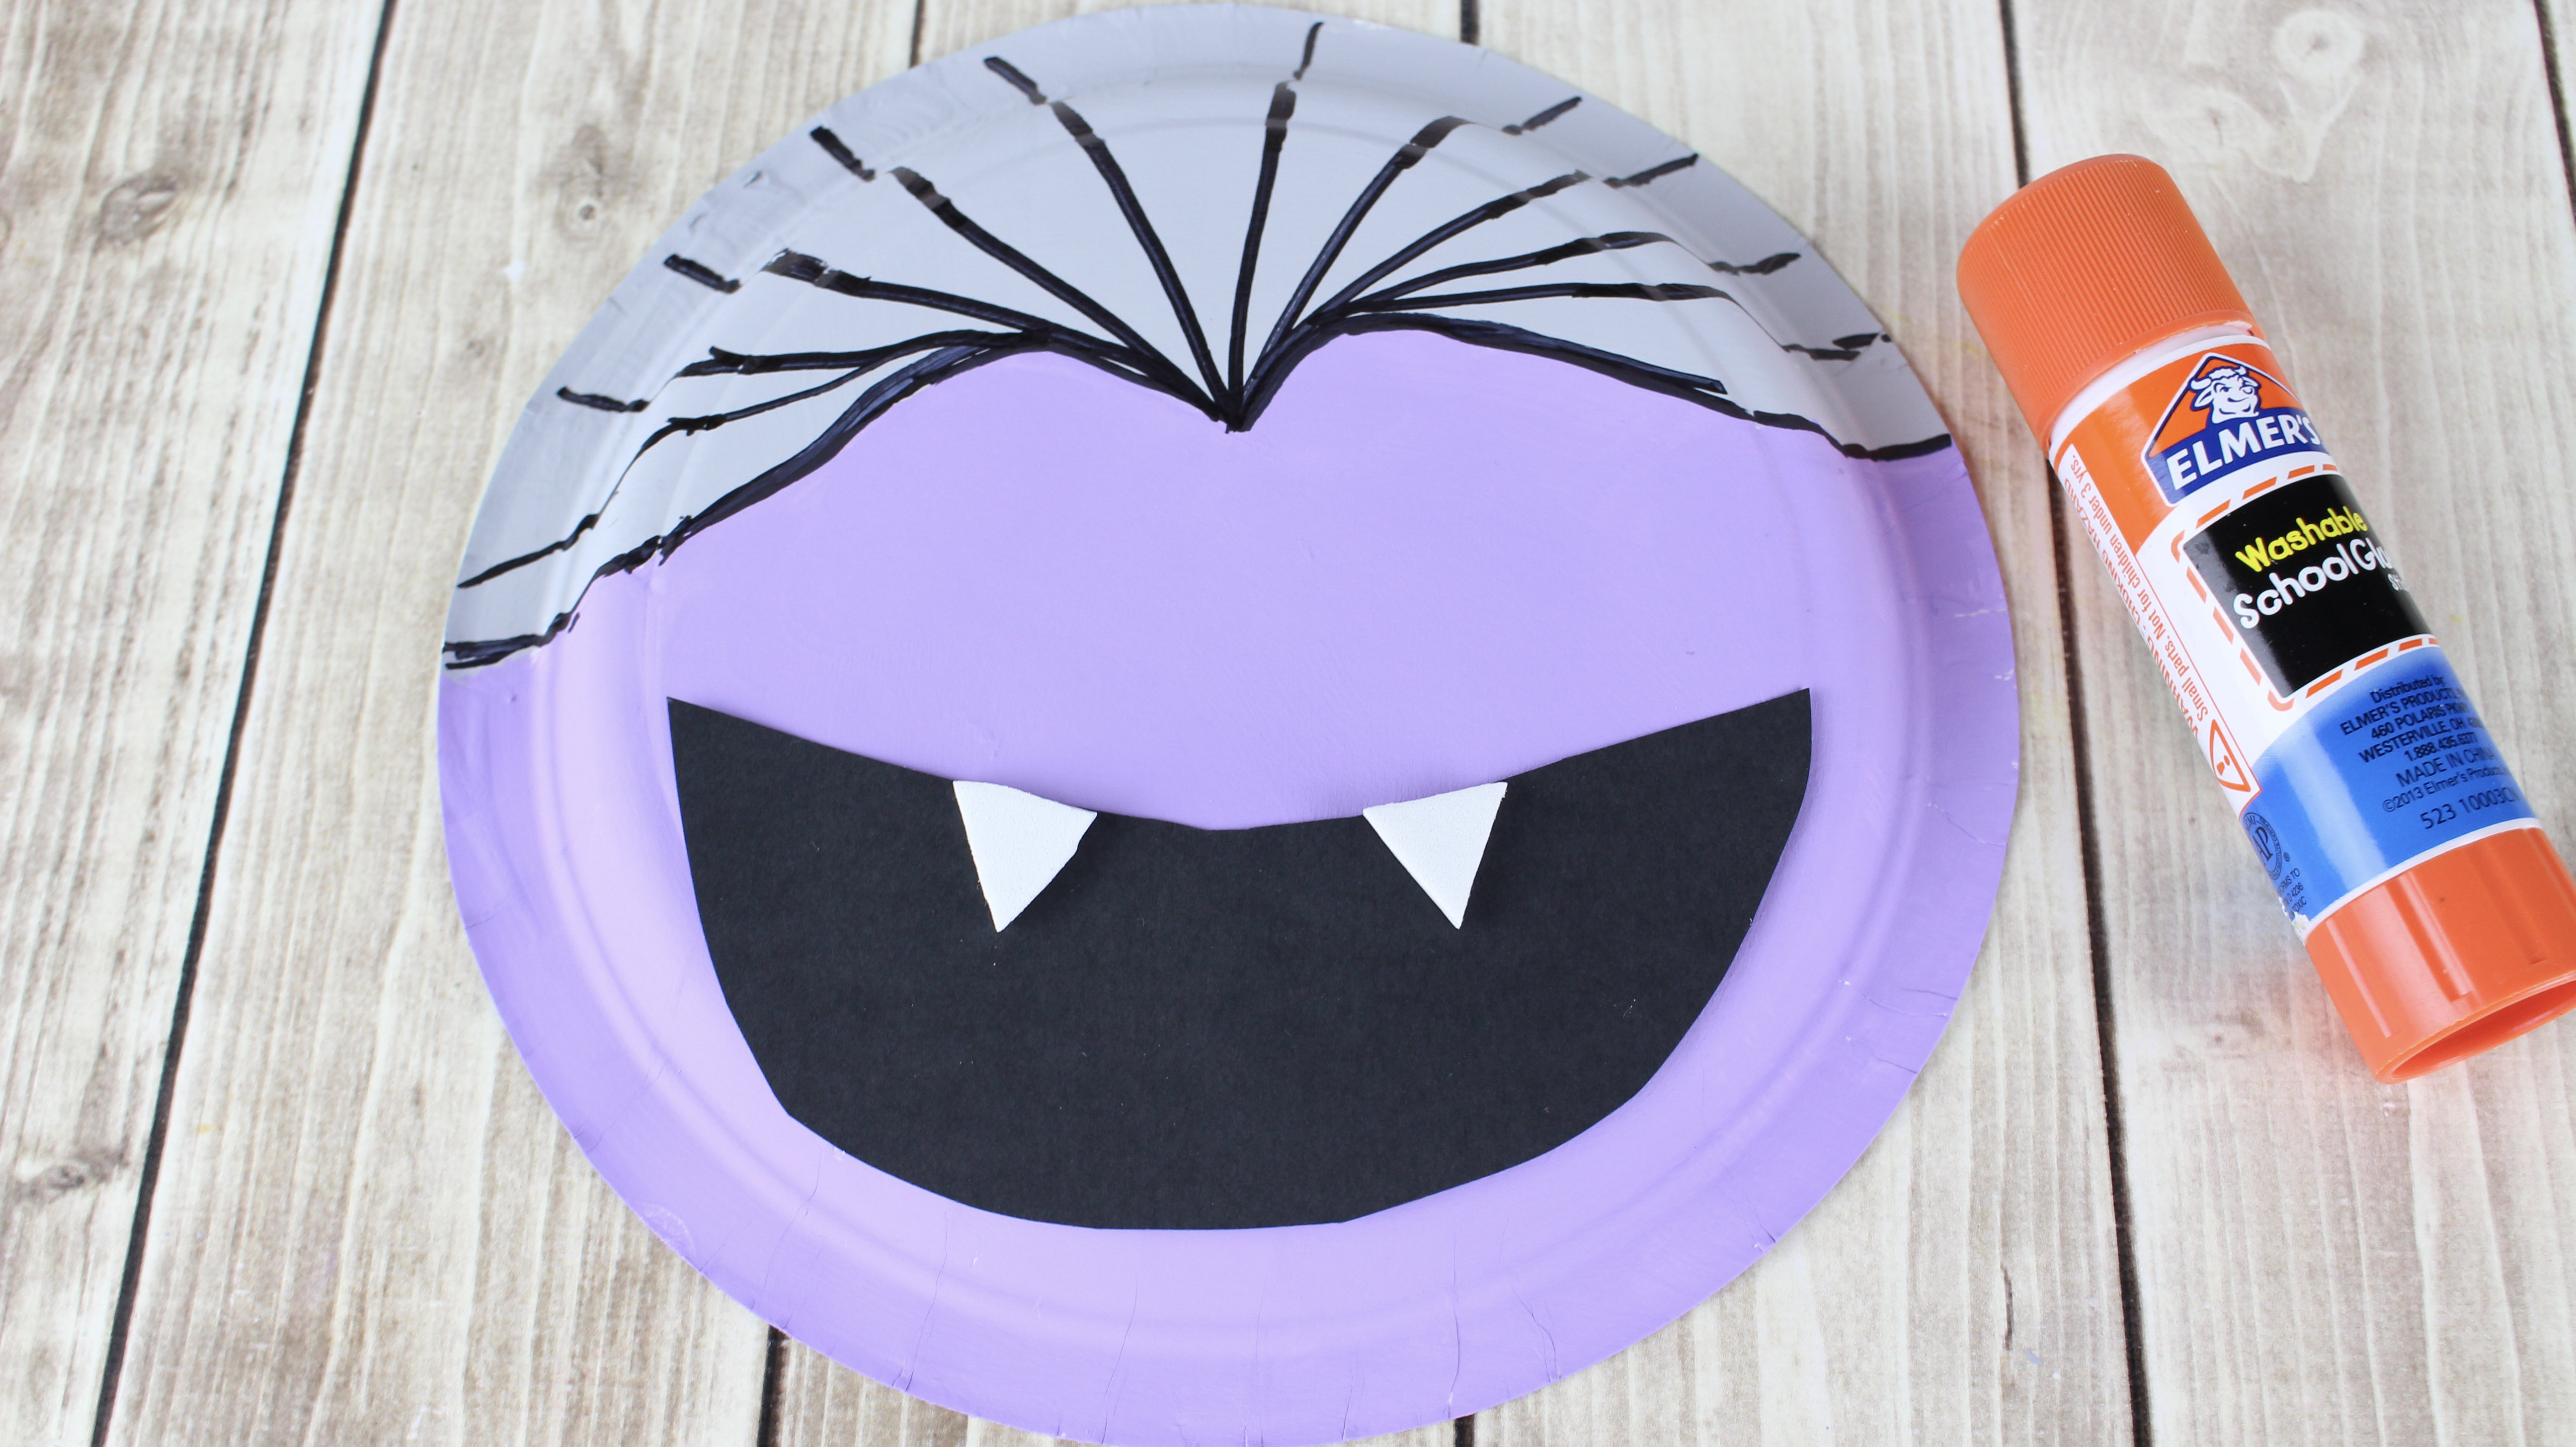
2. Apply glue to the back of the black mouth and attach to the bottom of the plate.
3. For the fangs, apply glue to the back of both triangles and attach to the top of the mouth, placing each triangle upside down.
Mummy Emoji
SUPPLIES FOR MUMMY EMOJI
1 dessert-sized white paper plate
Pencil or crayon
Construction paper: black, white and orange
Scissors
Glue stick
Black marker
Black tape
PREP WORK FOR THE MUMMY EMOJI
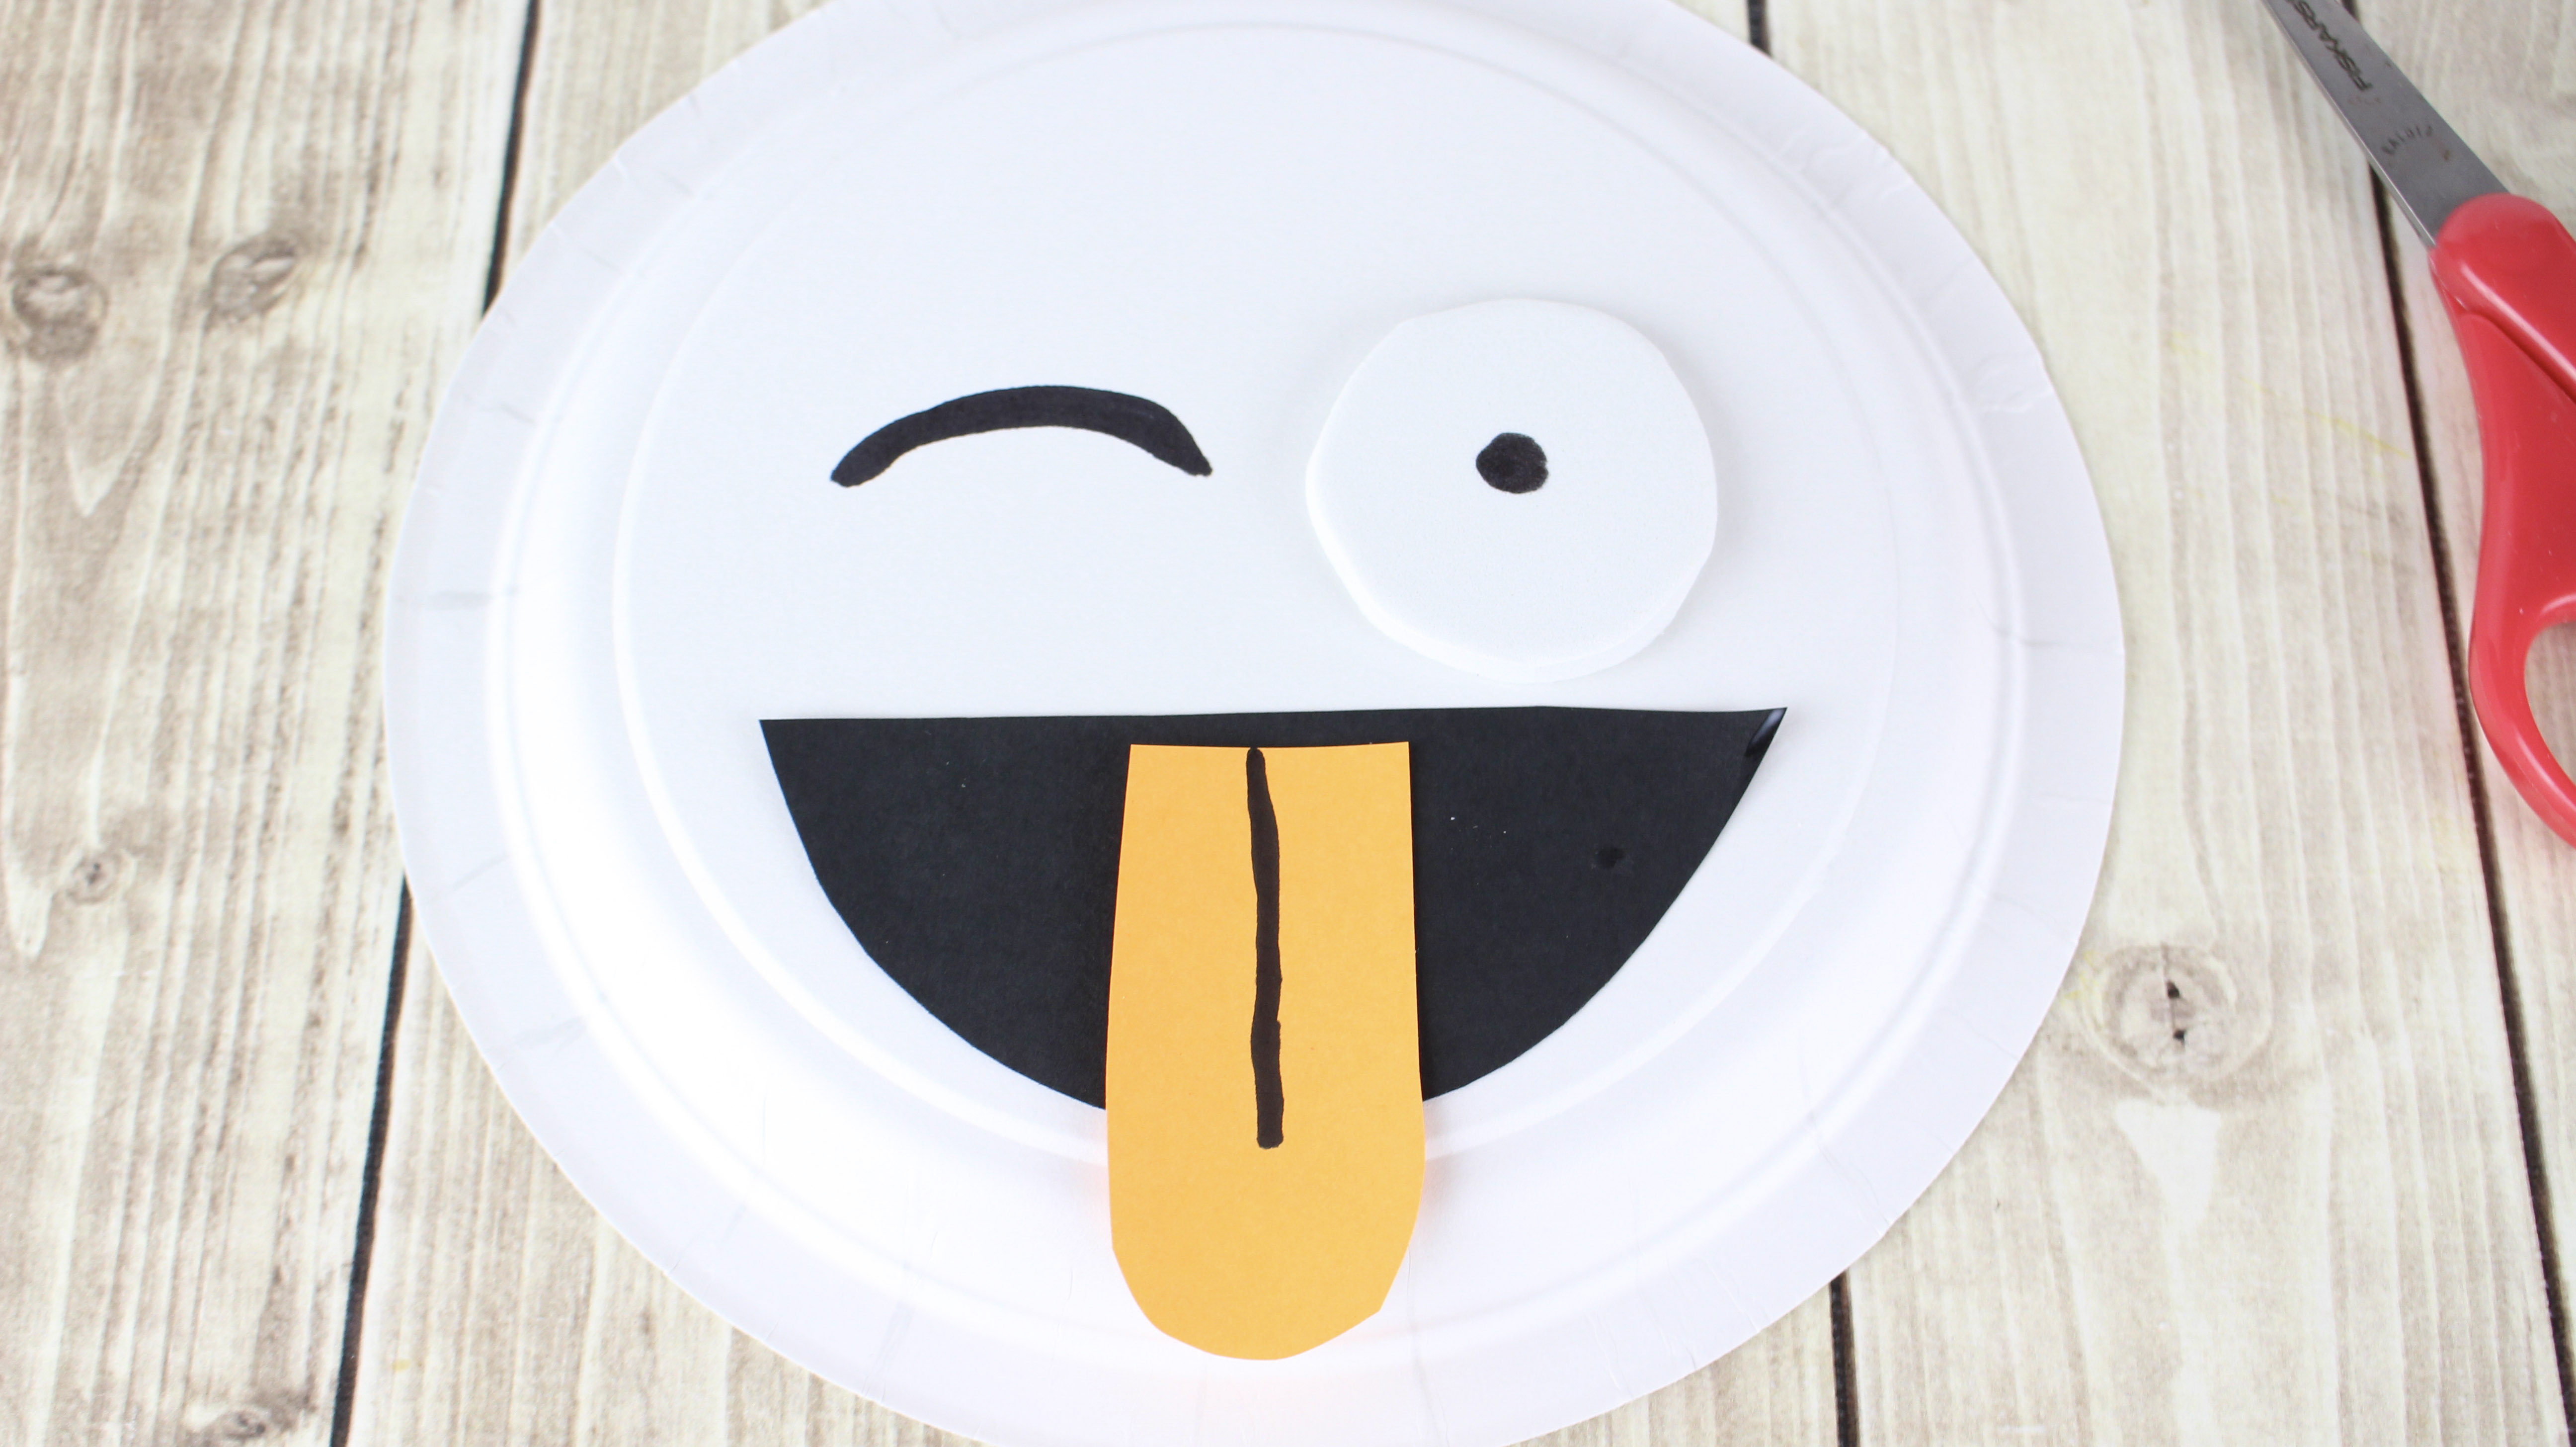
1. On the back of the paper plate, draw a “wink” for the left eye, with a black magic marker.
2. For the right eye, draw and cut out a circle shape from the white construction paper. I traced around the lid of a spice container. Make a small black dot in the middle of the eye with the black marker.
3. Draw and cut out the mouth from the black construction paper. I just drew half of a circle for the shape of the mouth.
4. Draw and cut out the shape of a tongue from the orange construction paper. Draw a black line halfway down the middle of the tongue with the black magic marker.
HOW TO ASSEMBLE THE MUMMY EMOJI
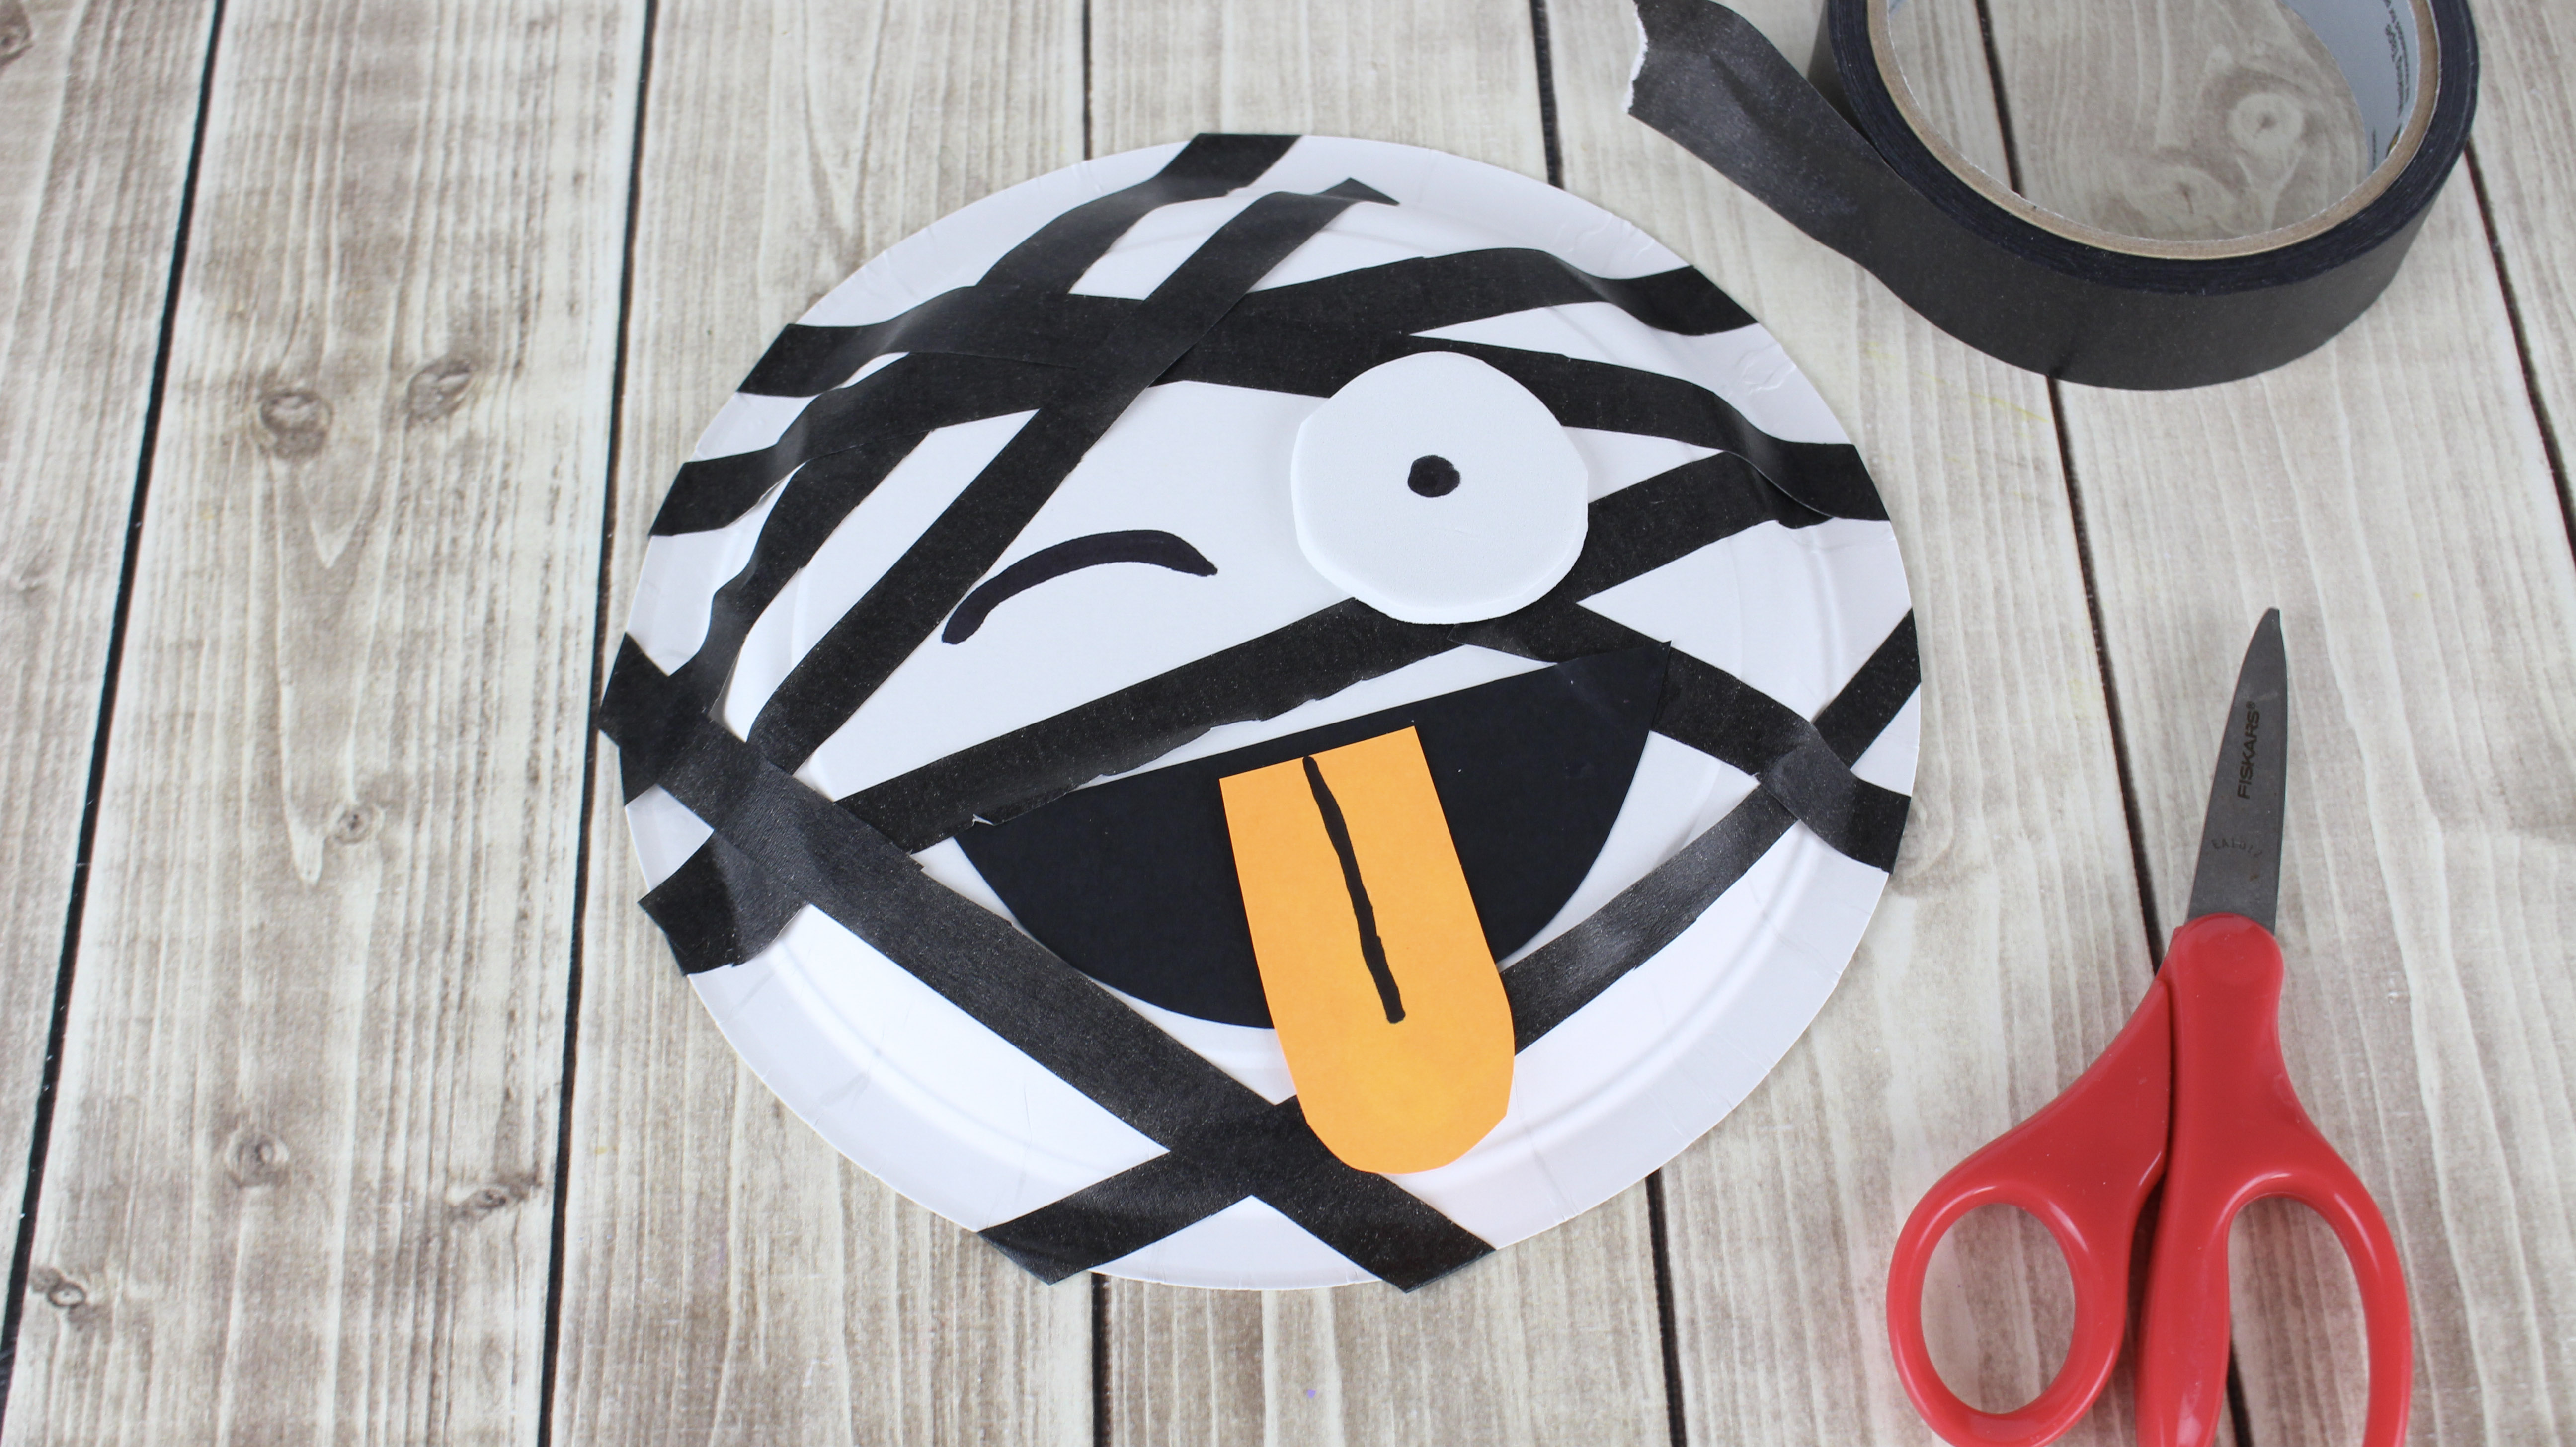
1. Apply glue to the back of the white, circle-shaped eye and attach it to the plate, directly to the right of the “wink.”
2. Apply glue to the back of the black mouth and attach it towards the bottom of the plate.
3. Glue the orange tongue onto the middle of the mouth.
4. For the mummy bandages, place the black tape across the plate, going in different directions all over the plate. I ended up cutting the width of the tape in half.
Devil Emoji
SUPPLIES FOR DEVIL EMOJI
1 dessert-sized white paper plate
Red paint
Paint brush
Construction paper: black, white and red
Black craft fur
Scissors
Glue stick
Black marker
PREP WORK FOR THE DEVIL EMOJI
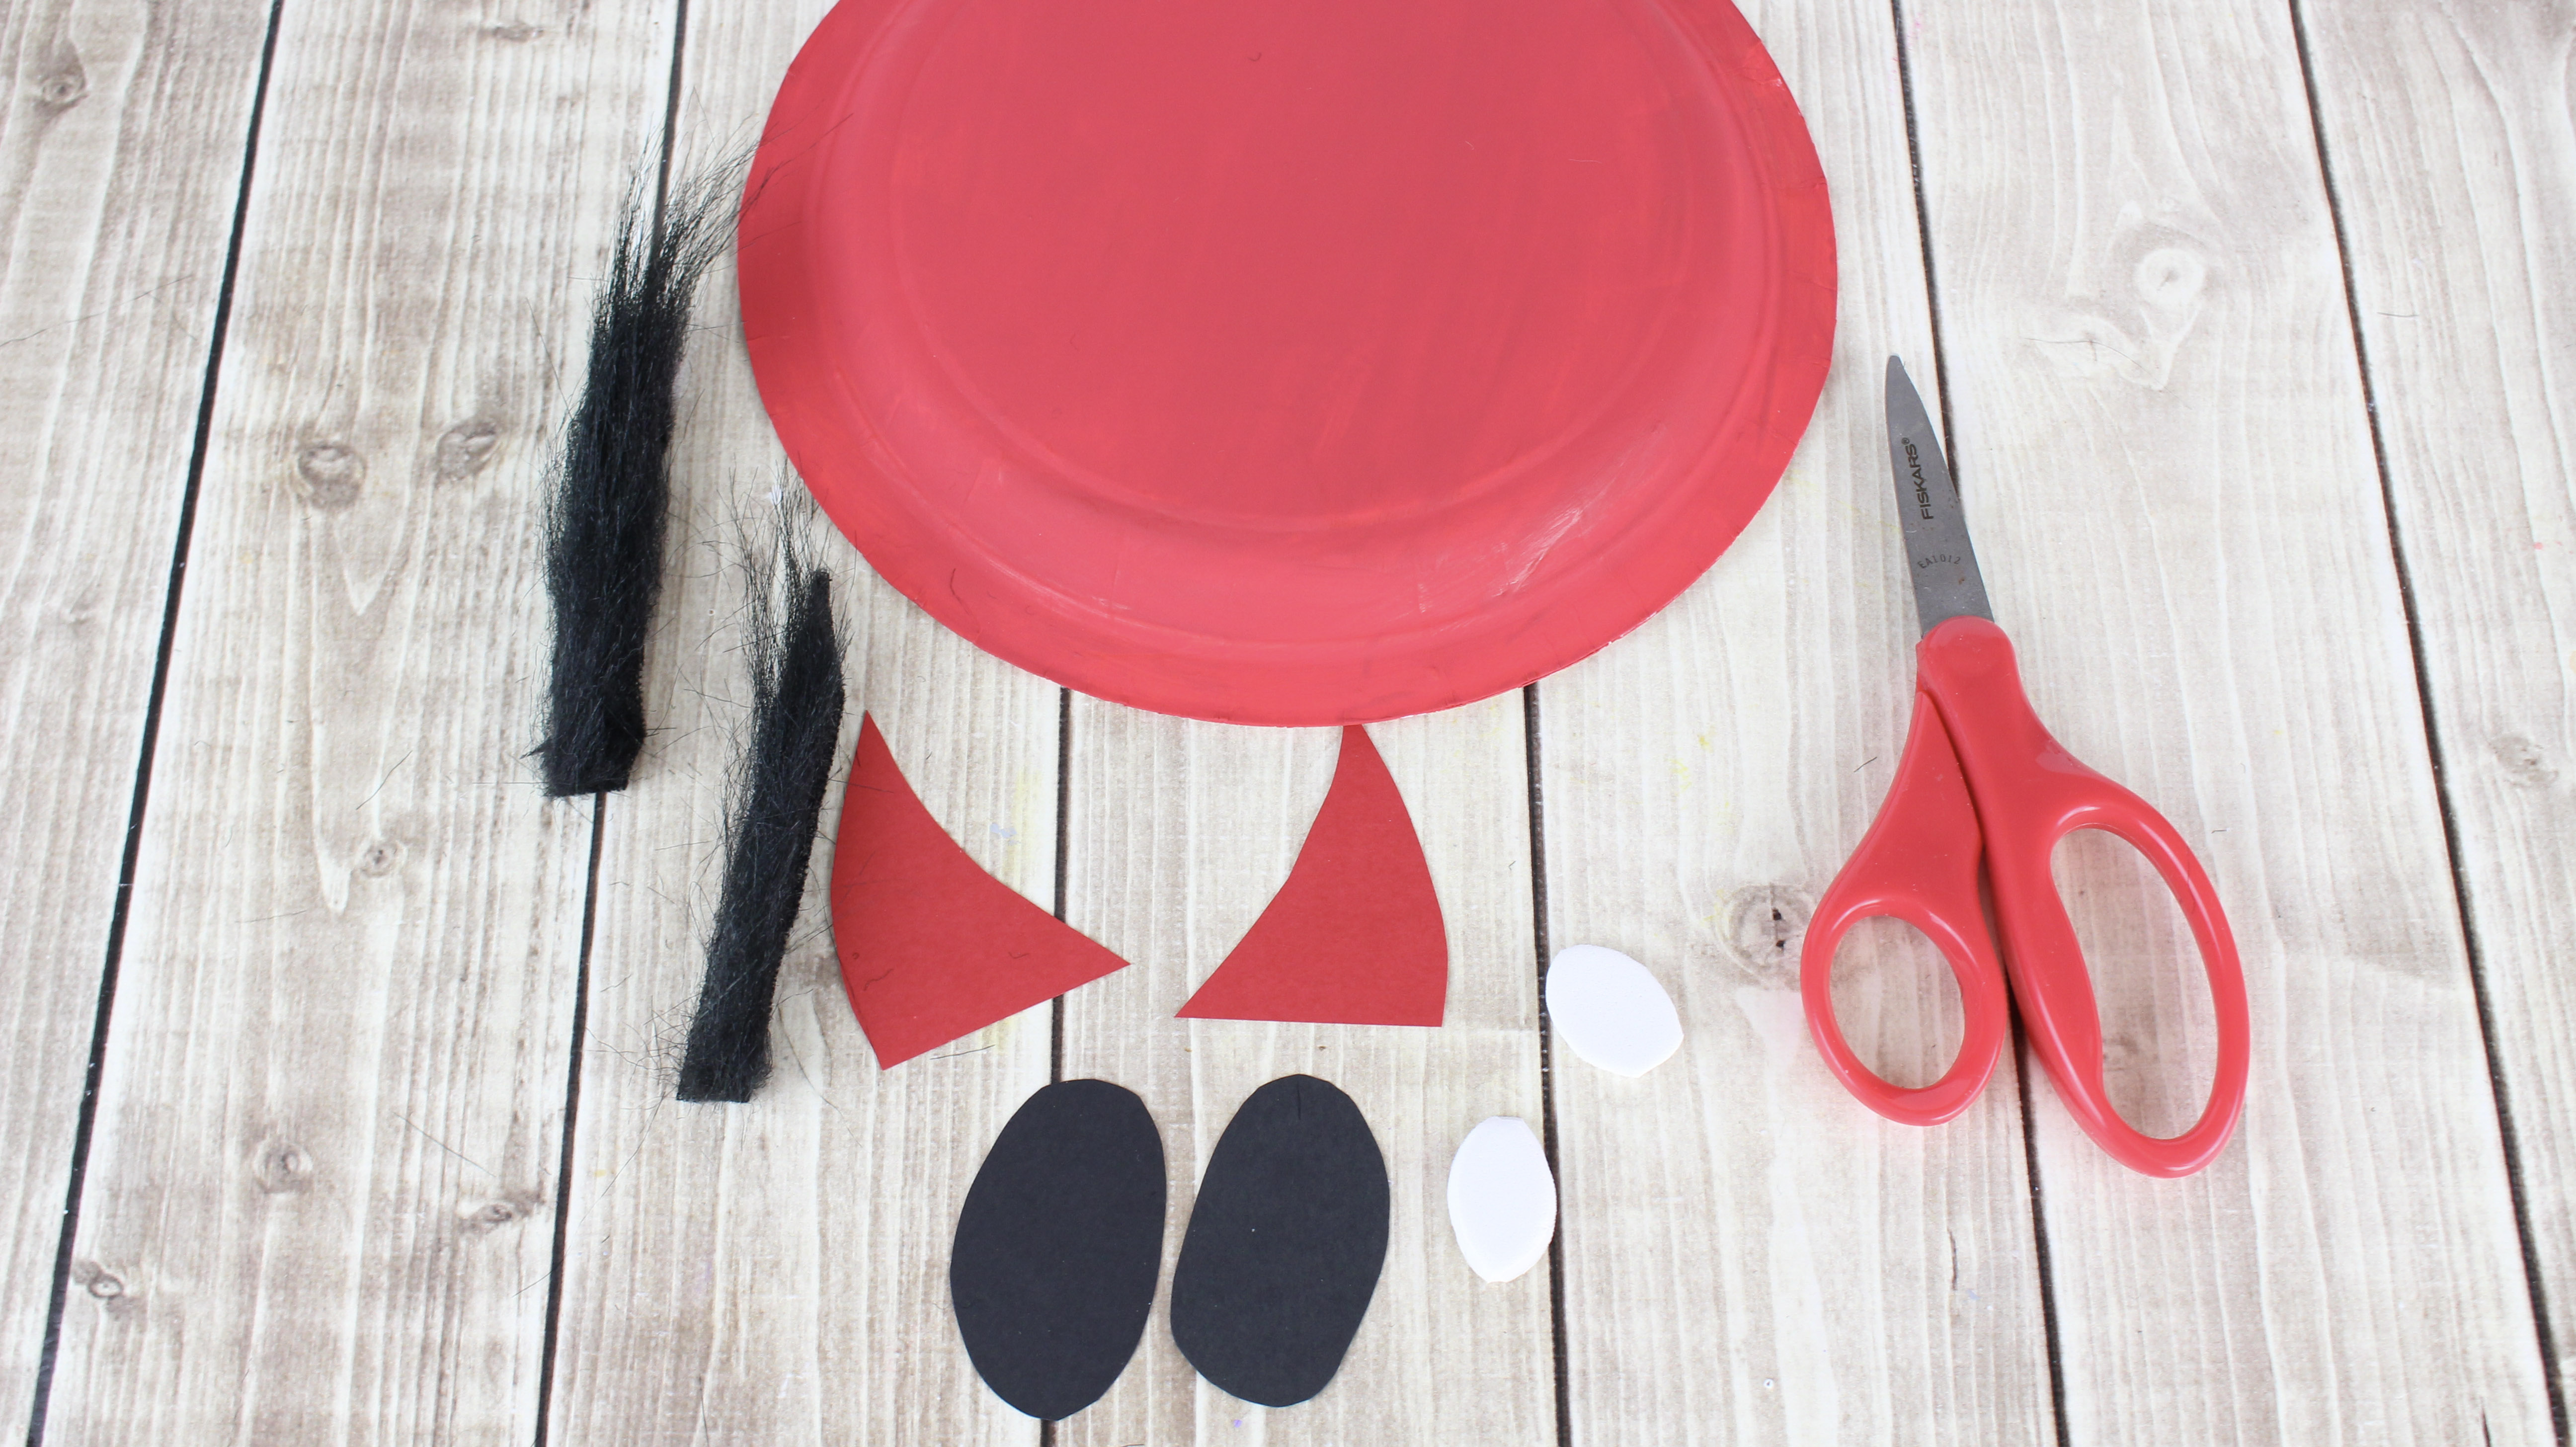
1. Paint the entire back of the paper plate red and set aside to dry.
2. For the eyes, cut out 2 long oval shapes from the black construction paper. For the pupils, cut out 2 small oval shapes from the white paper.
3. For the eyebrows, cut out two (2 inch long) strips from the black craft fur.
4. Cut out 2 horns from the red construction paper.
HOW TO ASSEMBLE THE DEVIL
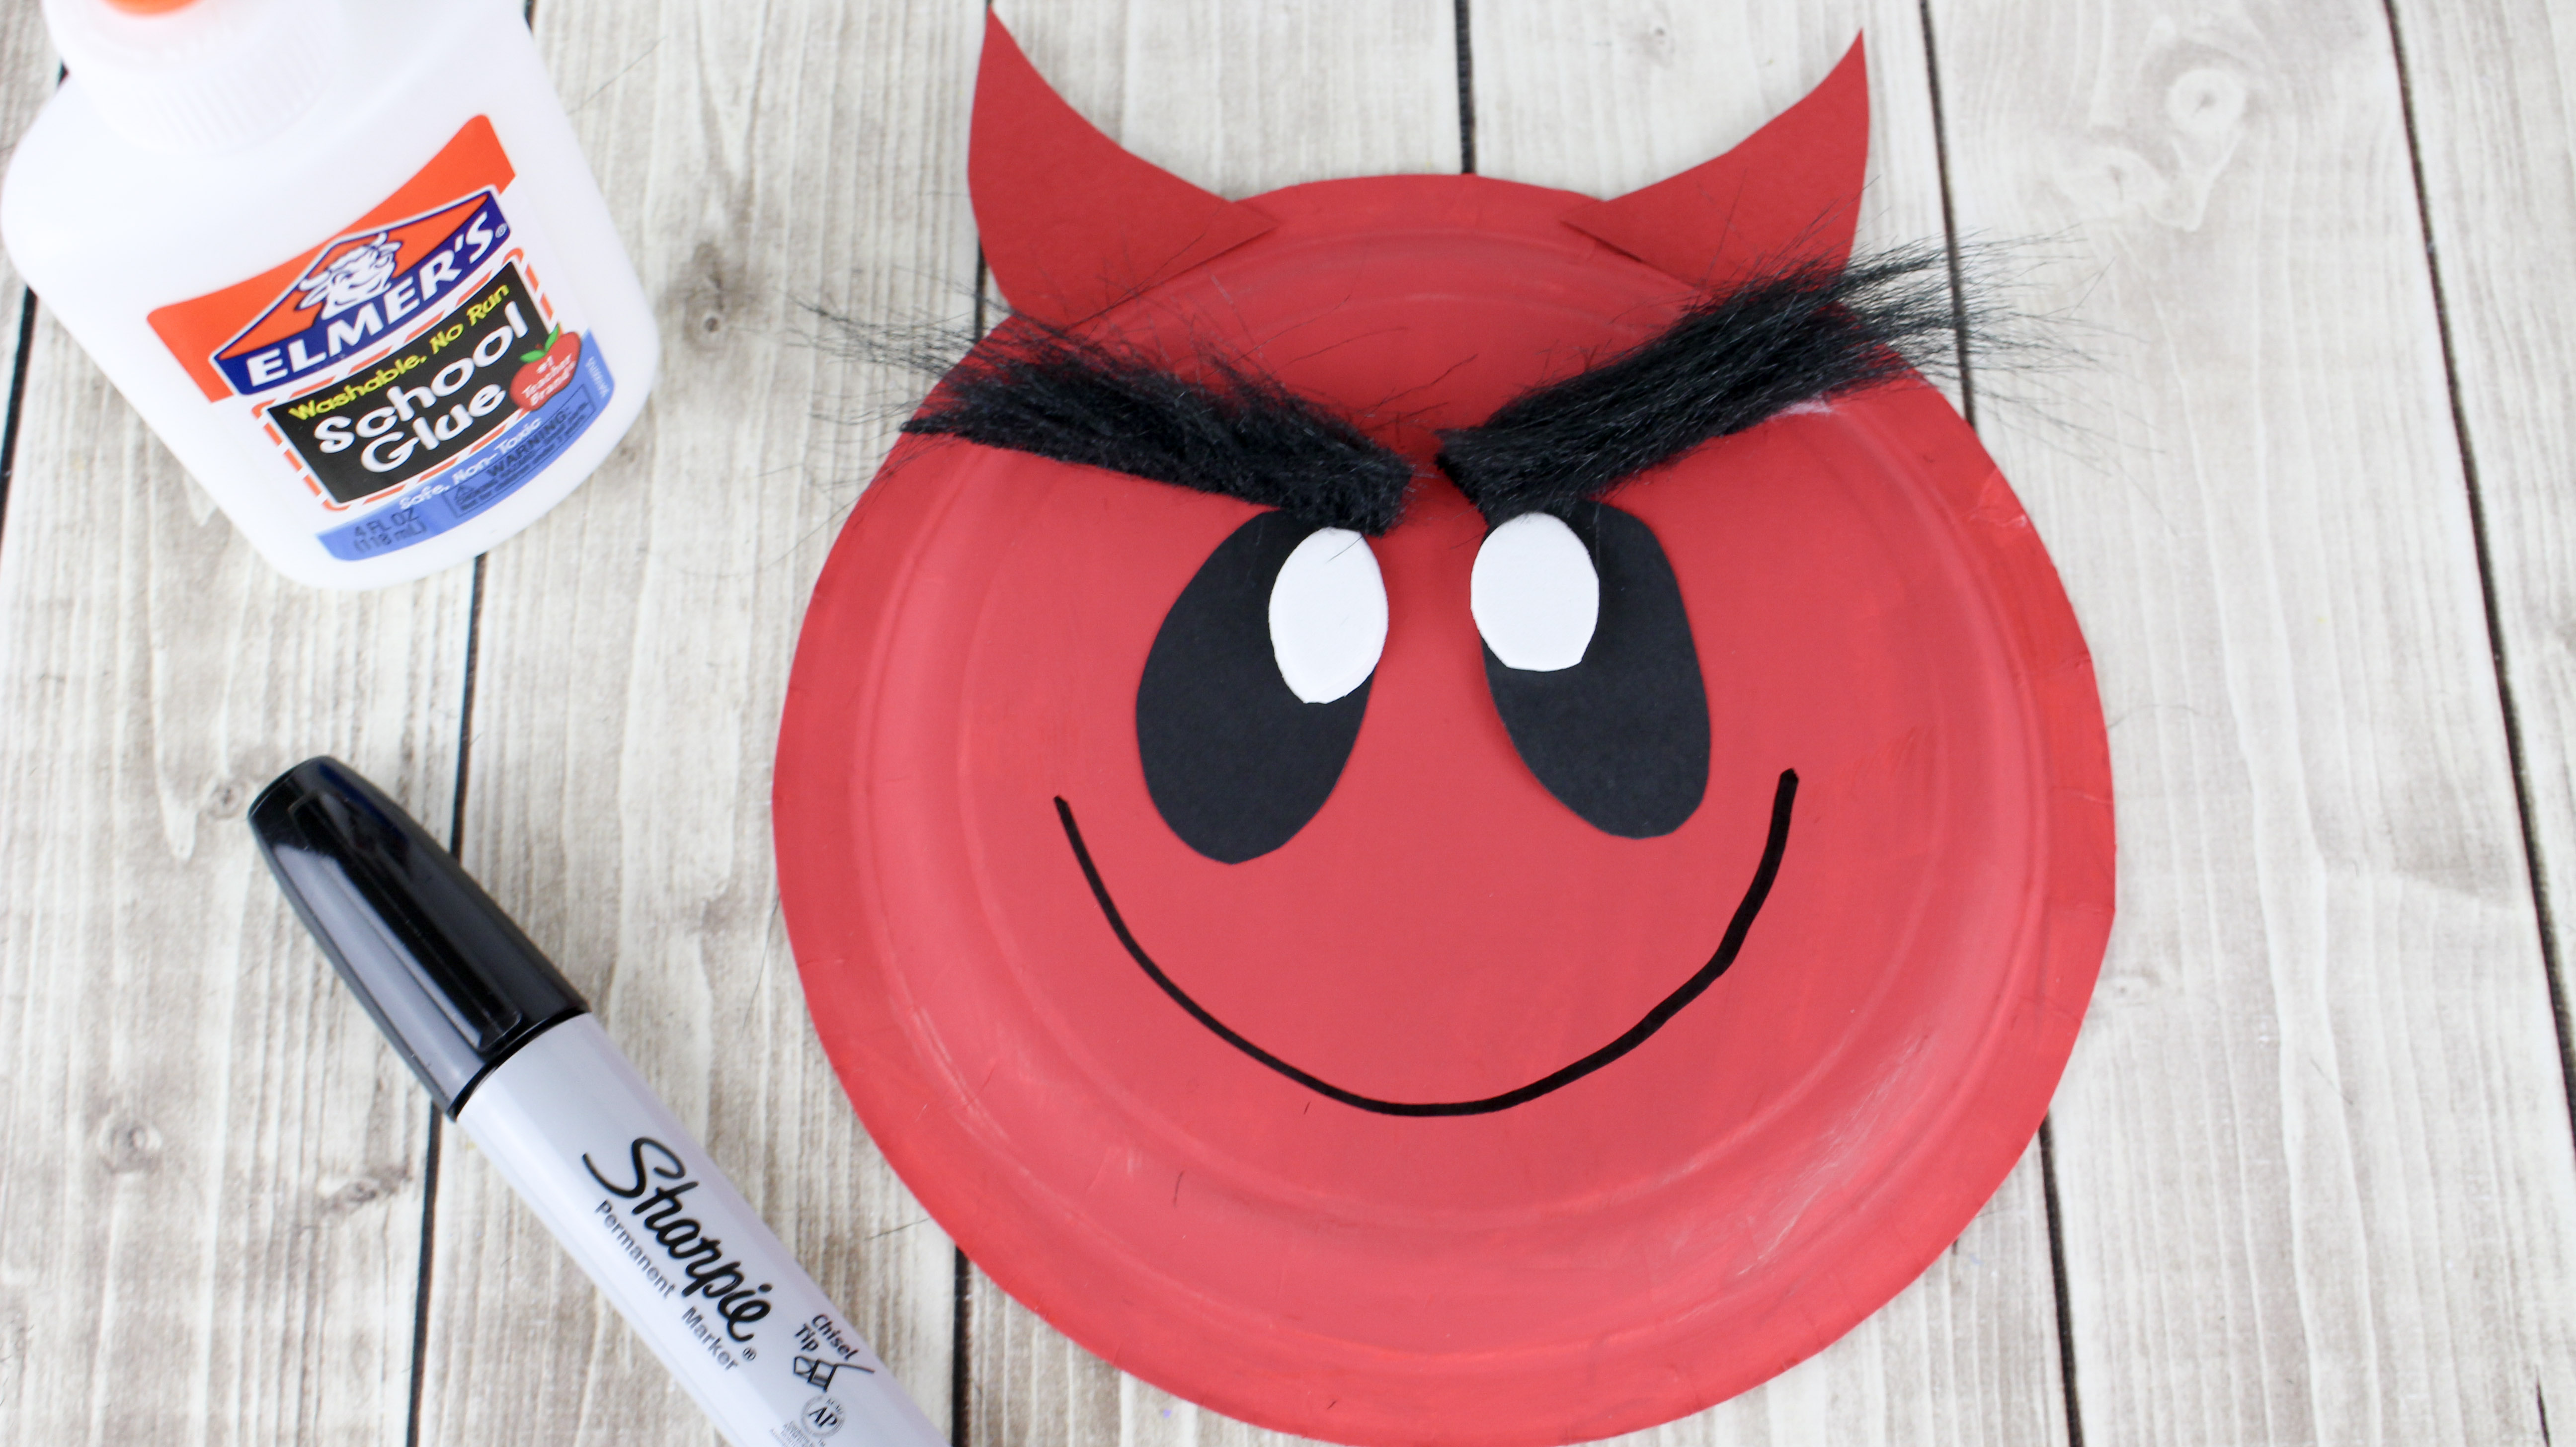
1. Apply glue to the bottom of each red devil horn and place at the top of the plate, about 2 inches apart from each other. Hold in place for 10 seconds to allow the glue to adhere.
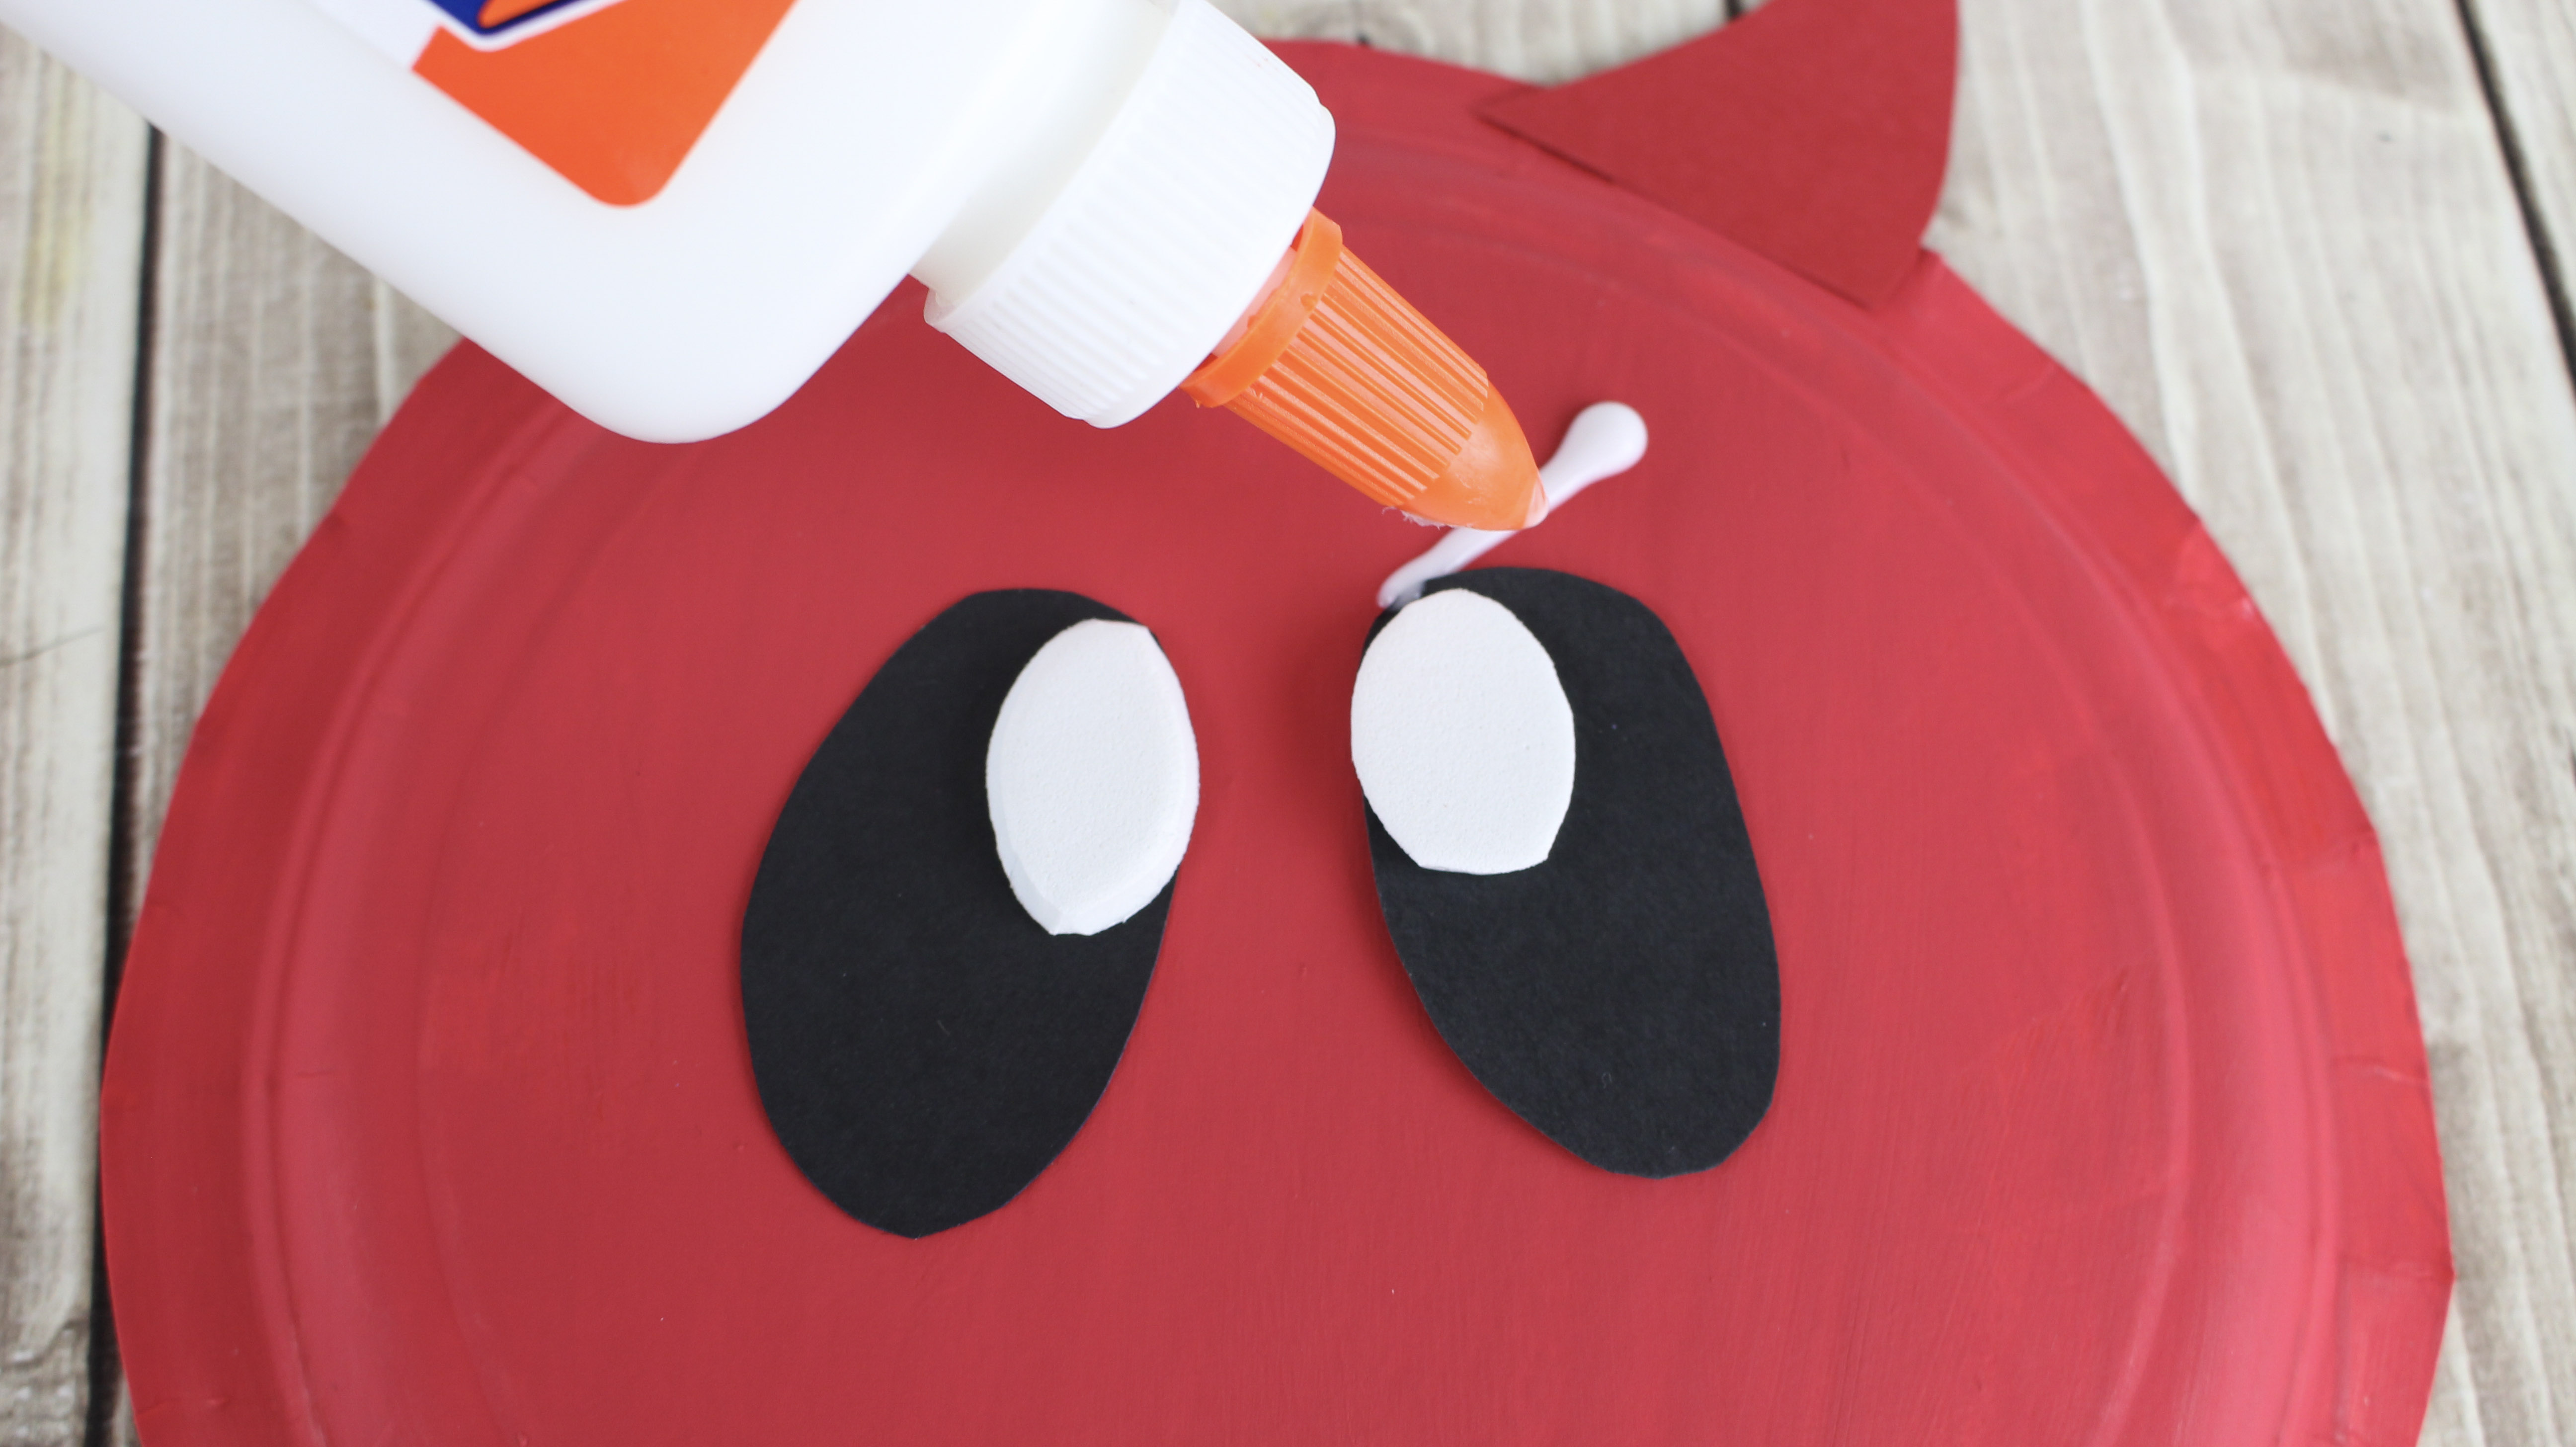
2. Glue the two black eyes onto the middle of the plate. Have each one slanted slightly out, towards the edge of the plate.
3. Glue the white pupils onto the inner top corner of each eye.
4. Glue an eyebrow above each eye. Have the ends start at the top of each eye and slant upwards.
5. With the black magic marker, draw a big smile.

These are such cute plate crafts. My grandsons would love to make these.
These Paper Plate craft ideas for Halloween are so amazing and yours really turned out great! I want to make these with the kids.
It is hard to believe something so easy could be so darn cute! But the proof is right here – nice and fun, too!
I love how easy these are to make. Wonderful for the Halloween season!
This is an extremely cute halloween craft.
Lovely crafts ideas for halloween .
Happy halloween 🙂
Those are really cute. I especially love the devil and the mummy.
Thanks for giving easy way to make emoji halloween 🙂
These are so cute to make anytime of the year. I am sure they will have a ball doing it.