

You won’t believe how easy it is to make delicious Red Velvet Cake Balls for your family to enjoy!
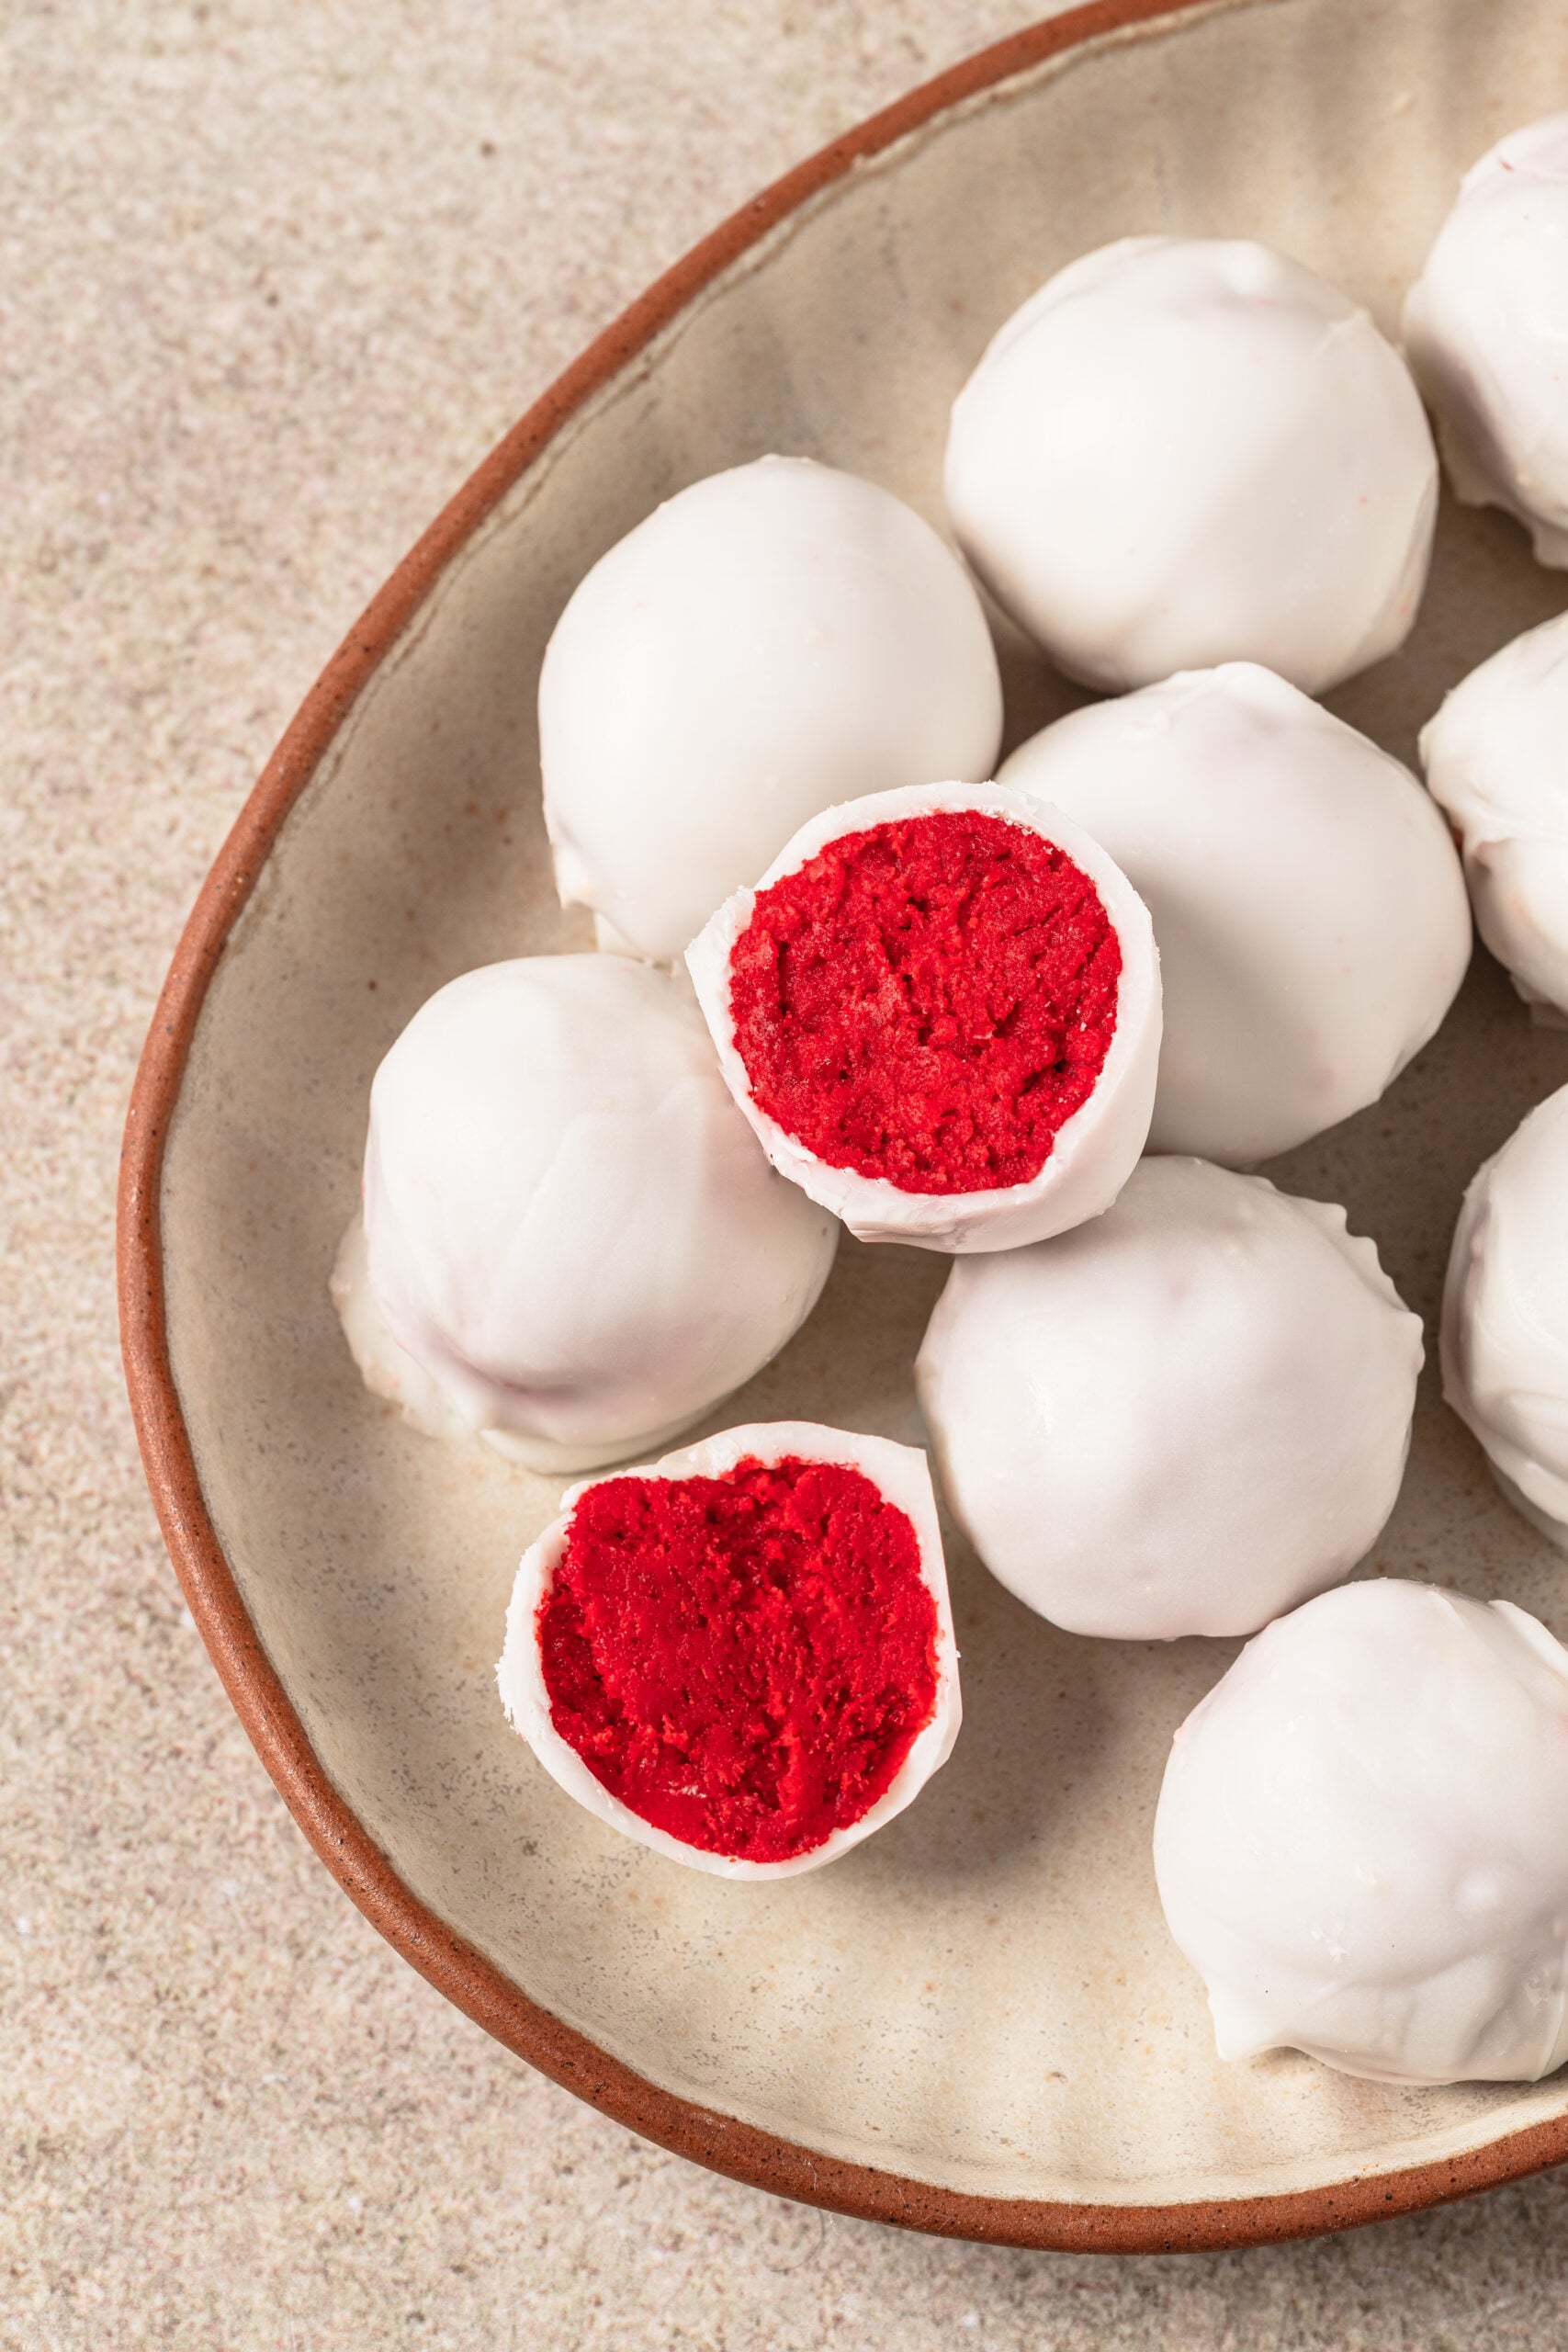
I can’t even begin to calculate how much money I spent on red velvet cake balls for my daughter when she was younger. Those were, without any doubt, her favorite variety. Of course, it never occurred to me back then to consider making them at home. Cake balls were a special treat that we got when we were out or when a friend of mine brought them to sell at business events.
In fact, if you had asked me back then how to make them, I would have had no idea at all what to tell you. My guess would have been to get special cake molds to bake little balls. Crumbling up regularly baked cake and mixing it with frosting was the furthest thing from my mind. I always figured that the bakers who made these delectable little gems had some secret for getting their cake so moist. Well, now I know, and by reading this recipe, so do you!
Why do people love red velvet cake so much? I think it’s because the taste lies somewhere between chocolate and vanilla. You don’t get as rich a cocoa flavor as you do with a traditional chocolate cake, but the hints are there. When you combine that with cream cheese frosting, it’s a match made in culinary heaven. And with these little cake gems, every bite delivers tantalizing flavors and a crunchy white chocolate shell.
You can use any red velvet cake mix for this recipe, including gluten-free options. Simply prepare the cake as instructed and let it cool. You can even use made-from-scratch red velvet cake for this recipe. Then let the kids help with this part—crumbling the cake into tiny pieces. Of course, don’t be surprised if some of it ends up in their mouths. You can always tell them to wait until the end and let them lick their hands clean—followed by a thorough washing, of course! I recommend using a big bowl to help contain the mess that may ensue. It’s a fun way to share the excitement of making cake pops.
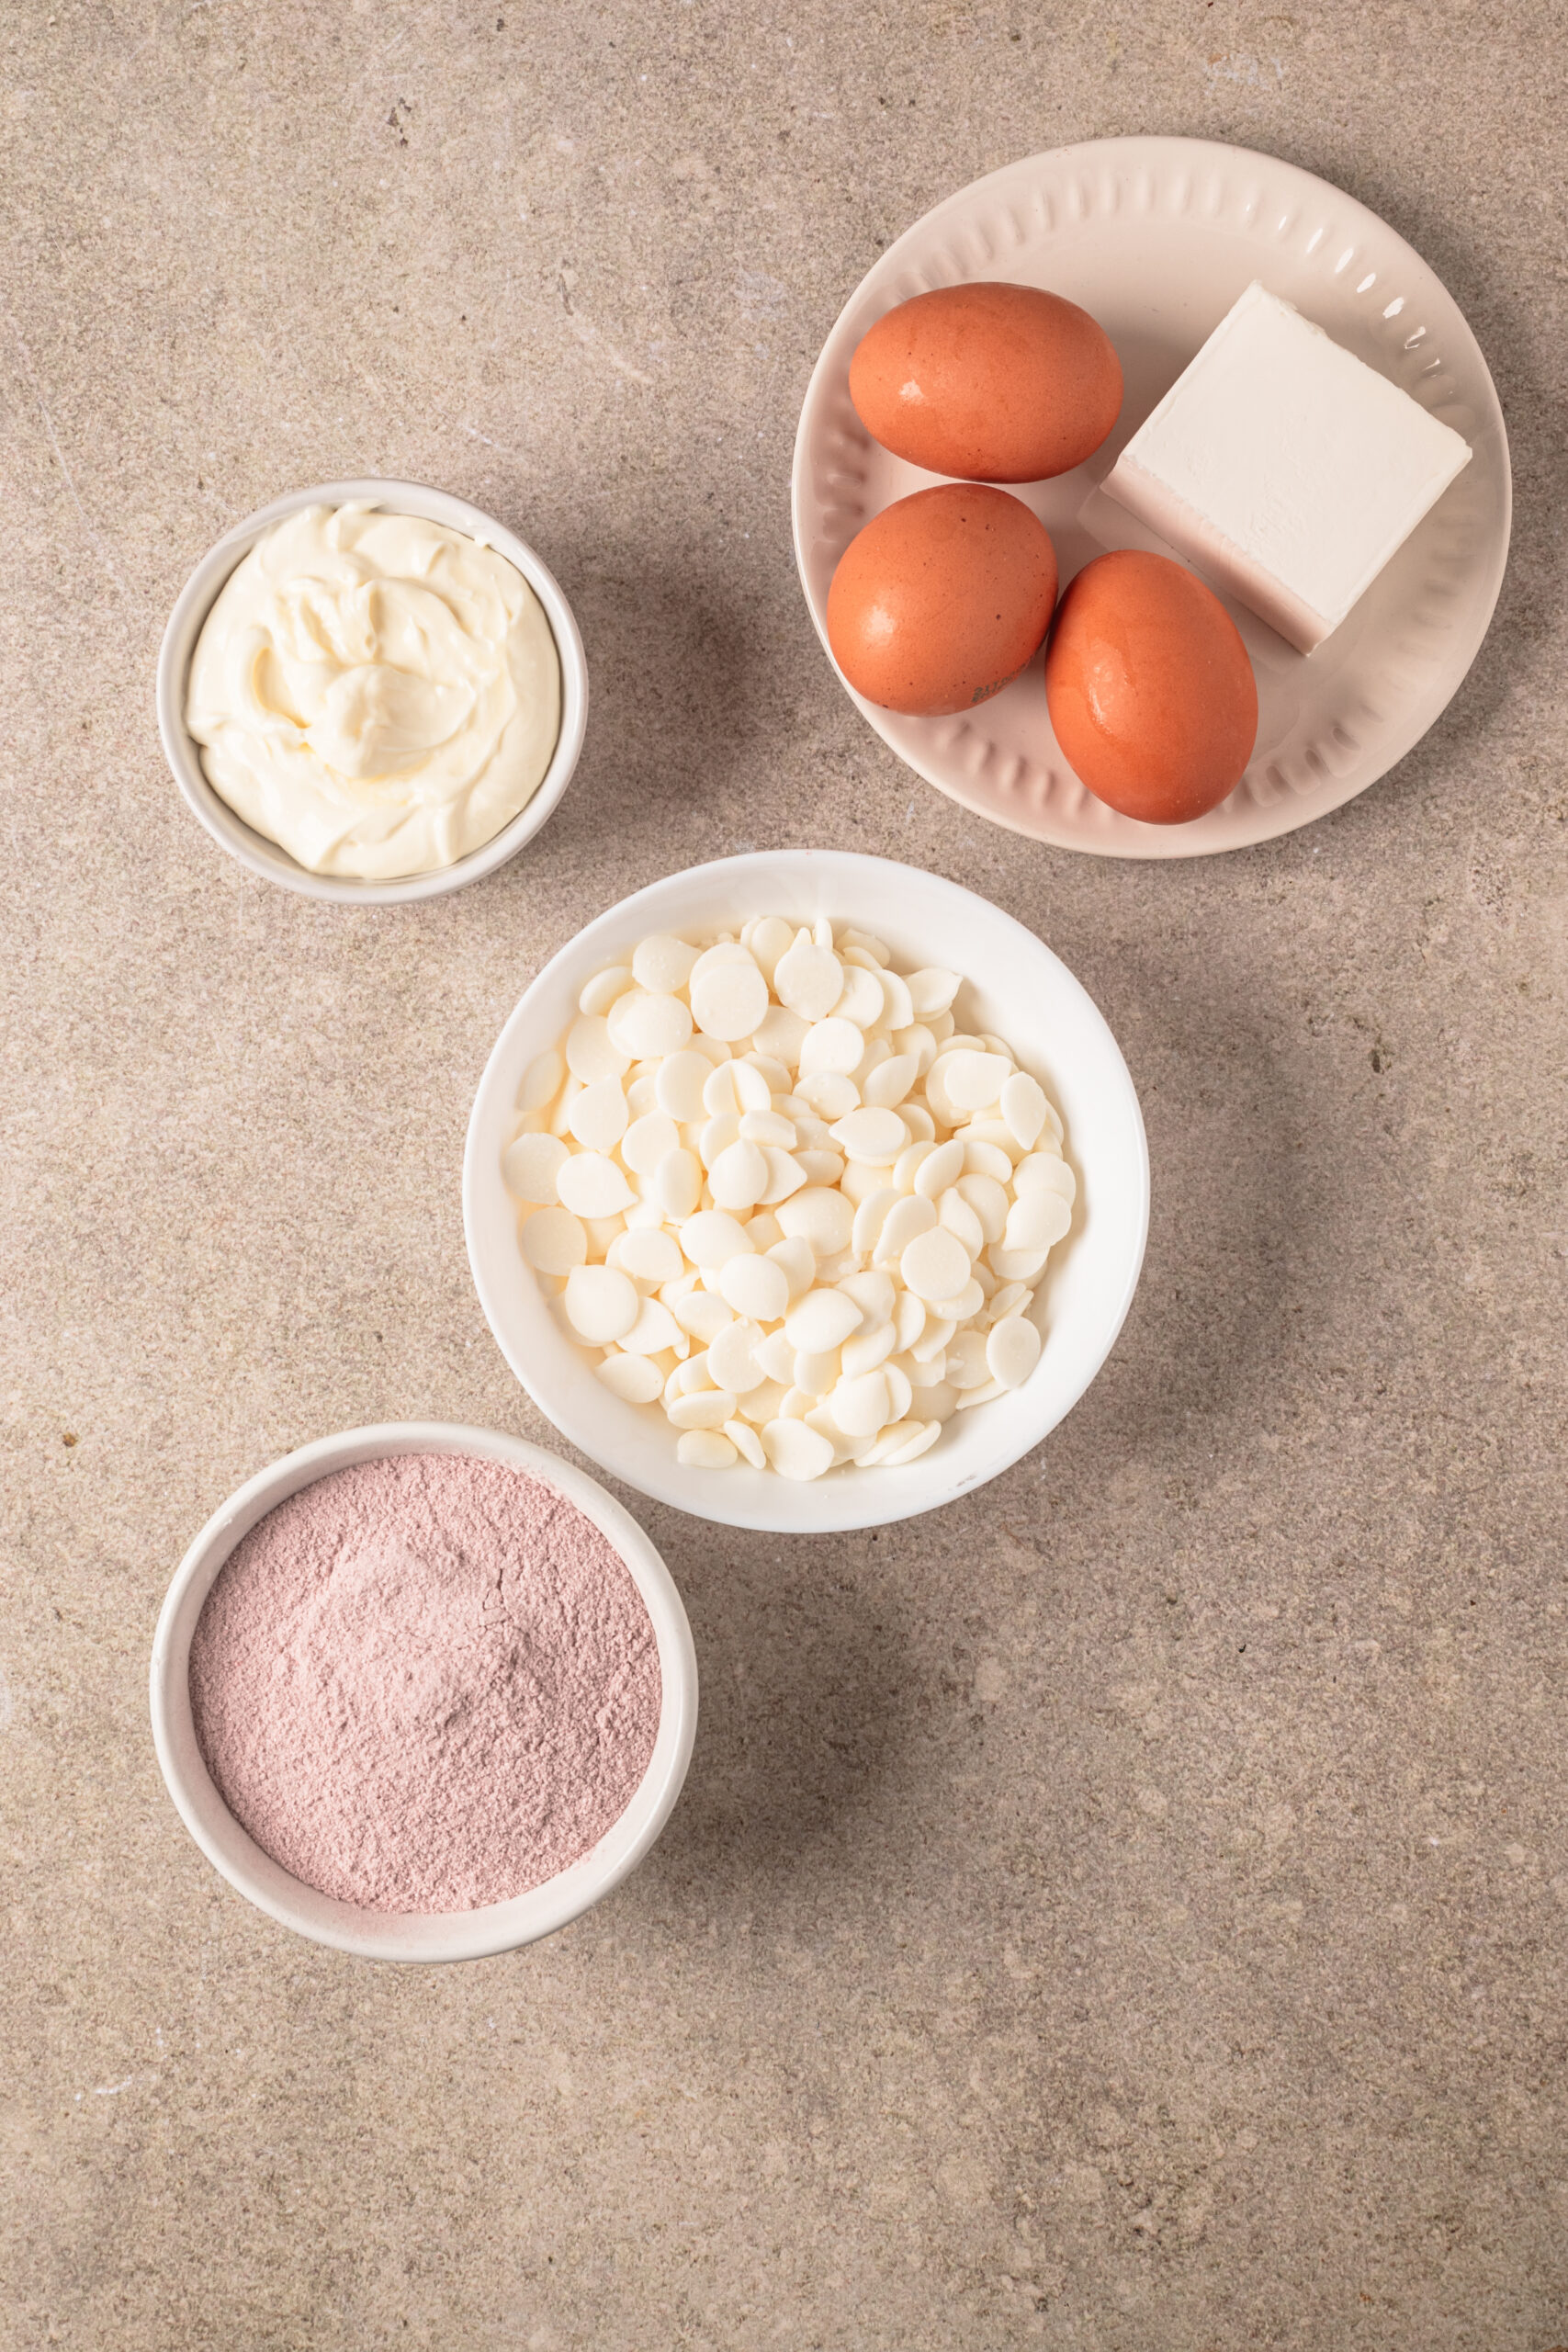
How to make fun cake balls and pops with kids
There’s so much you can do when making red velvet cake balls with this recipe. The first is to change the color of the chocolate candy melts to suit any occasion, theme, or holiday. For instance, choose red or pink for Valentine’s Day, green for St. Patrick’s Day, orange for Halloween, or make them red, white, and blue for July 4th. Many stores sell specialty sprinkles for various occasions, which can add to the fun of your cake balls. You can let the kids stir the candy melts after each microwaving session. They can also use a fork to dip the cake balls in the melted chocolate and sprinkle on any candy decorations.
Another option is to use cookie or candy molds to make fun shapes out of the cake. Kids love pressing the cake into the molds. Then, insert a lollipop stick, and you have exciting cake pops. The stick helps you dip the cake pops into the melted chocolate. Otherwise, use a fork to dip the balls. I find that’s the easiest way to do it. Fun holiday shapes include Christmas trees, Easter eggs, Chanukah dreidels, and Halloween pumpkins. Imagination is the key to culinary success.
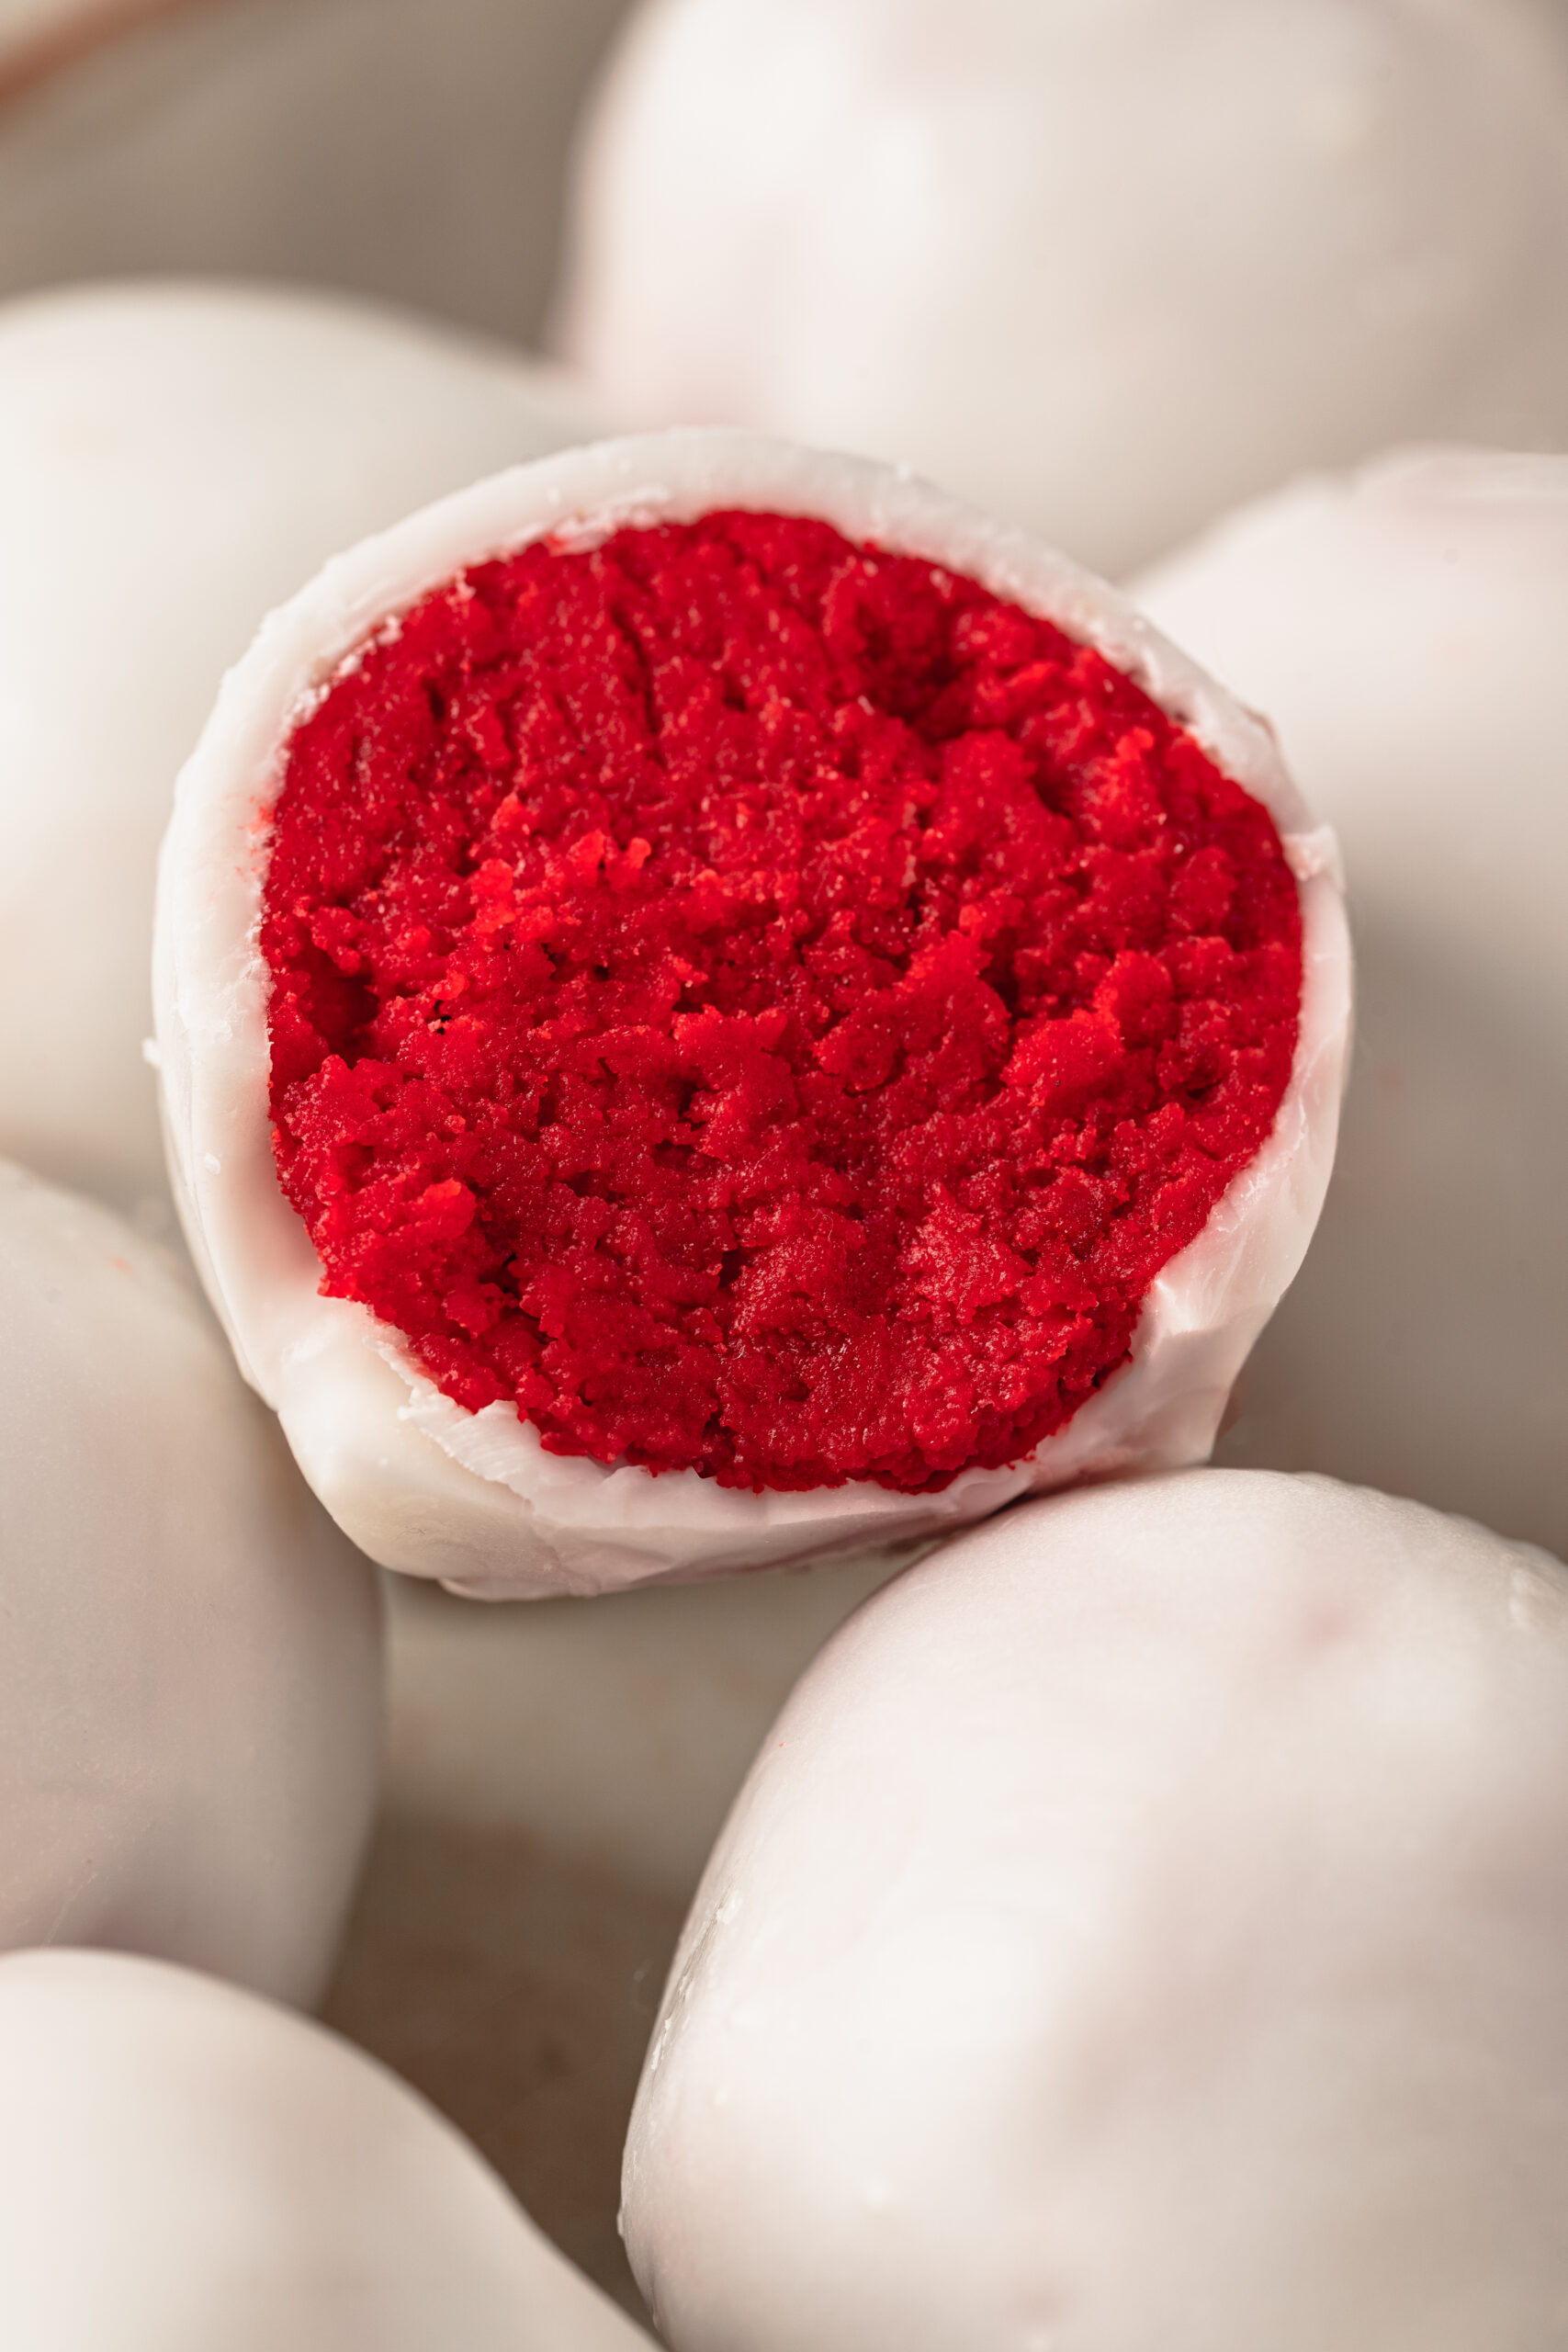
How do I store leftovers?
Once the chocolate coating hardens on the red velvet cake balls, you can store them in an airtight container in the refrigerator for up to 3 days. Enjoy them straight from the fridge, or let them come to room temperature for 30 to 60 minutes before serving. Cake balls freeze well for up to 3 months when placed in a zippered bag or freezer-safe container. Defrost them on the counter for 1 to 2 hours or overnight in the refrigerator before serving. I prefer thawing them in the fridge to reduce condensation, and I leave the container closed until they are completely defrosted.
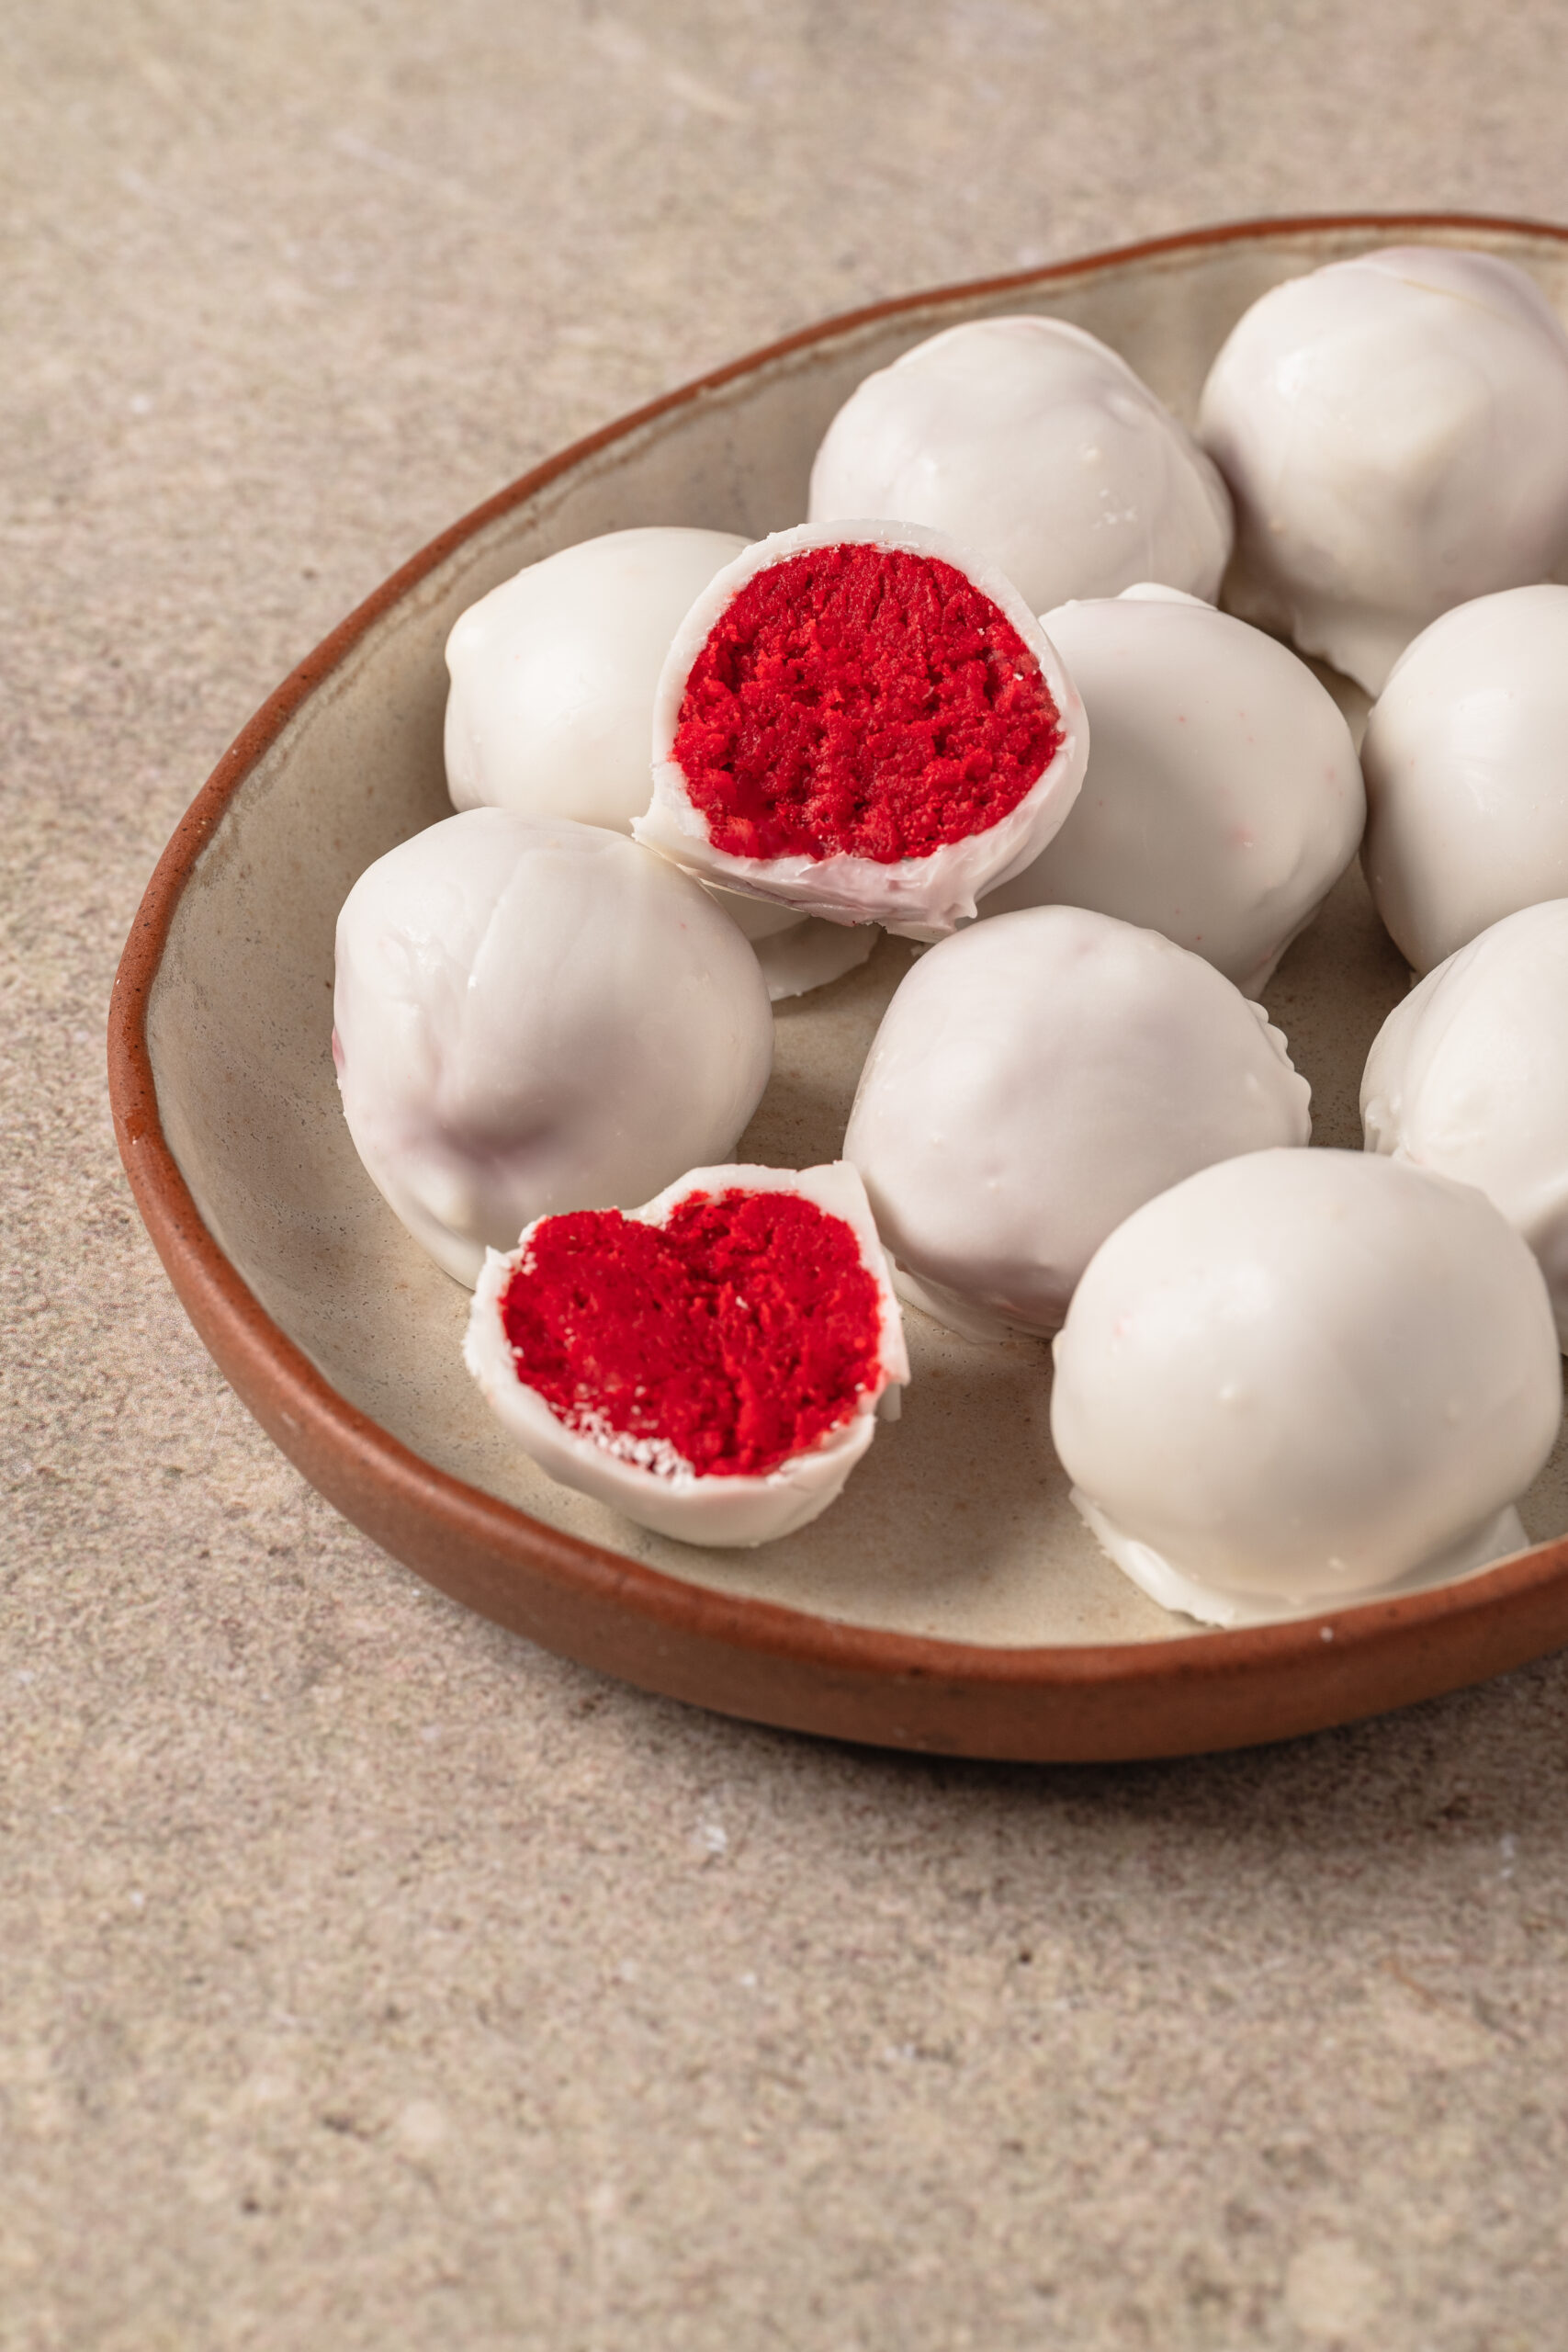
Serving suggestions
Red velvet cake balls are fun anytime, but especially for parties and get-togethers. They add a festive touch to any buffet table, alongside other fun finger foods like Deviled Eggs Without Mayo, Spinach-Parmesan Appetizer Bites, Buffalo Wings, and this Asian Meatballs Recipe, each with a toothpick for easy grabbing. Add the cake balls to a dessert tray with Gluten-Free Brownies, Peanut Butter Brownies, White Chocolate Macadamia Nut Cookies, and Cheesecake Bites. If you make cake pops from this recipe, stick them in a Styrofoam display along with some delicious Fruit Skewers.
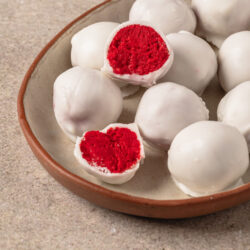
Red Velvet Cake Balls
Ingredients
- 1 box red velvet cake mix
- Required ingredients listed on the box to make the cake
- 1 cup cream cheese frosting plus more if needed
- 24 ounces white chocolate candy melts
- Vegetable oil as needed
- Red sprinkles optional, for garnish
Instructions
- Follow the instructions on the cake mix box to bake your red velvet cake. Allow the cake to cool completely before continuing.
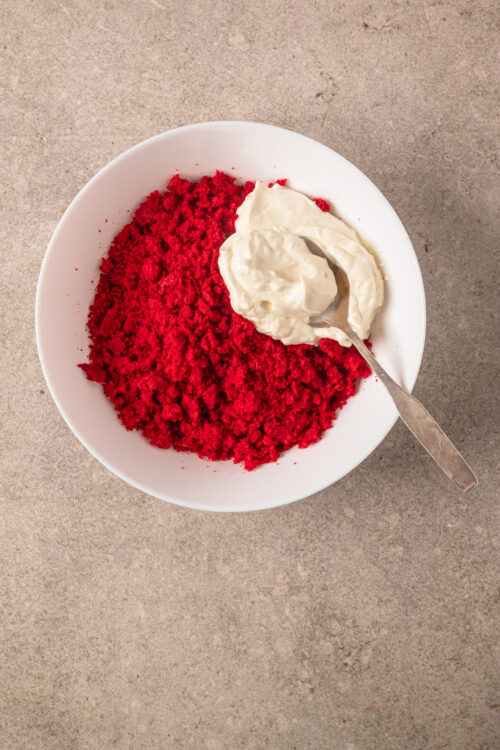
- Crumble the cooled cake into a large bowl. Gradually add the cream cheese frosting and mix until it holds together like a thick dough. If the mixture is dry, add 1 more tablespoon of frosting at a time until you can form it into balls.
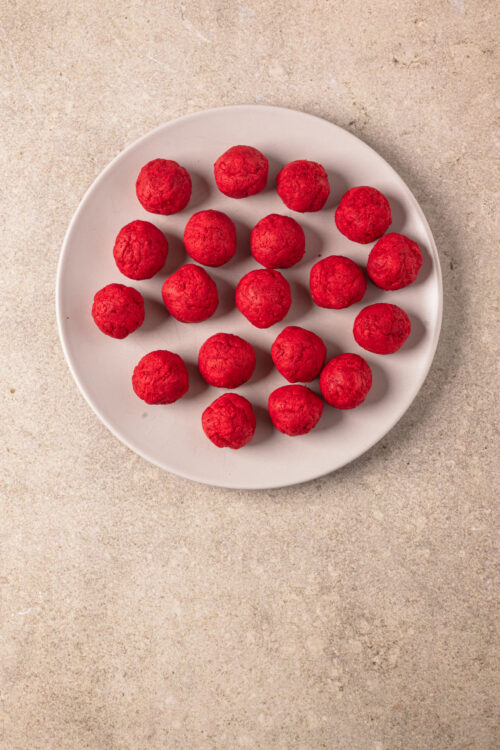
- Using your hands or a small cookie scoop, shape the mixture into 1-inch balls and place them on a parchment-lined baking sheet. Freeze the balls for 15 to 30 minutes until they are firm.
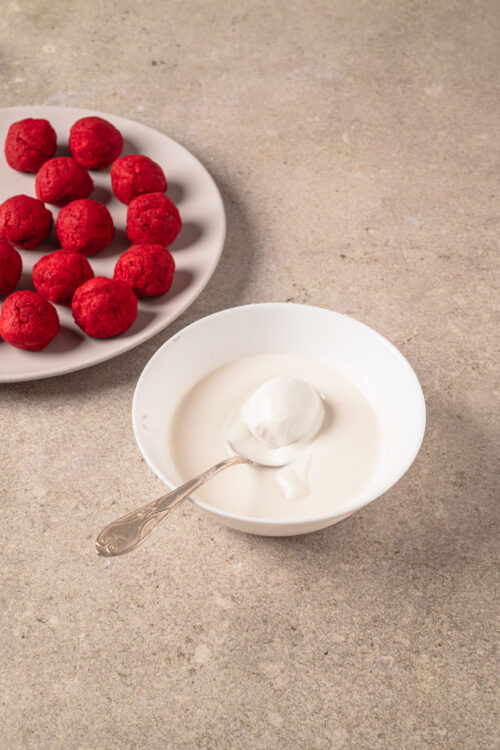
- Place the white chocolate candy melts in a microwave-safe bowl. Microwave on 50% power in 20- to 30-second intervals, stirring until smooth. If the chocolate is too thick, add a splash of vegetable oil to thin it.
- Dip each frozen cake ball into the melted chocolate, letting any excess chocolate drip off, and return them to the parchment-lined sheet.
- If using, sprinkle with decorations immediately while the chocolate is still wet. Let the chocolate set completely before serving. Store any leftovers in the refrigerator for up to 3 days or freeze for longer storage.

Leave a Comment