Spring has arrived and summer is just around the corner, despite the ever changing weather across the country these days! My family back east just had snow flurries and folks in the mid-west have been hit with their share of rain storms. It seems we could all use a sunshine themed art project to brighten the day!
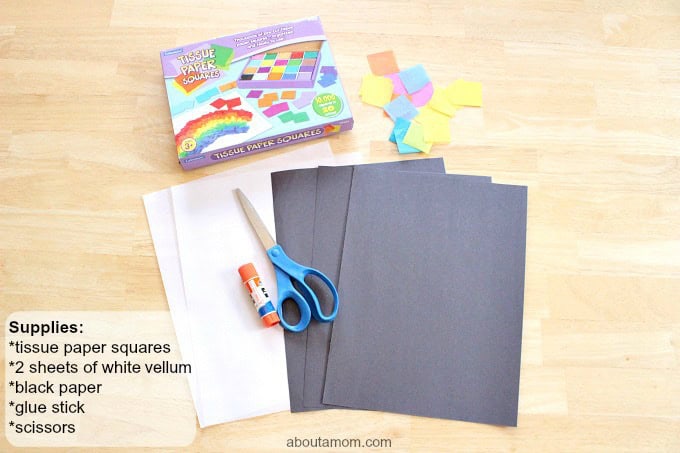
Bring on the tissue paper for this adorable stained glass art project! What I like about this simple craft is it requires very little time, effort and supplies. My children were able to put these Tissue Paper Stained Glass Art for Kids together so quickly that they wanted to make more and more…so we did!
Let’s get started!
Tips for “sealing” your tissue paper stained glass art if you’d rather not use vellum:
- Use 2 pieces of clear contact paper with a sticky back (this method will save you from having to also use glue)
- Use 2 large pieces of white tissue paper (be careful to not tear it as you apply the adhesive)
- Use 2 sheets of wax paper
- Use laminating pouches and place your design directly into the pouch and then laminate (adult supervised)
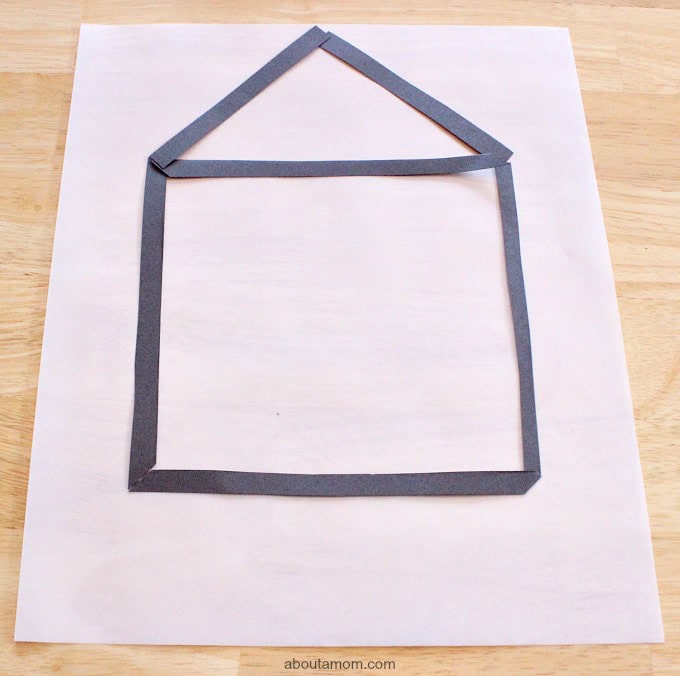
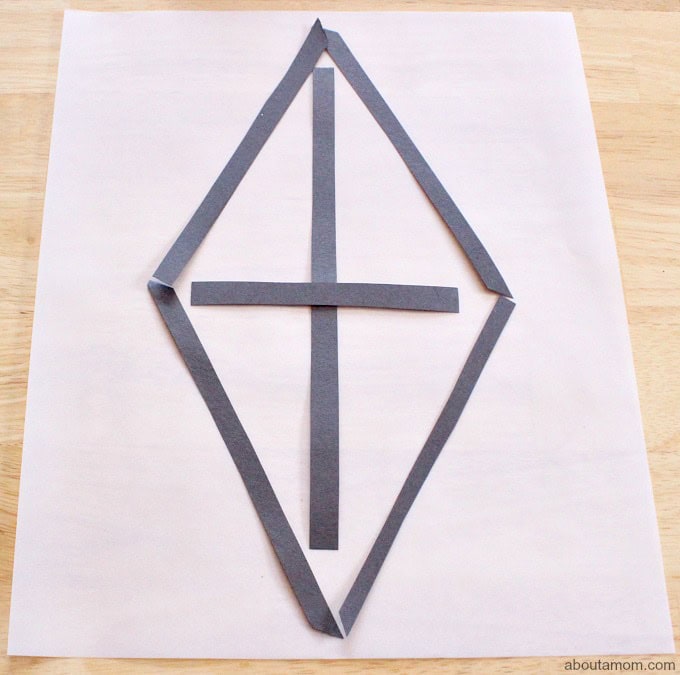
I began this project not really sure what shape I wanted to make. My kids had all sorts of ideas. Here are a few:
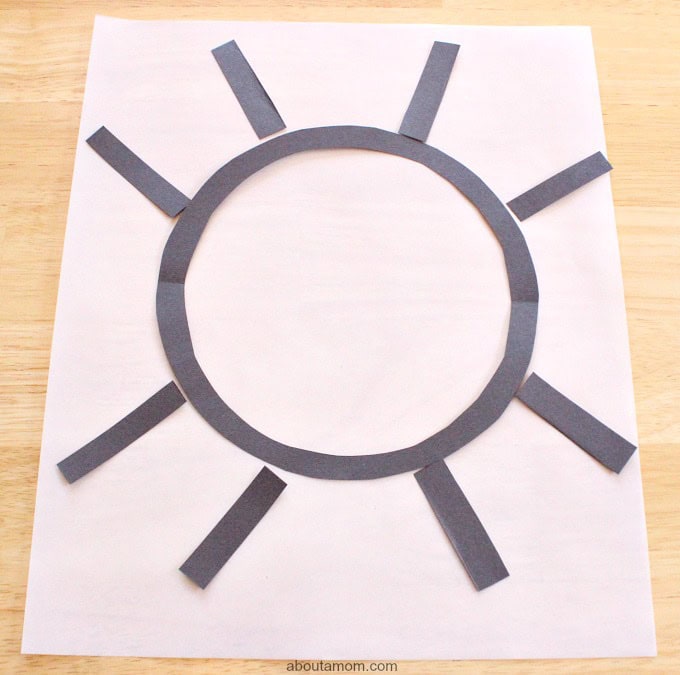
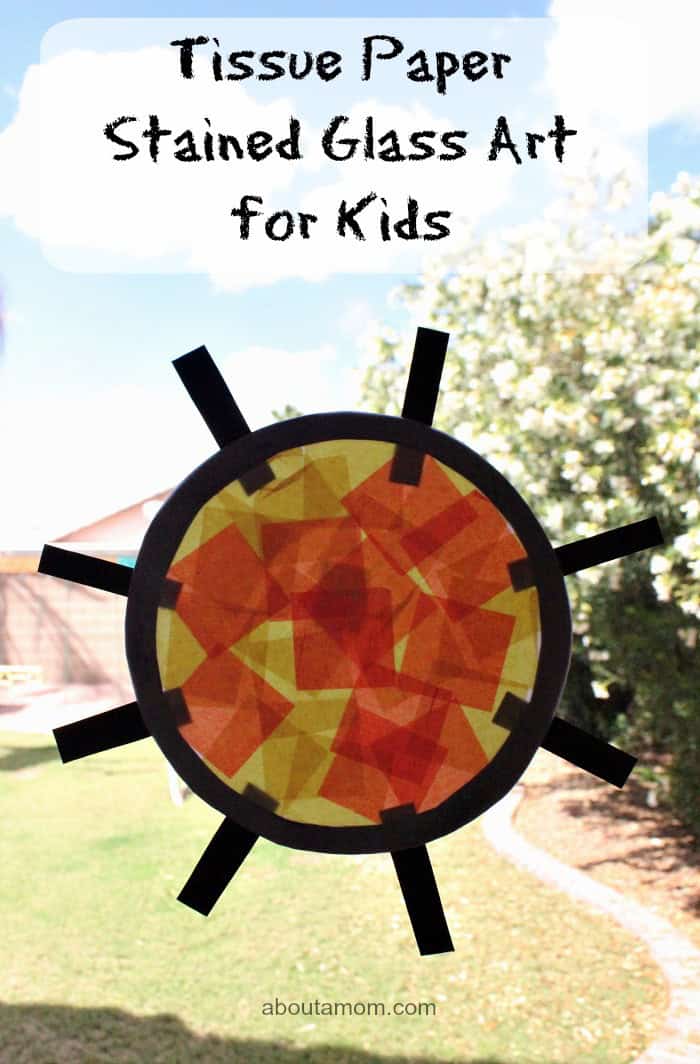
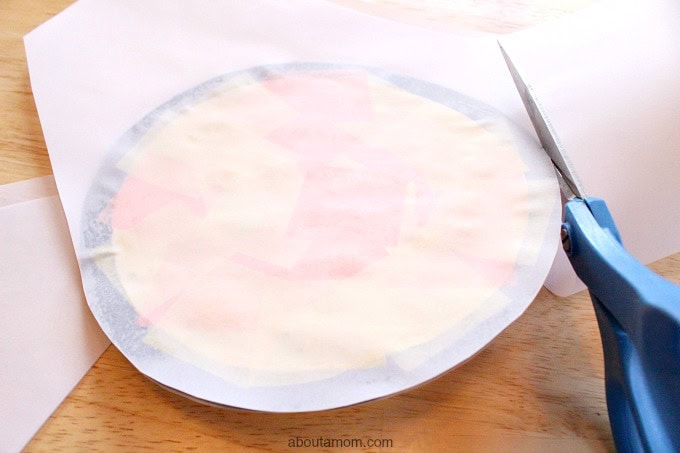
In the end, we decided on a sun since we LOVE the sunshine these days! You can make any design your heart desires! Just simply use the construction paper and cut out strips of paper to create your stained glass design. Place your design on top of one sheet of vellum.
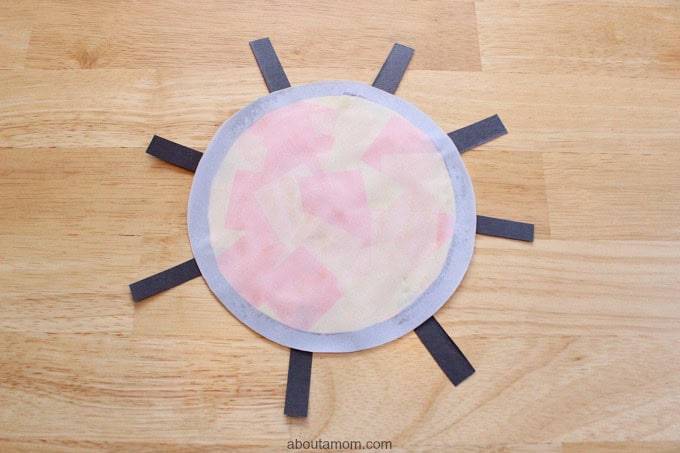
For the sun, we decided to remove the rays and add those very last since they won’t require any tissue paper.
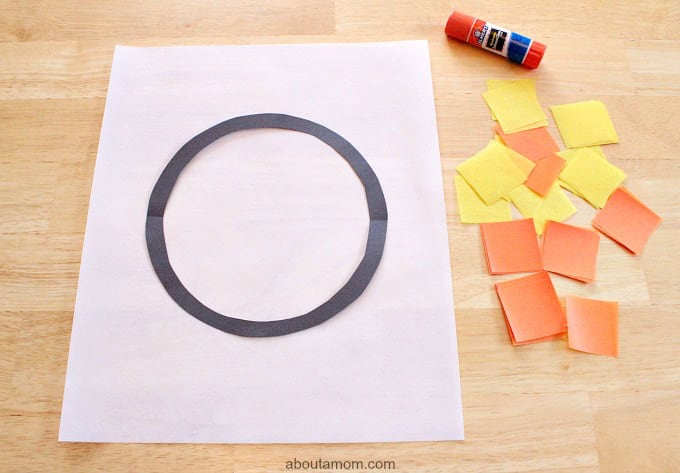
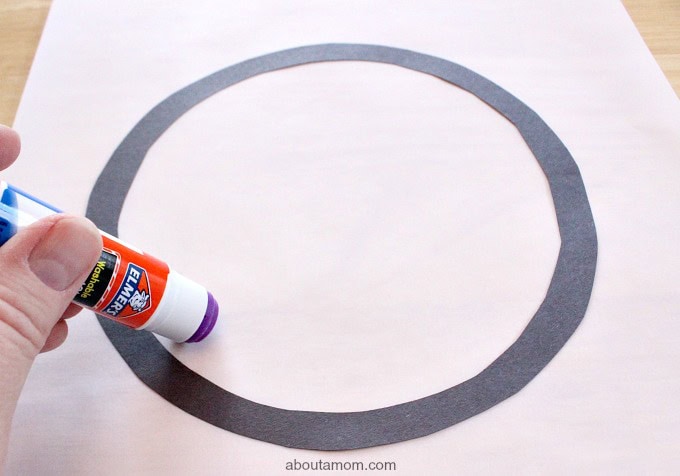
Begin by gluing down your black strips of paper to the vellum. Then you will fill the inside of your shape with glue.
Very quickly place layers of tissue paper squares filling the inside of your shape. Add glue as you go since it does dry fast. I also found that overlapping the tissue paper adds for depth and color to the design! *Be sure to use at least 2 colors of tissue paper or more*

After you’ve completely filled in your shape with tissue paper squares, then you are ready to add the second piece of vellum. Before placing the vellum on top of your design, you must cover the inside of the 2nd piece with glue so that when it is placed on top of your stained glass art, it will “seal” your hard work!
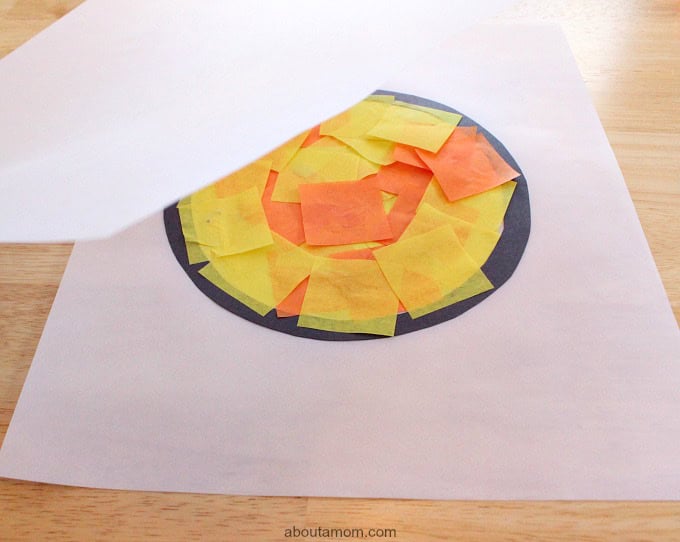
After you’ve sealed your stained glass art then you can carefully cut off the access vellum paper. Be sure to not cut too close to the outer black line of the shape. If it does start to pull apart just add more glue and press down as needed.
If there are any final details to add to your design that didn’t require tissue paper, then now is the time to do so! This is where we added our sun rays. We simply glued them to the back side of our sun and then flipped over our sun to reveal our creation!
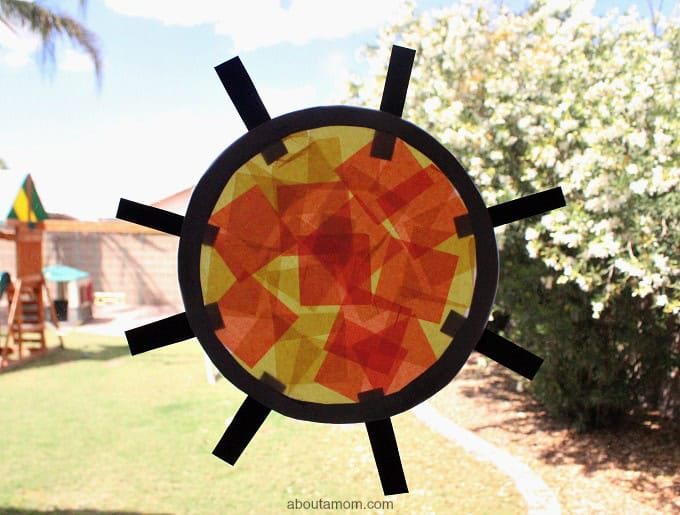
We just couldn’t wait to hang our beautiful sun in our window! It was the most beautiful, slightly cloudy, breezy day for the backdrop to our new Tissue Paper Stained Glass Art for Kids!
Written by About a Mom contributor, Mandy Mae. Mandy is a wife, mother, teacher, and frugal-DIY-enthusiast. Hoping to inspire mothers to take action in making a positive influence in the lives of their children with simple DIY, crafting, thrifting, and teaching projects.

How fun! I think I remember making something like this when I was a kid.
Hi Amber! Yes, me too. Only I feel like there were so many more steps when I was a kid…crafting has come a long way now! 😉
This is such a lovely idea, there is something really lovely about a stained glass type craft make! x
Thank you, Sarah! We’ve really enjoyed looking at them on our windows. It’s a beautiful view!
I have done this with my children before and it is a great way to upcycle all that left over birthday paper. I love this as a way to stimulate creativity.
Hi Carlee! I LOVE that idea for using birthday tissue paper. So smart! 😉
It’s really cool looking. I know the kids would like to make this too!
Thanks, Rosey! What I love is how easy it was to make but it looks like we put a lot of effort into it! Those are the best projects. 😉