Bring some ghoulish good fun to your party with these wickedly delicious Easy Witch Finger Cookies (Halloween Cookies)!

Grab your pointed witch’s hat and fly on a broomstick of flavor, because we’re about to bake some downright scary but scrumptious witch finger cookies! In my house, we go all out for Halloween. That means dressing up in over-the-top costumes, decorating the most frighteningly festive yard on the block, and whipping up some bone-chillingly delicious snacks.
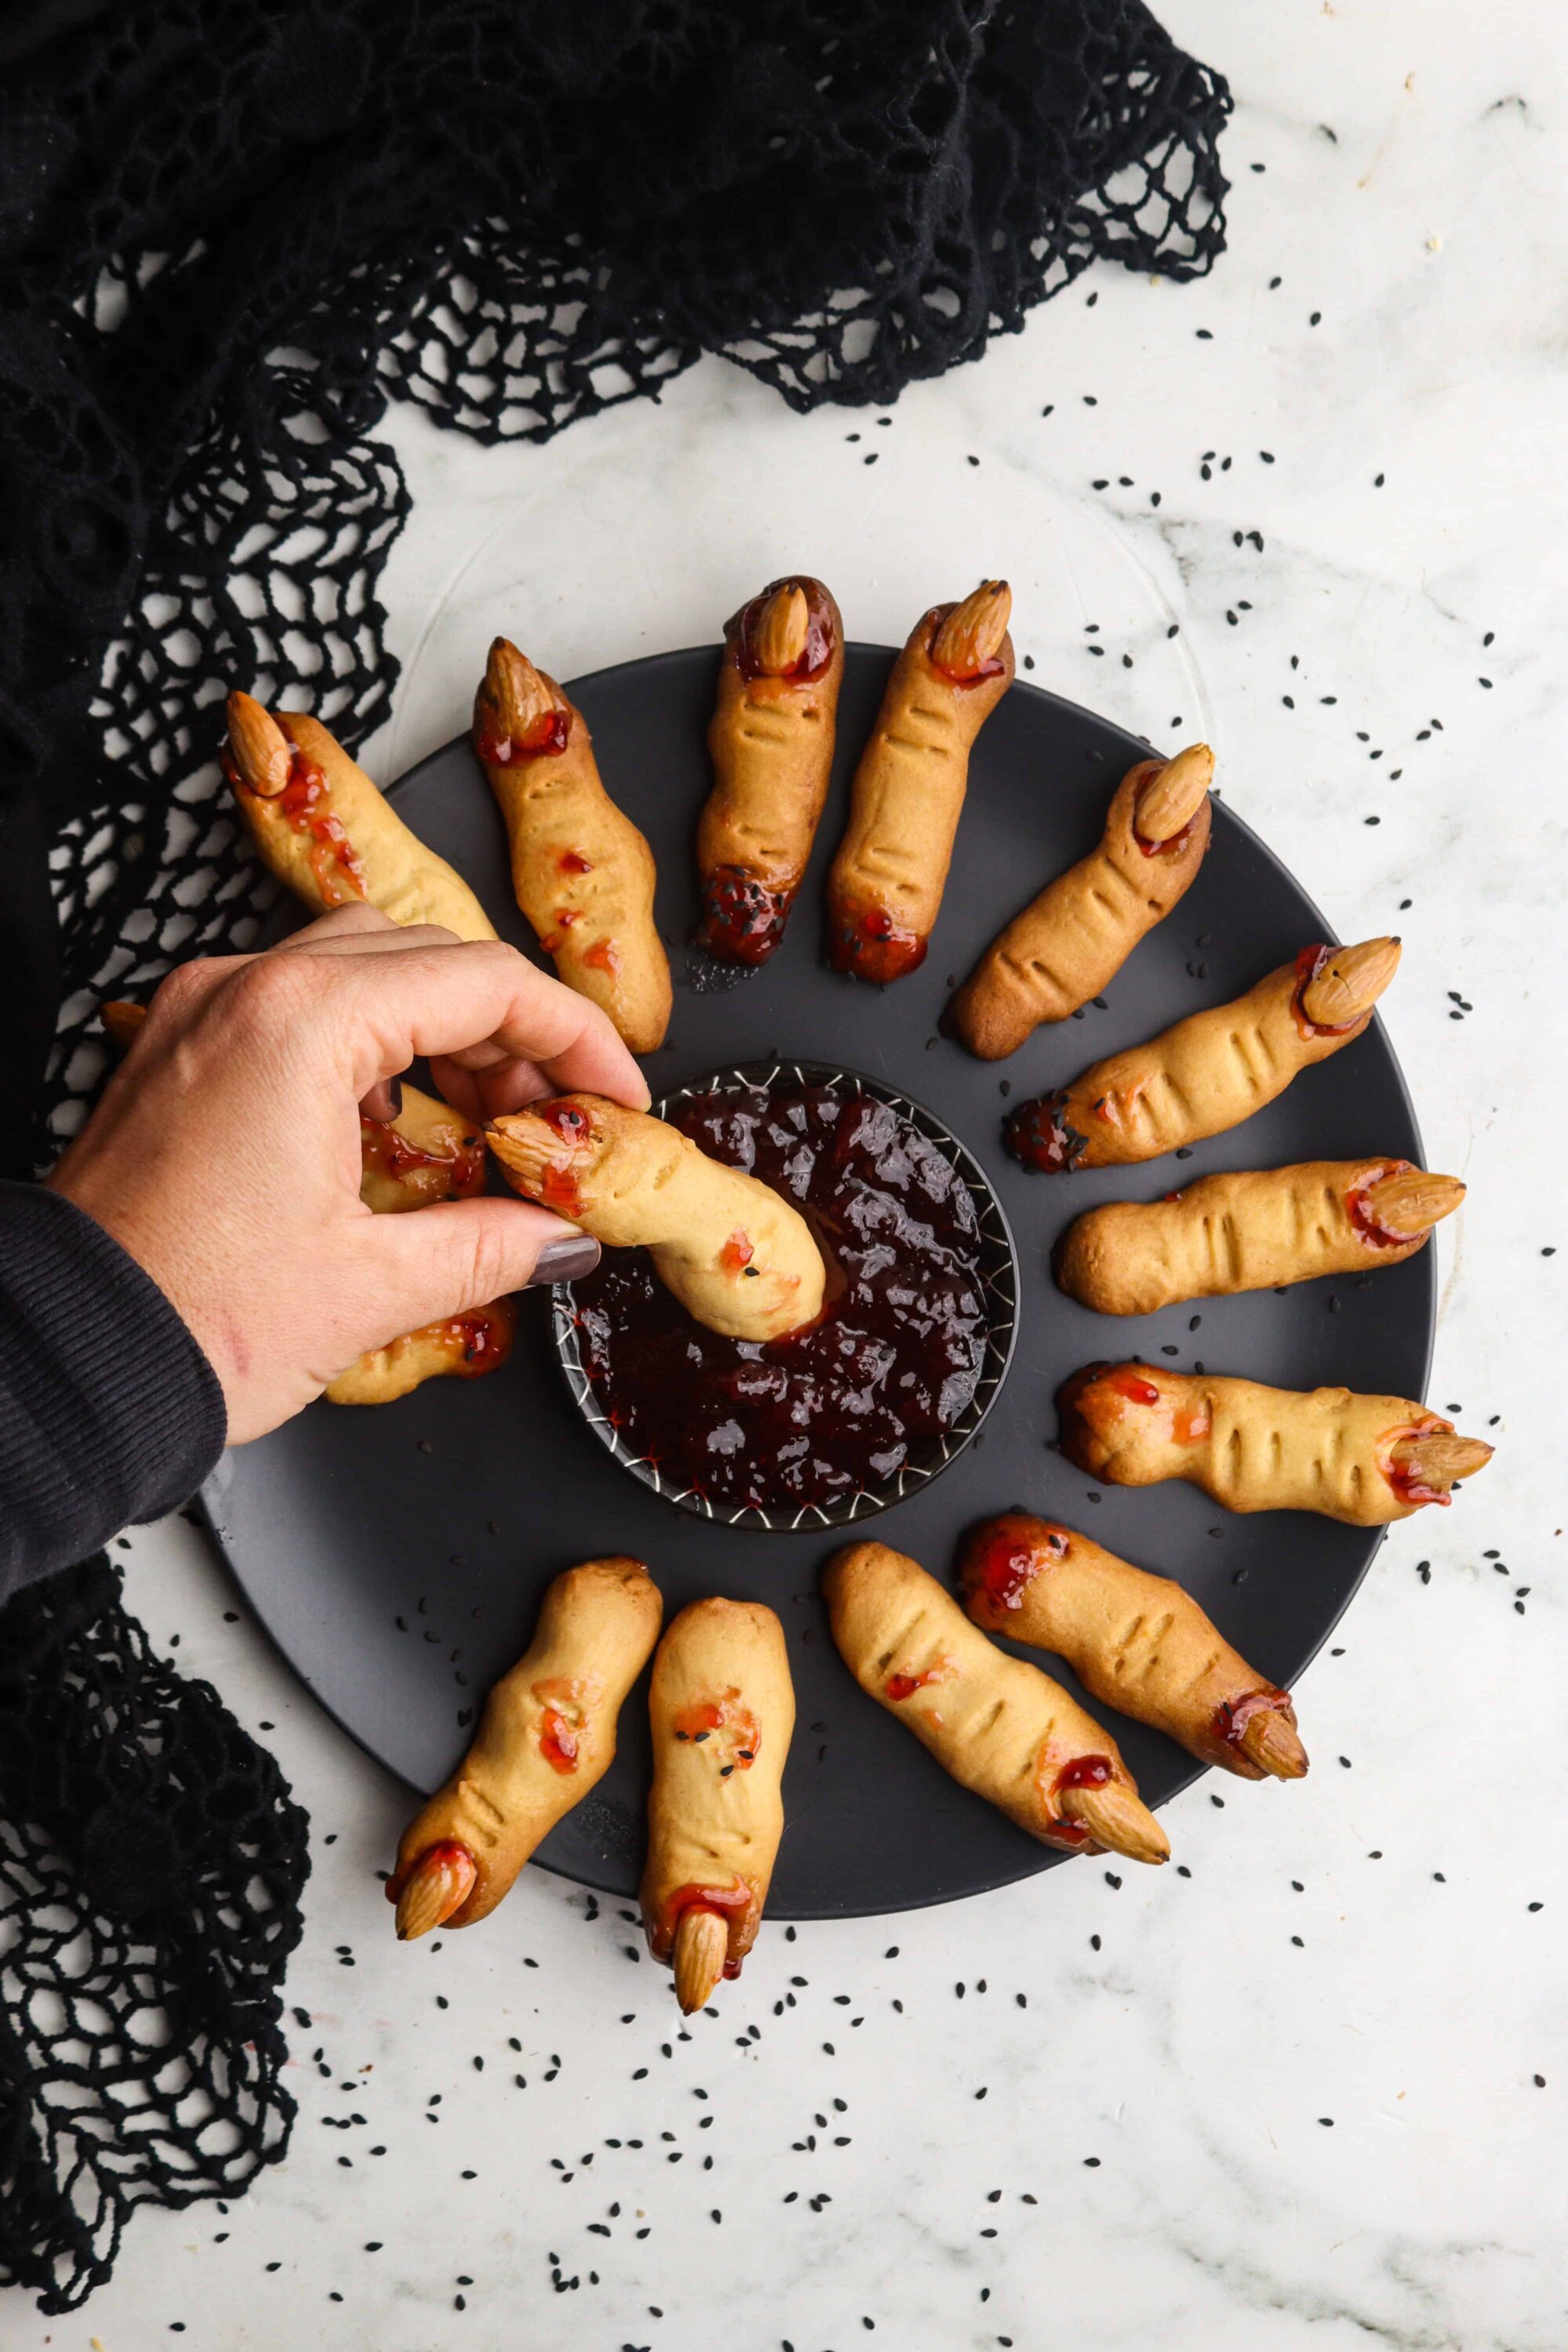
These bewitching cookies are shaped like warty witch fingers. They’re fitted with almond “fingernails” and slathered with strawberry “blood” for an eerily realistic look. But don’t let them scare you too much—they taste like a cross between sugar cookies and vanilla shortbread. They’re crunchy, nutty, and buttery. So, in other words, they’re absolutely delicious.
My kiddos love to help me make all the scary snacks. I kind of suspect it’s because then they’ll know exactly what’s in ‘em. But it’s also so much fun creating these kinds of core memories with them. Whether dunked in strawberry jam or eaten on their own, I guarantee these cookies will cast a major spell on your taste buds.
Festive flavor variations
Love the look of these cookies but want to switch up the flavor? For a nutty alternative, substitute the almond essence with vanilla extract instead, or give them a citrusy twist with lemon or orange extract. Want a classic green witch’s finger? Add a few drops of green food coloring to the wet ingredients when making the cookie dough. Or, create a zombie-like finger by brushing some cocoa powder around the nail beds and knuckles. Prefer a chocolaty flavor? Use red melting chocolate for the “blood” instead of strawberry jam.
How do I store leftovers?
If you have any cookies leftover come November 1, just pop them into an airtight box and stash them at room temperature. They’ll stay fresh for up to 3 days, or you can store them in the fridge for up to 1 week. The cookies can also be frozen for up to 3 months. Flash-freeze them on a baking tray for 30 minutes before transferring them to a Ziploc bag. Tip: Zap them in the microwave for 10-15 seconds if you prefer your cookies warm, like they just came out of the oven.
Serving suggestions
Turn your Halloween party into a frightening feast by pairing these witch finger cookies with mugs of Dark Hot Chocolate (you could call it a chocolate potion!), perfect for chilly October nights. Arrange them creatively on a devilish dessert table alongside these Semi-Homemade Bat Cupcakes, Spider Chip Cookies, and Monster Jell-O Cups to really send those chills down your guests’ spines!

Easy Witch Finger Cookies (Halloween Cookies)
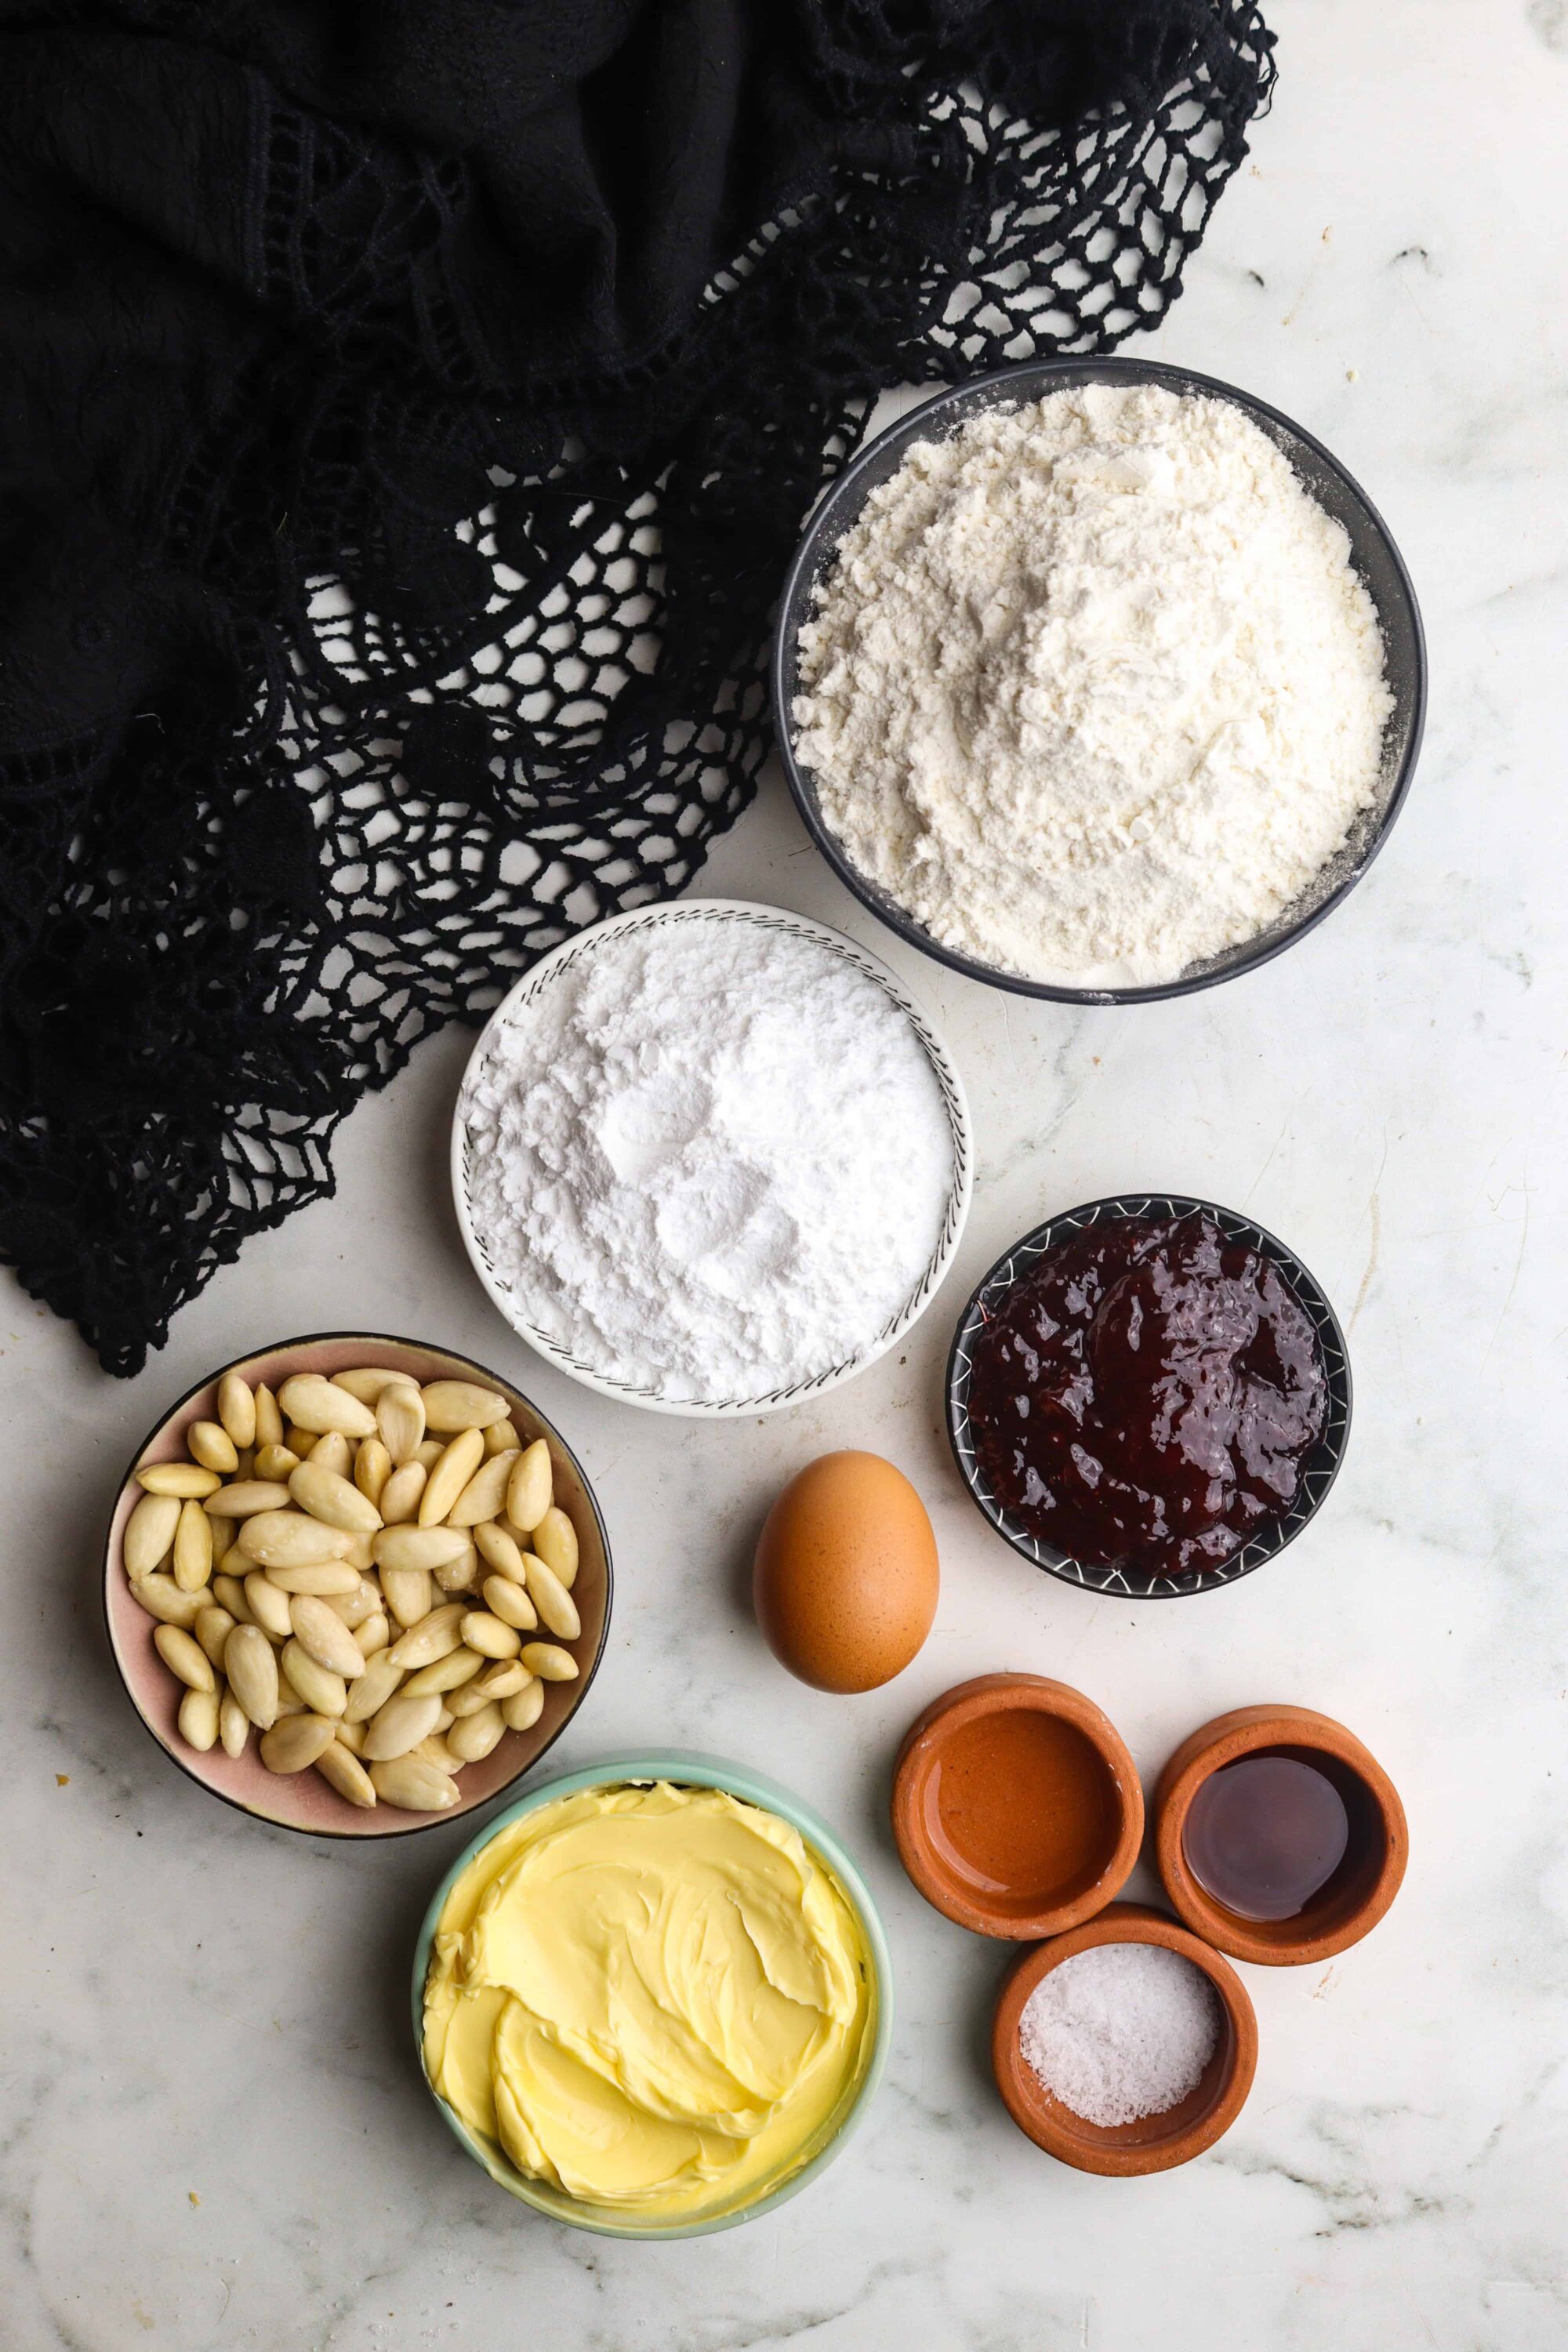
Ingredients
- 1 cup unsalted butter
- 1 cup sugar
- 2 eggs
- 1 teaspoon almond essence
- 3 1/2 cups cake flour
- 1/3 cup cornstarch
- 3/4 teaspoon salt
- 1/2 cup blanched almonds
- 1/4 cup strawberry jam
Instructions
- Preheat your oven to 350°F.
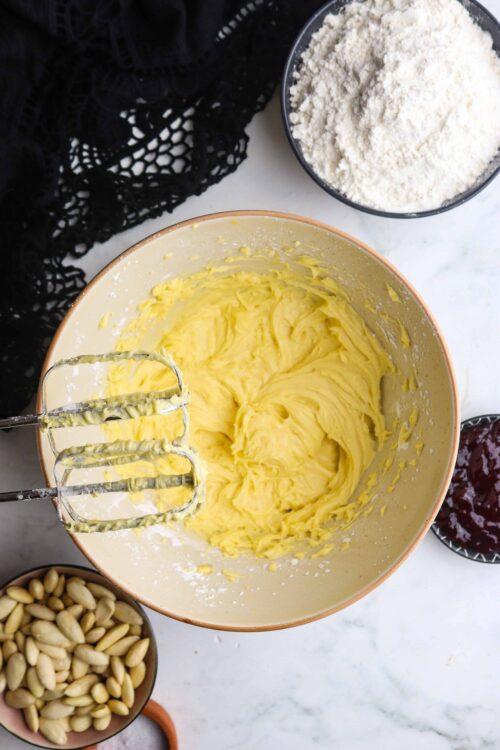
- In a large mixing bowl use an electric whisk or a stand mixer to cream the butter together with the sugar.
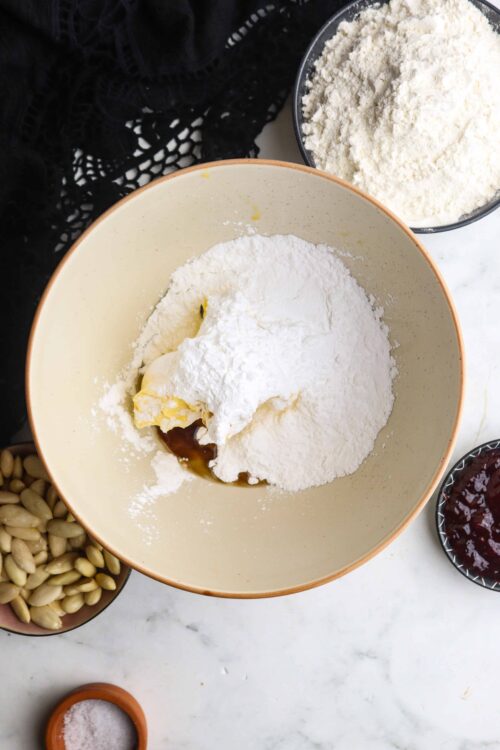
- Add the eggs and almond essence. Whisk until smooth.
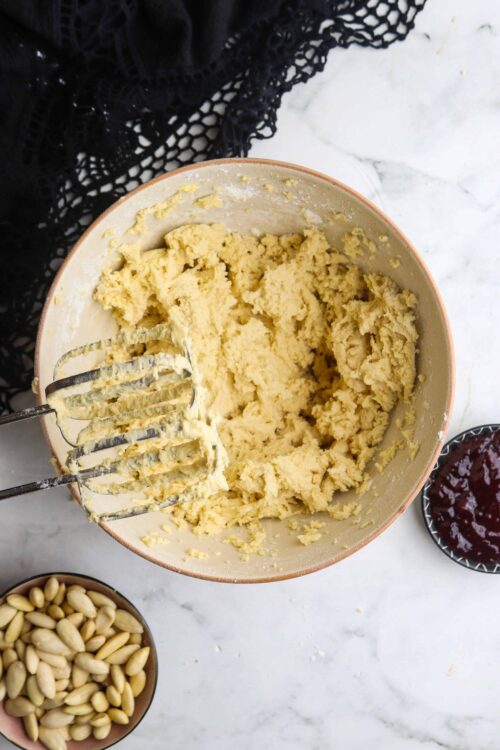
- Mix in the flour, cornstarch, and salt until it stiffens up.
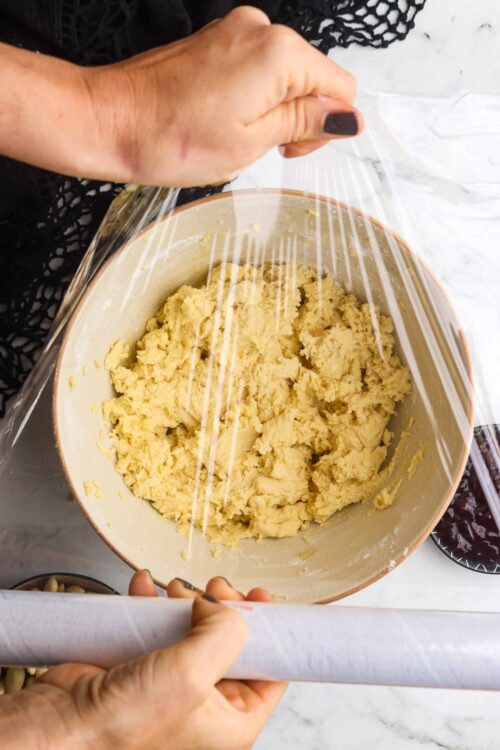
- Cover the dough with plastic wrap and refrigerate for 2 hours.
- Line a baking tray with parchment paper.
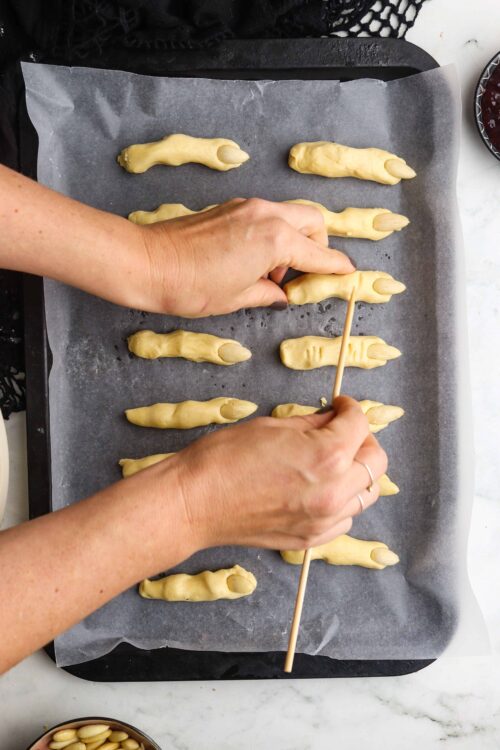
- Take the dough out of the fridge. Break off pieces and form them into finger shapes.
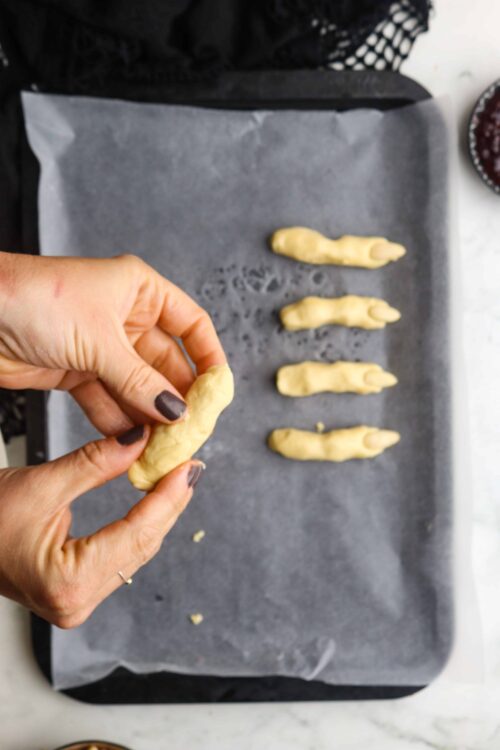
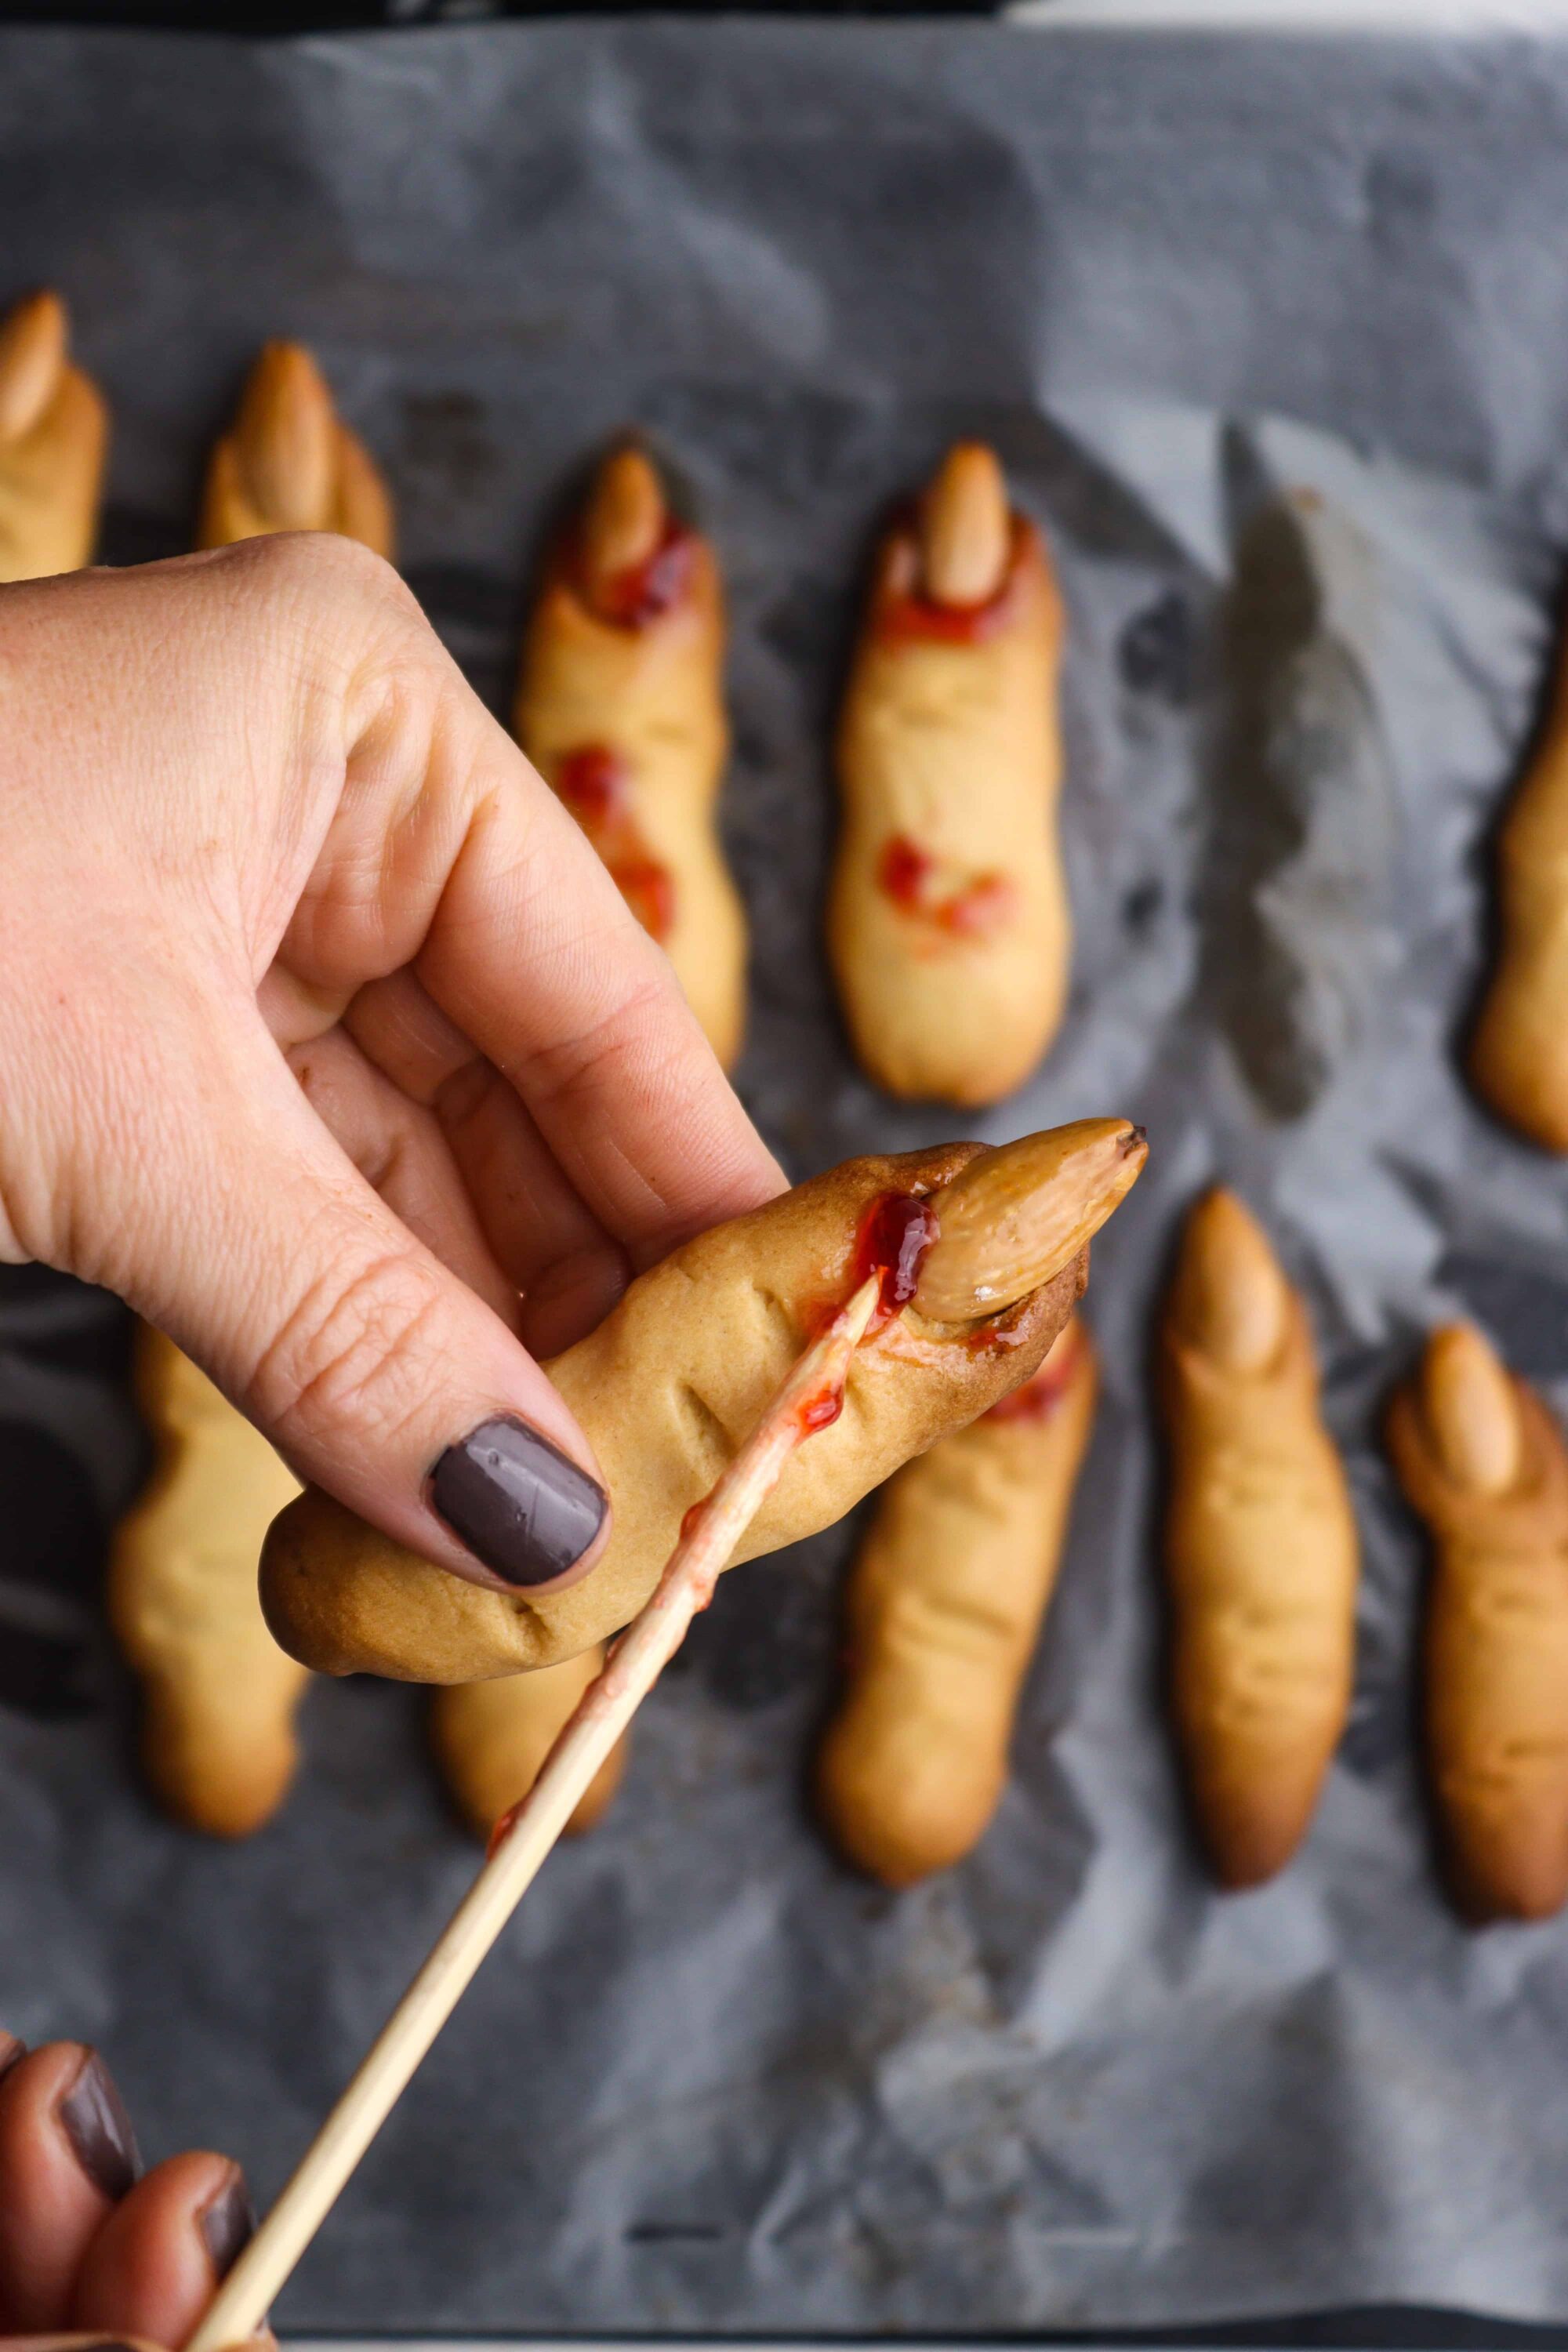
- Press an almond into one end to resemble a fingernail. Place it on the baking tray. Use a knife or wooden skewer to cut creases into the fingers to simulate knuckles.
- Bake for 15–20 minutes, until the fingers are slightly browned. Take them out and allow them to cool.
- Once the cookies have cooled, fill in the gaps between the cookies and the almonds with jam. Strategically place more jam along the finger to simulate blood.

Leave a Comment